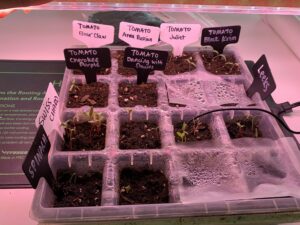
It finally came! I’m like a kid waiting for Santa, except instead of being excited to play with toys, I’m excited to get to play in the dirt!
After arranging my tools, I decided to pot up the tiny plants for later planting out. I may put them out at the end of the month, or I may wait as late as the second week in June. These plants will be my second string that I’ll put in after the first planting peters out. I had good luck doing that (unintentionally) last year, and I’m going to try it again.
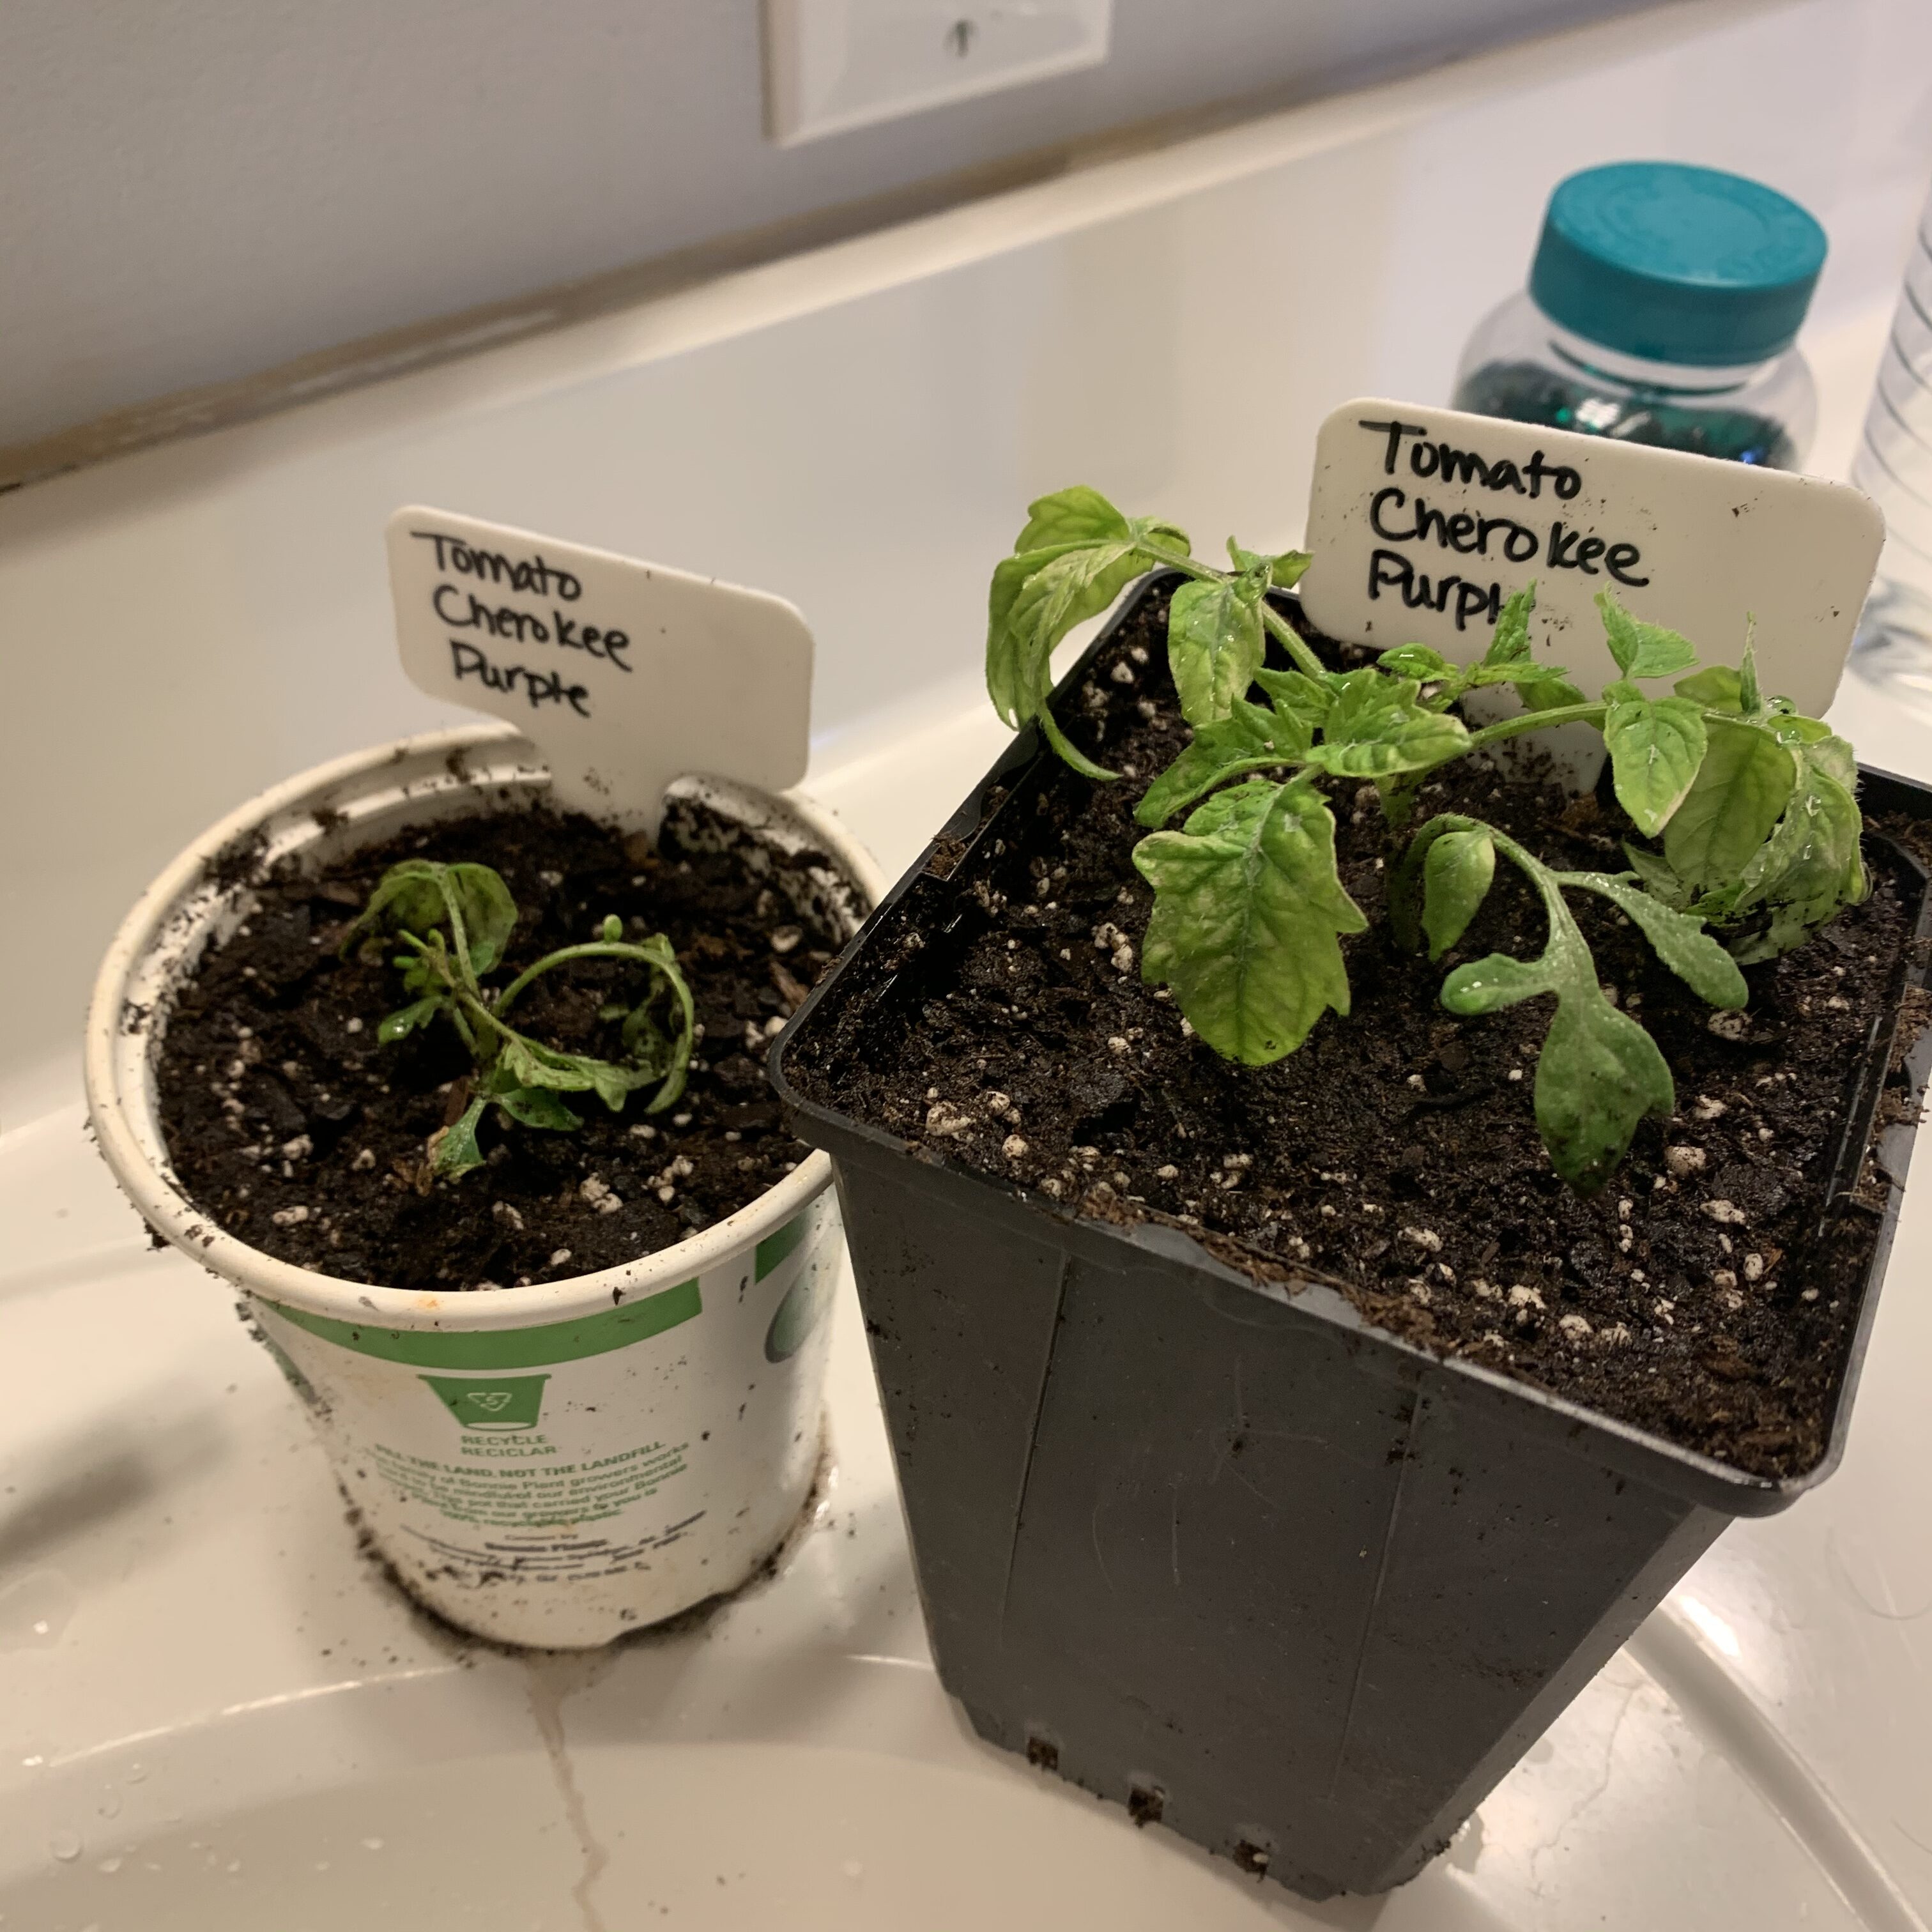
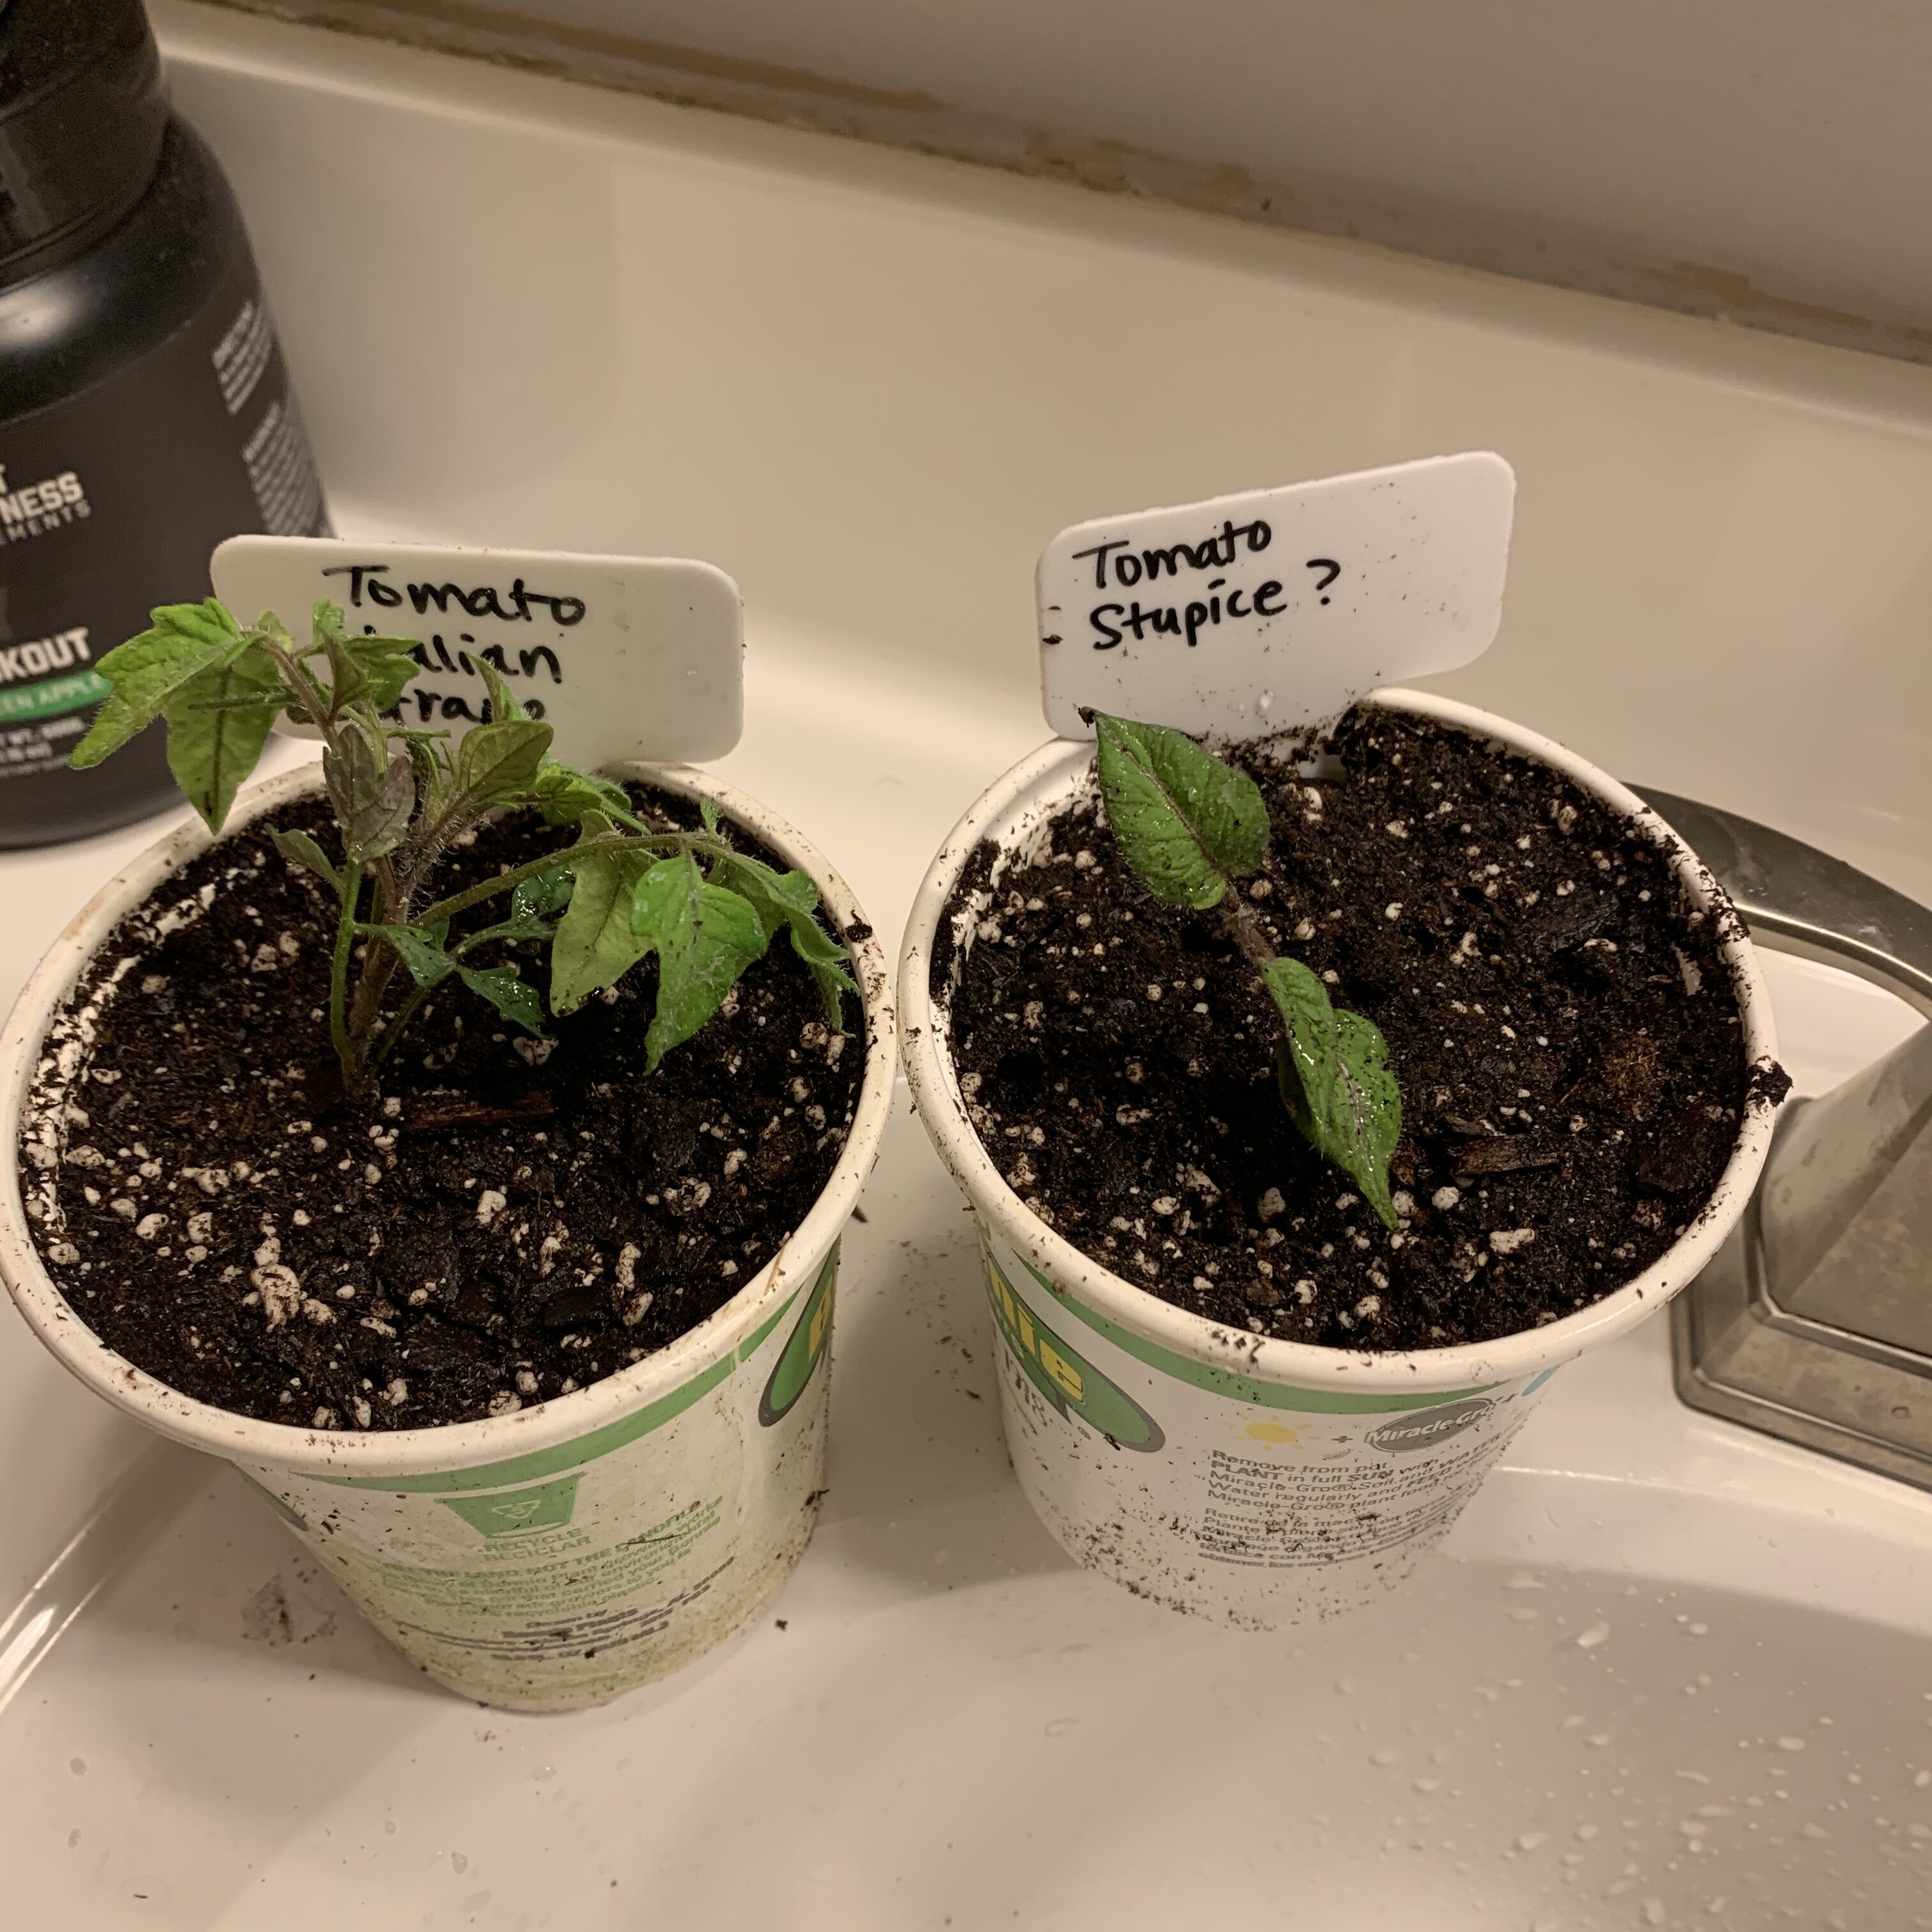
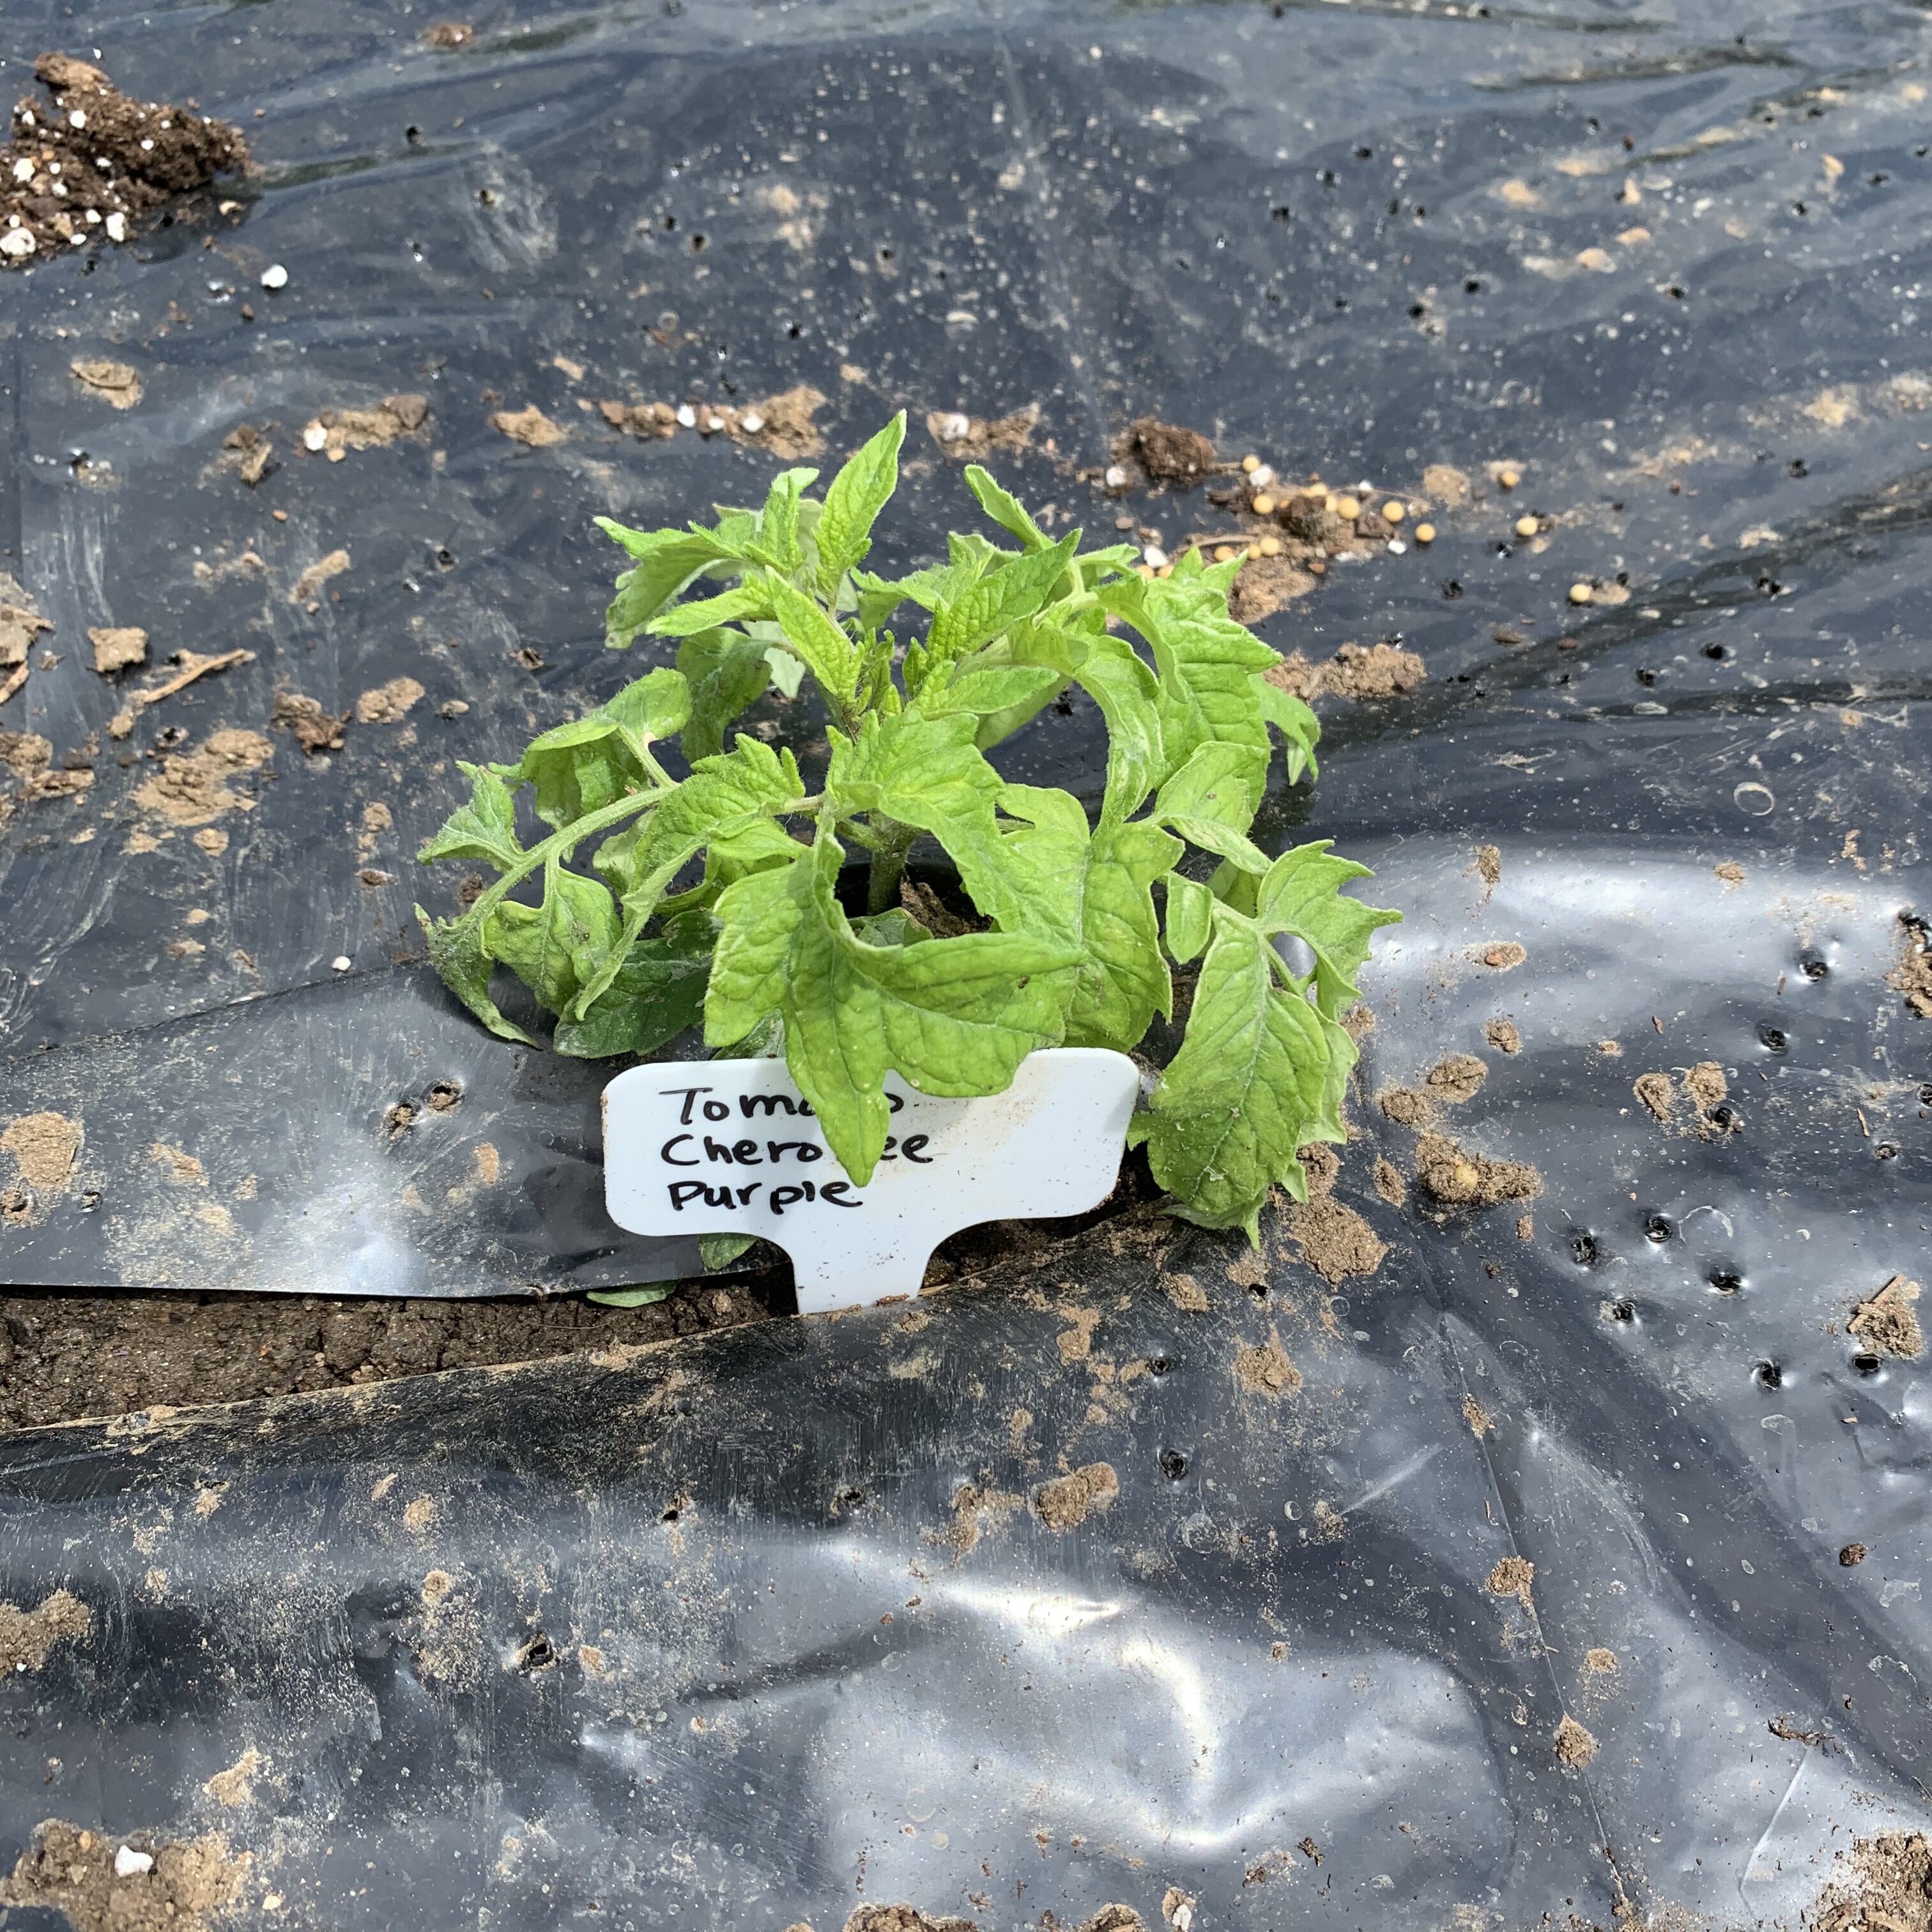
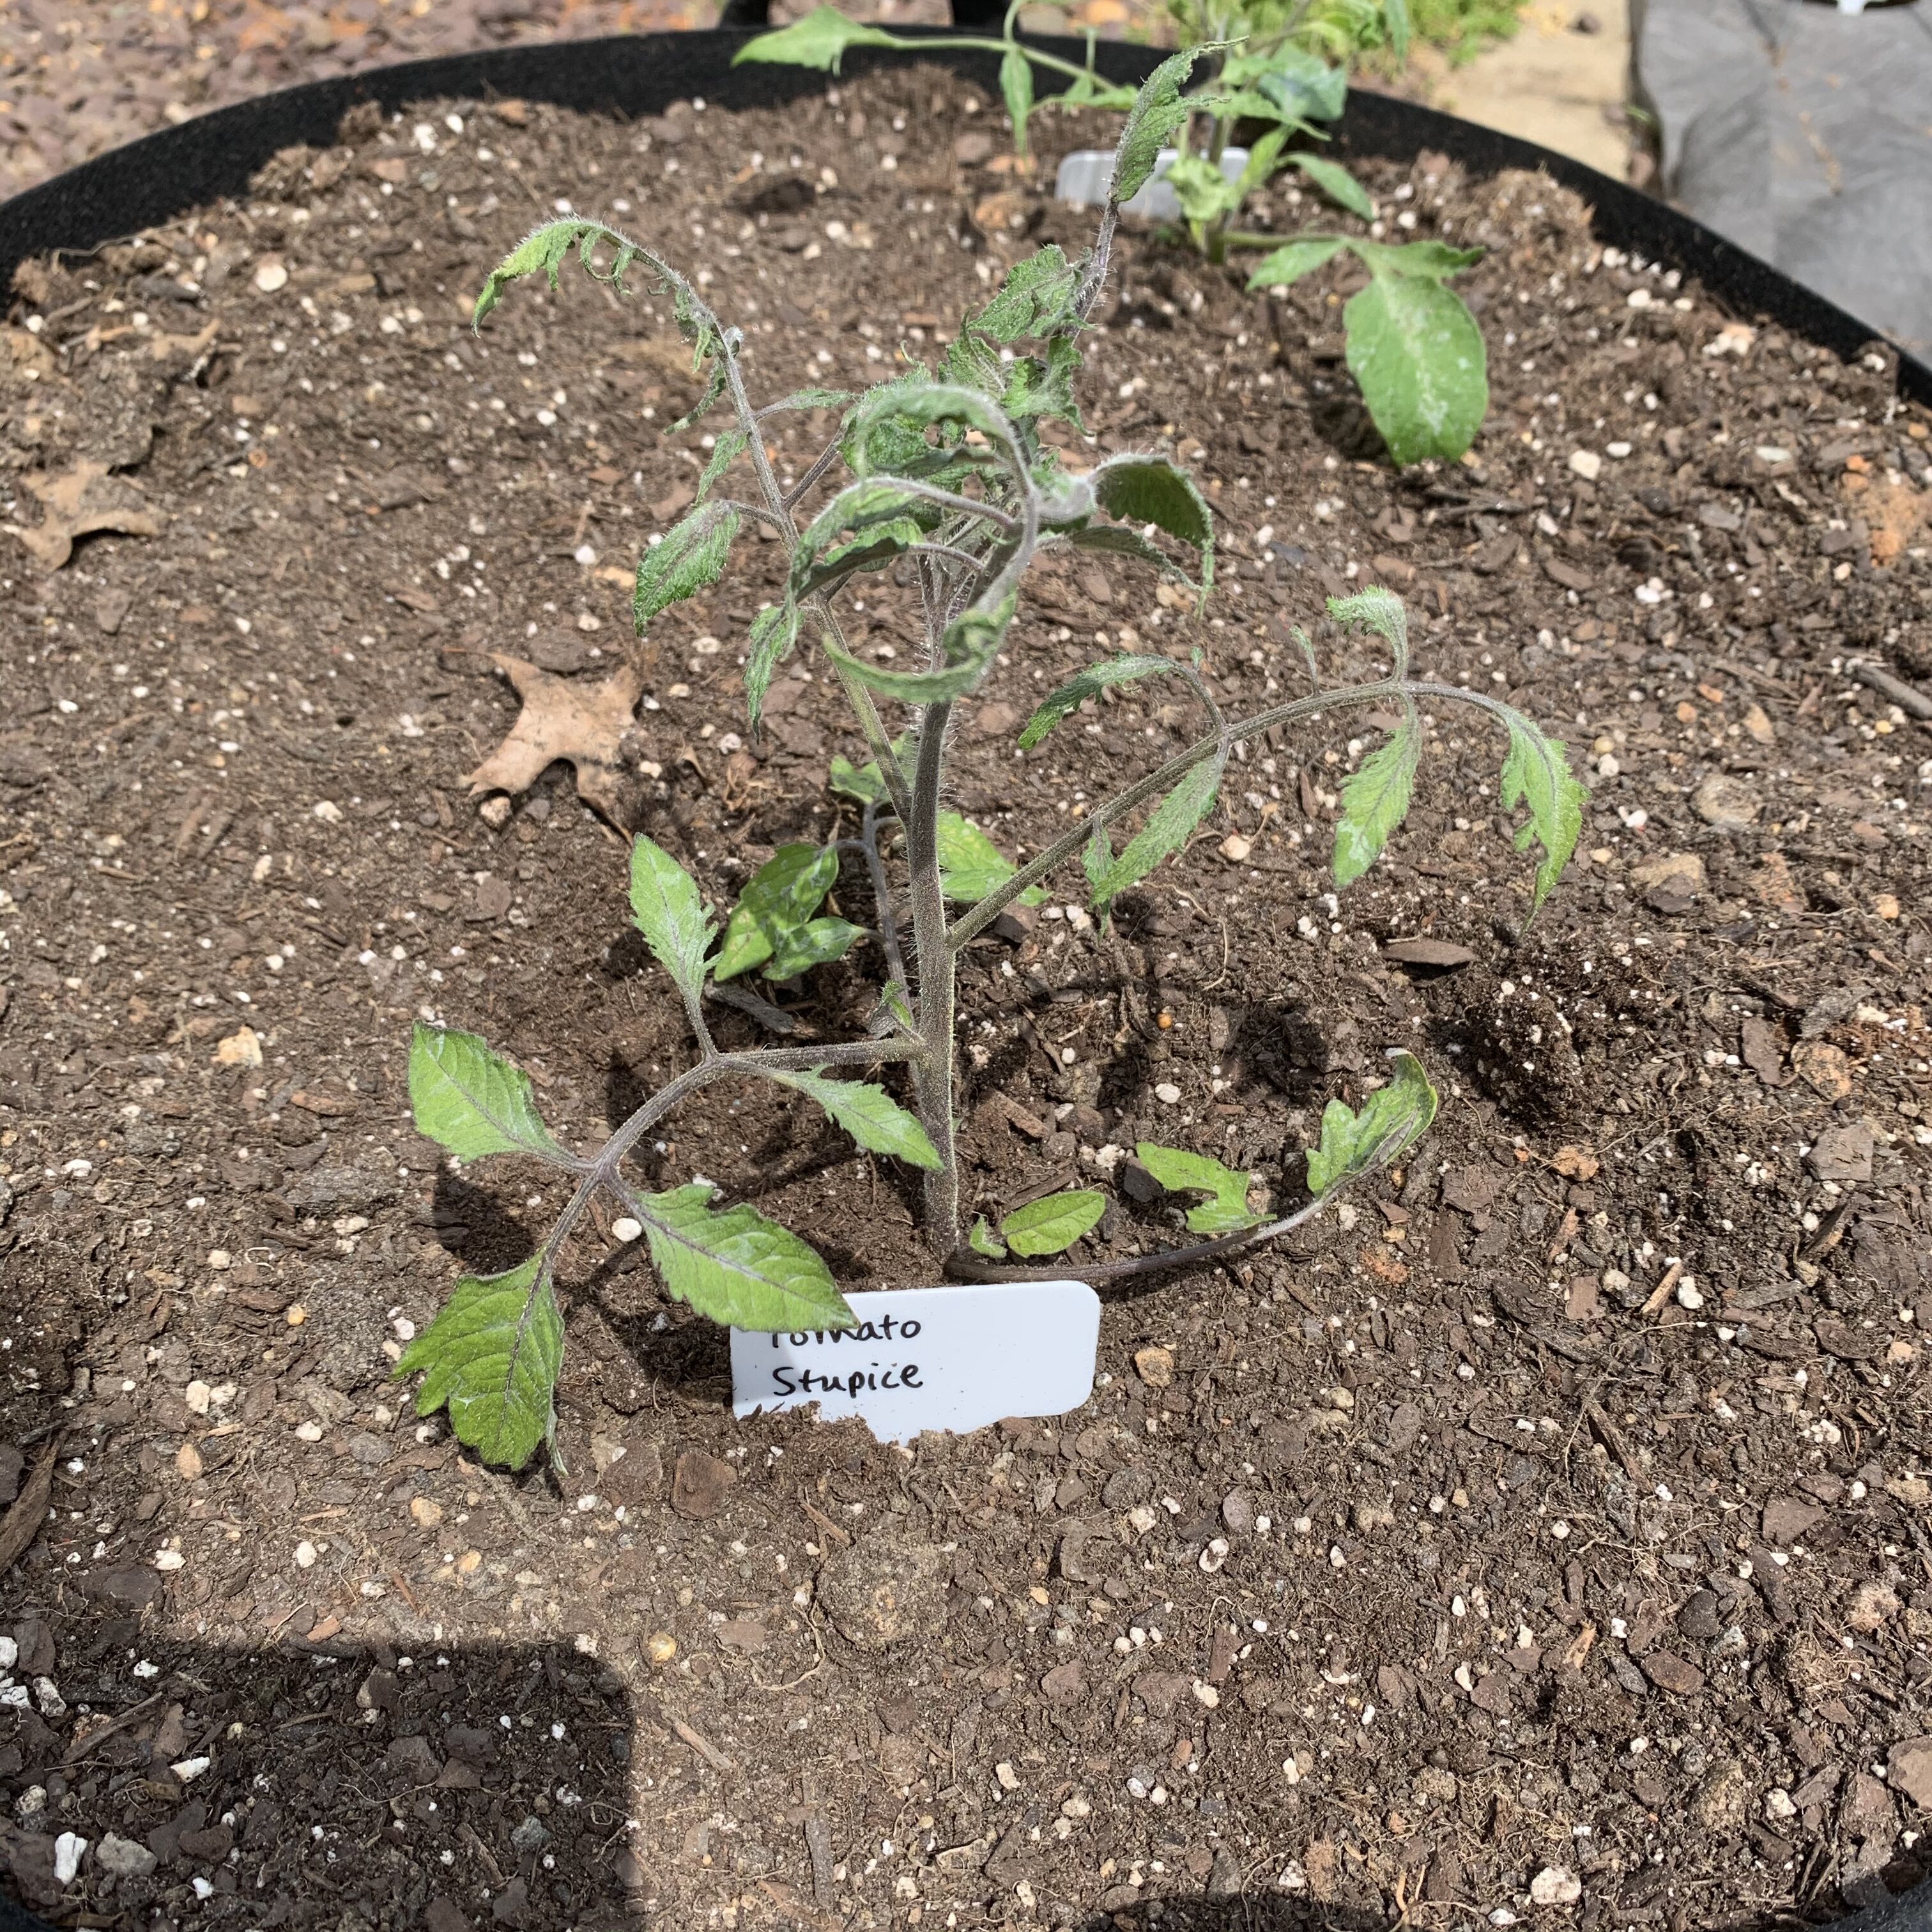
I moved Italian grape to a bigger pot, transplanted the two late germinating Cherokee purples, and I split out this little plant that I think is a Stupice even though it was in a pot with Atomic Grape. It has potato leaf, and the only plants o have with potato leaf are Stupice.
I needed all this stuff:
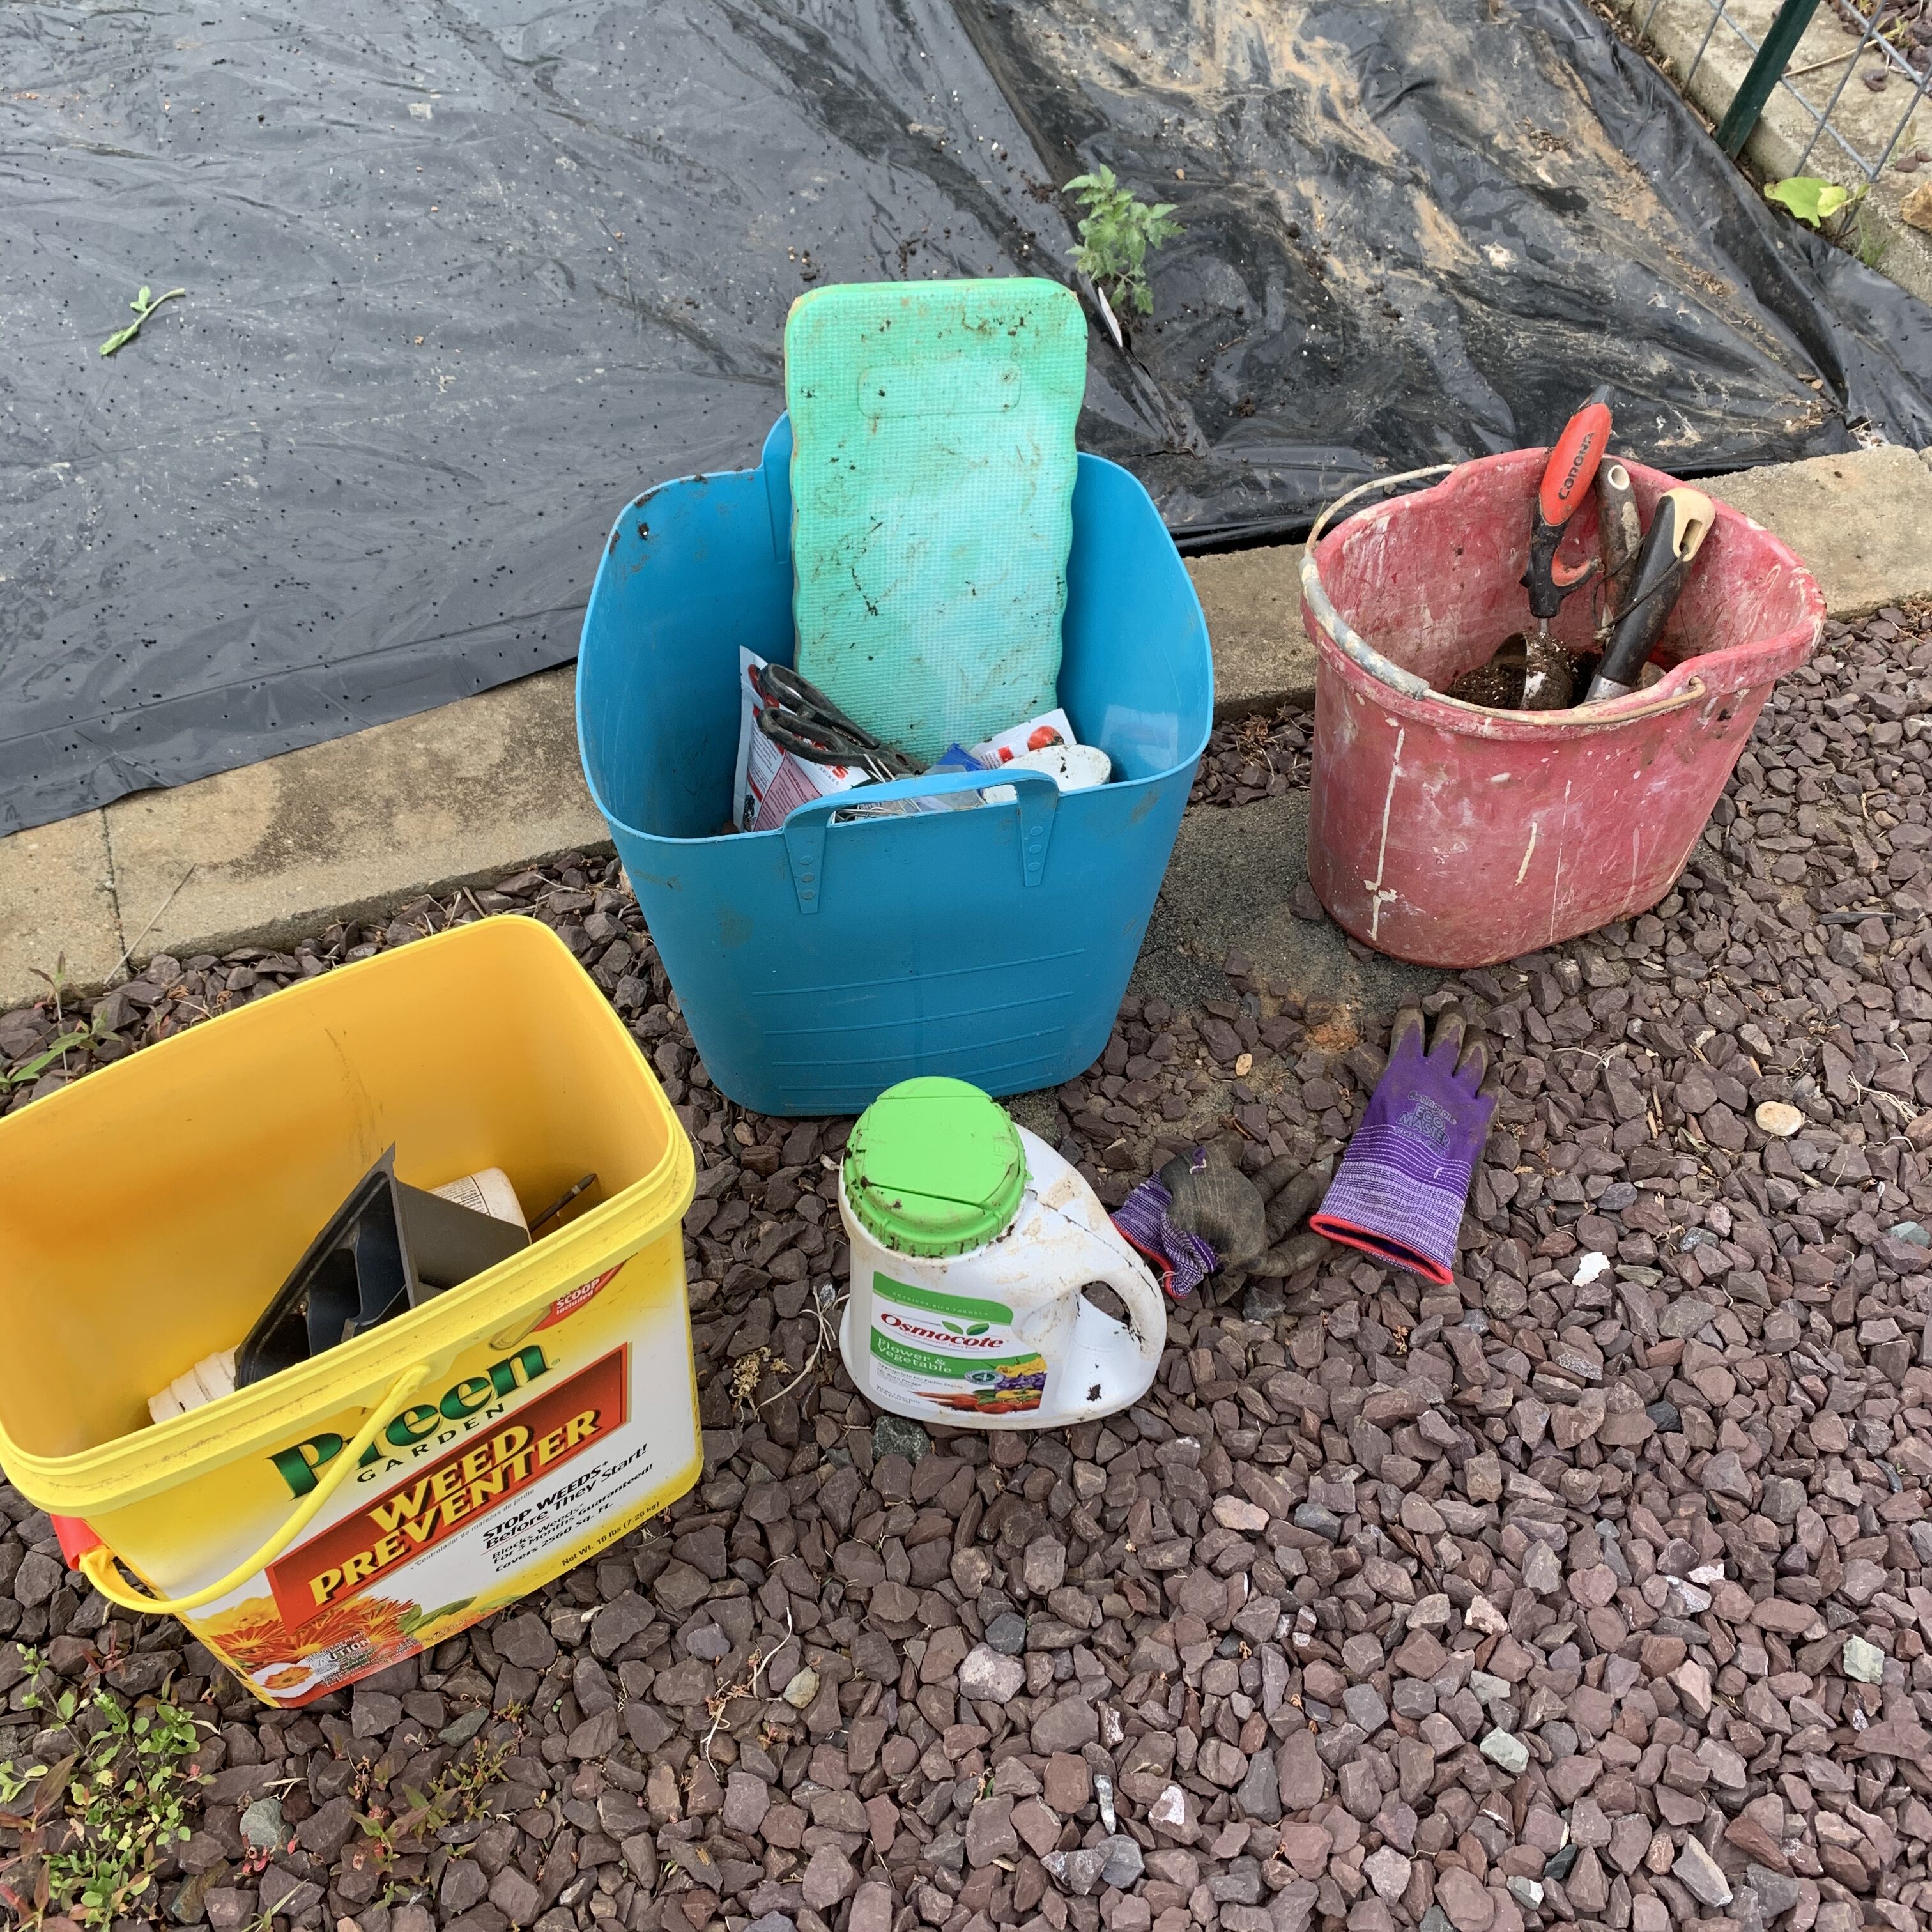
I have a bucket for trash, a bucket for dirt, a bucket for tools, fertilizer, kitchen shears, spades, aspirin, a spoon, a tiny bowl, gloves, a knee pad, a miracle for scoop that measured 1.5 tbsp, and landscaping pins.
Planting in the main bed
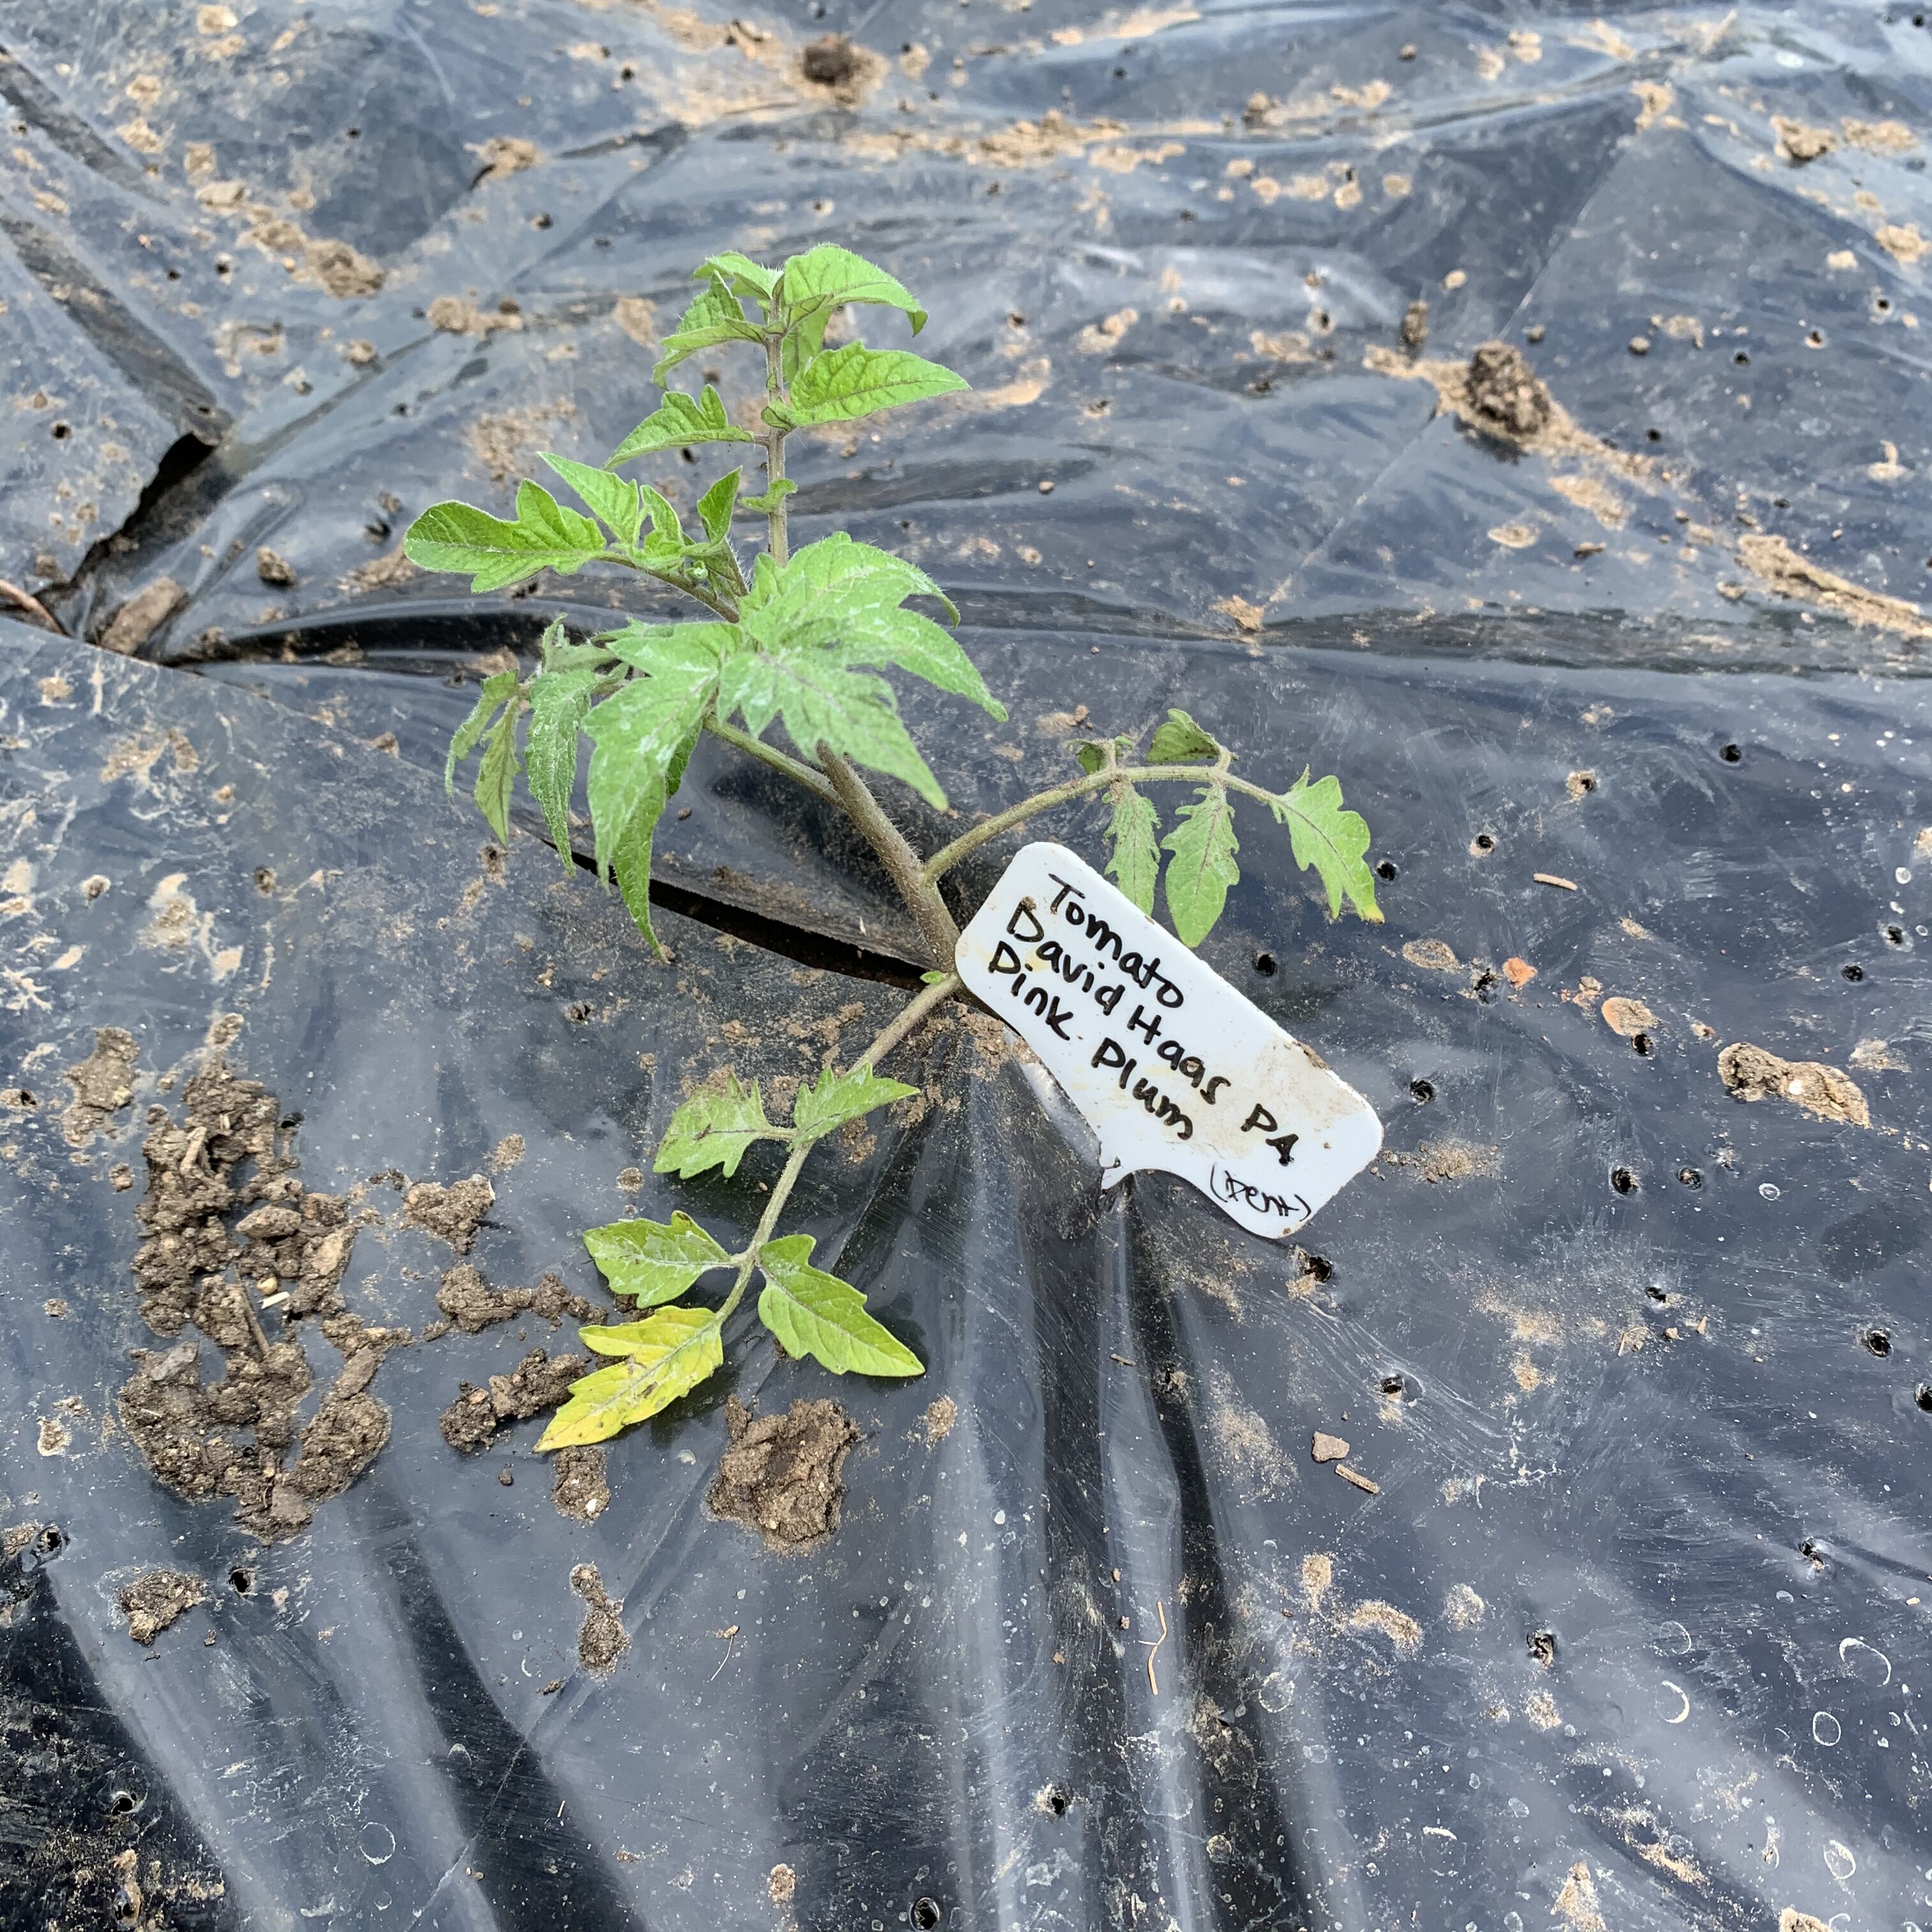
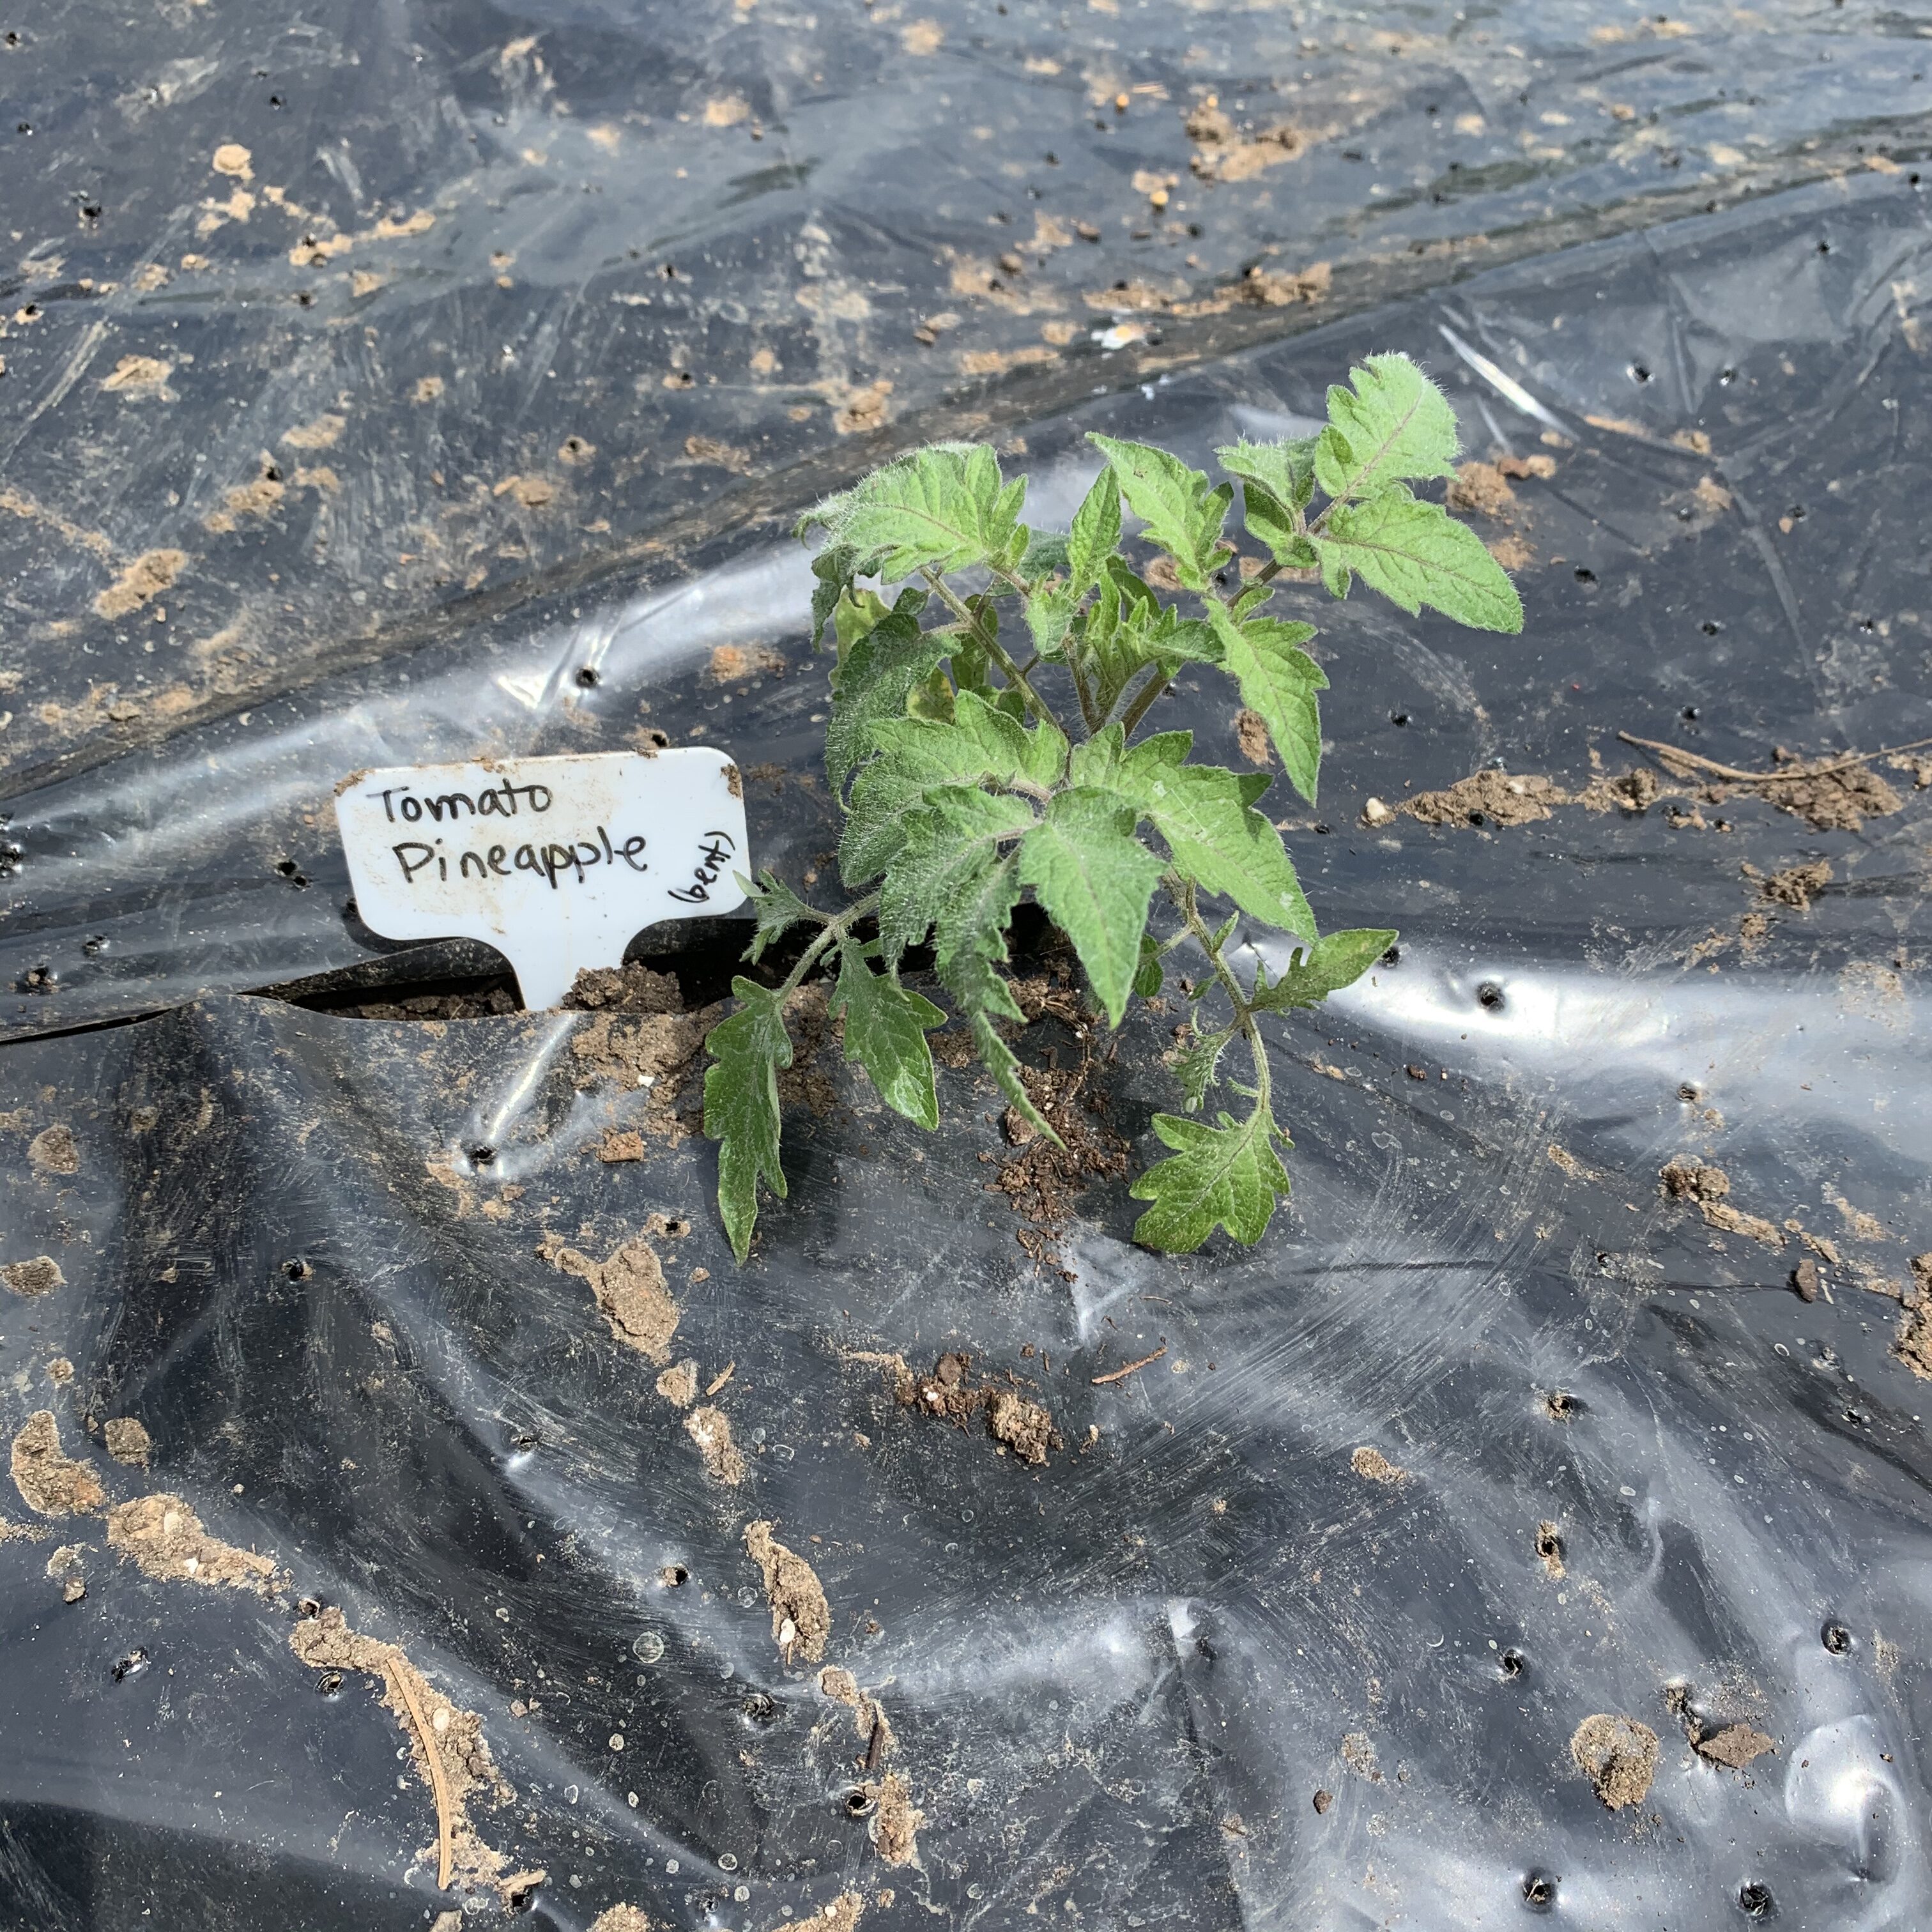
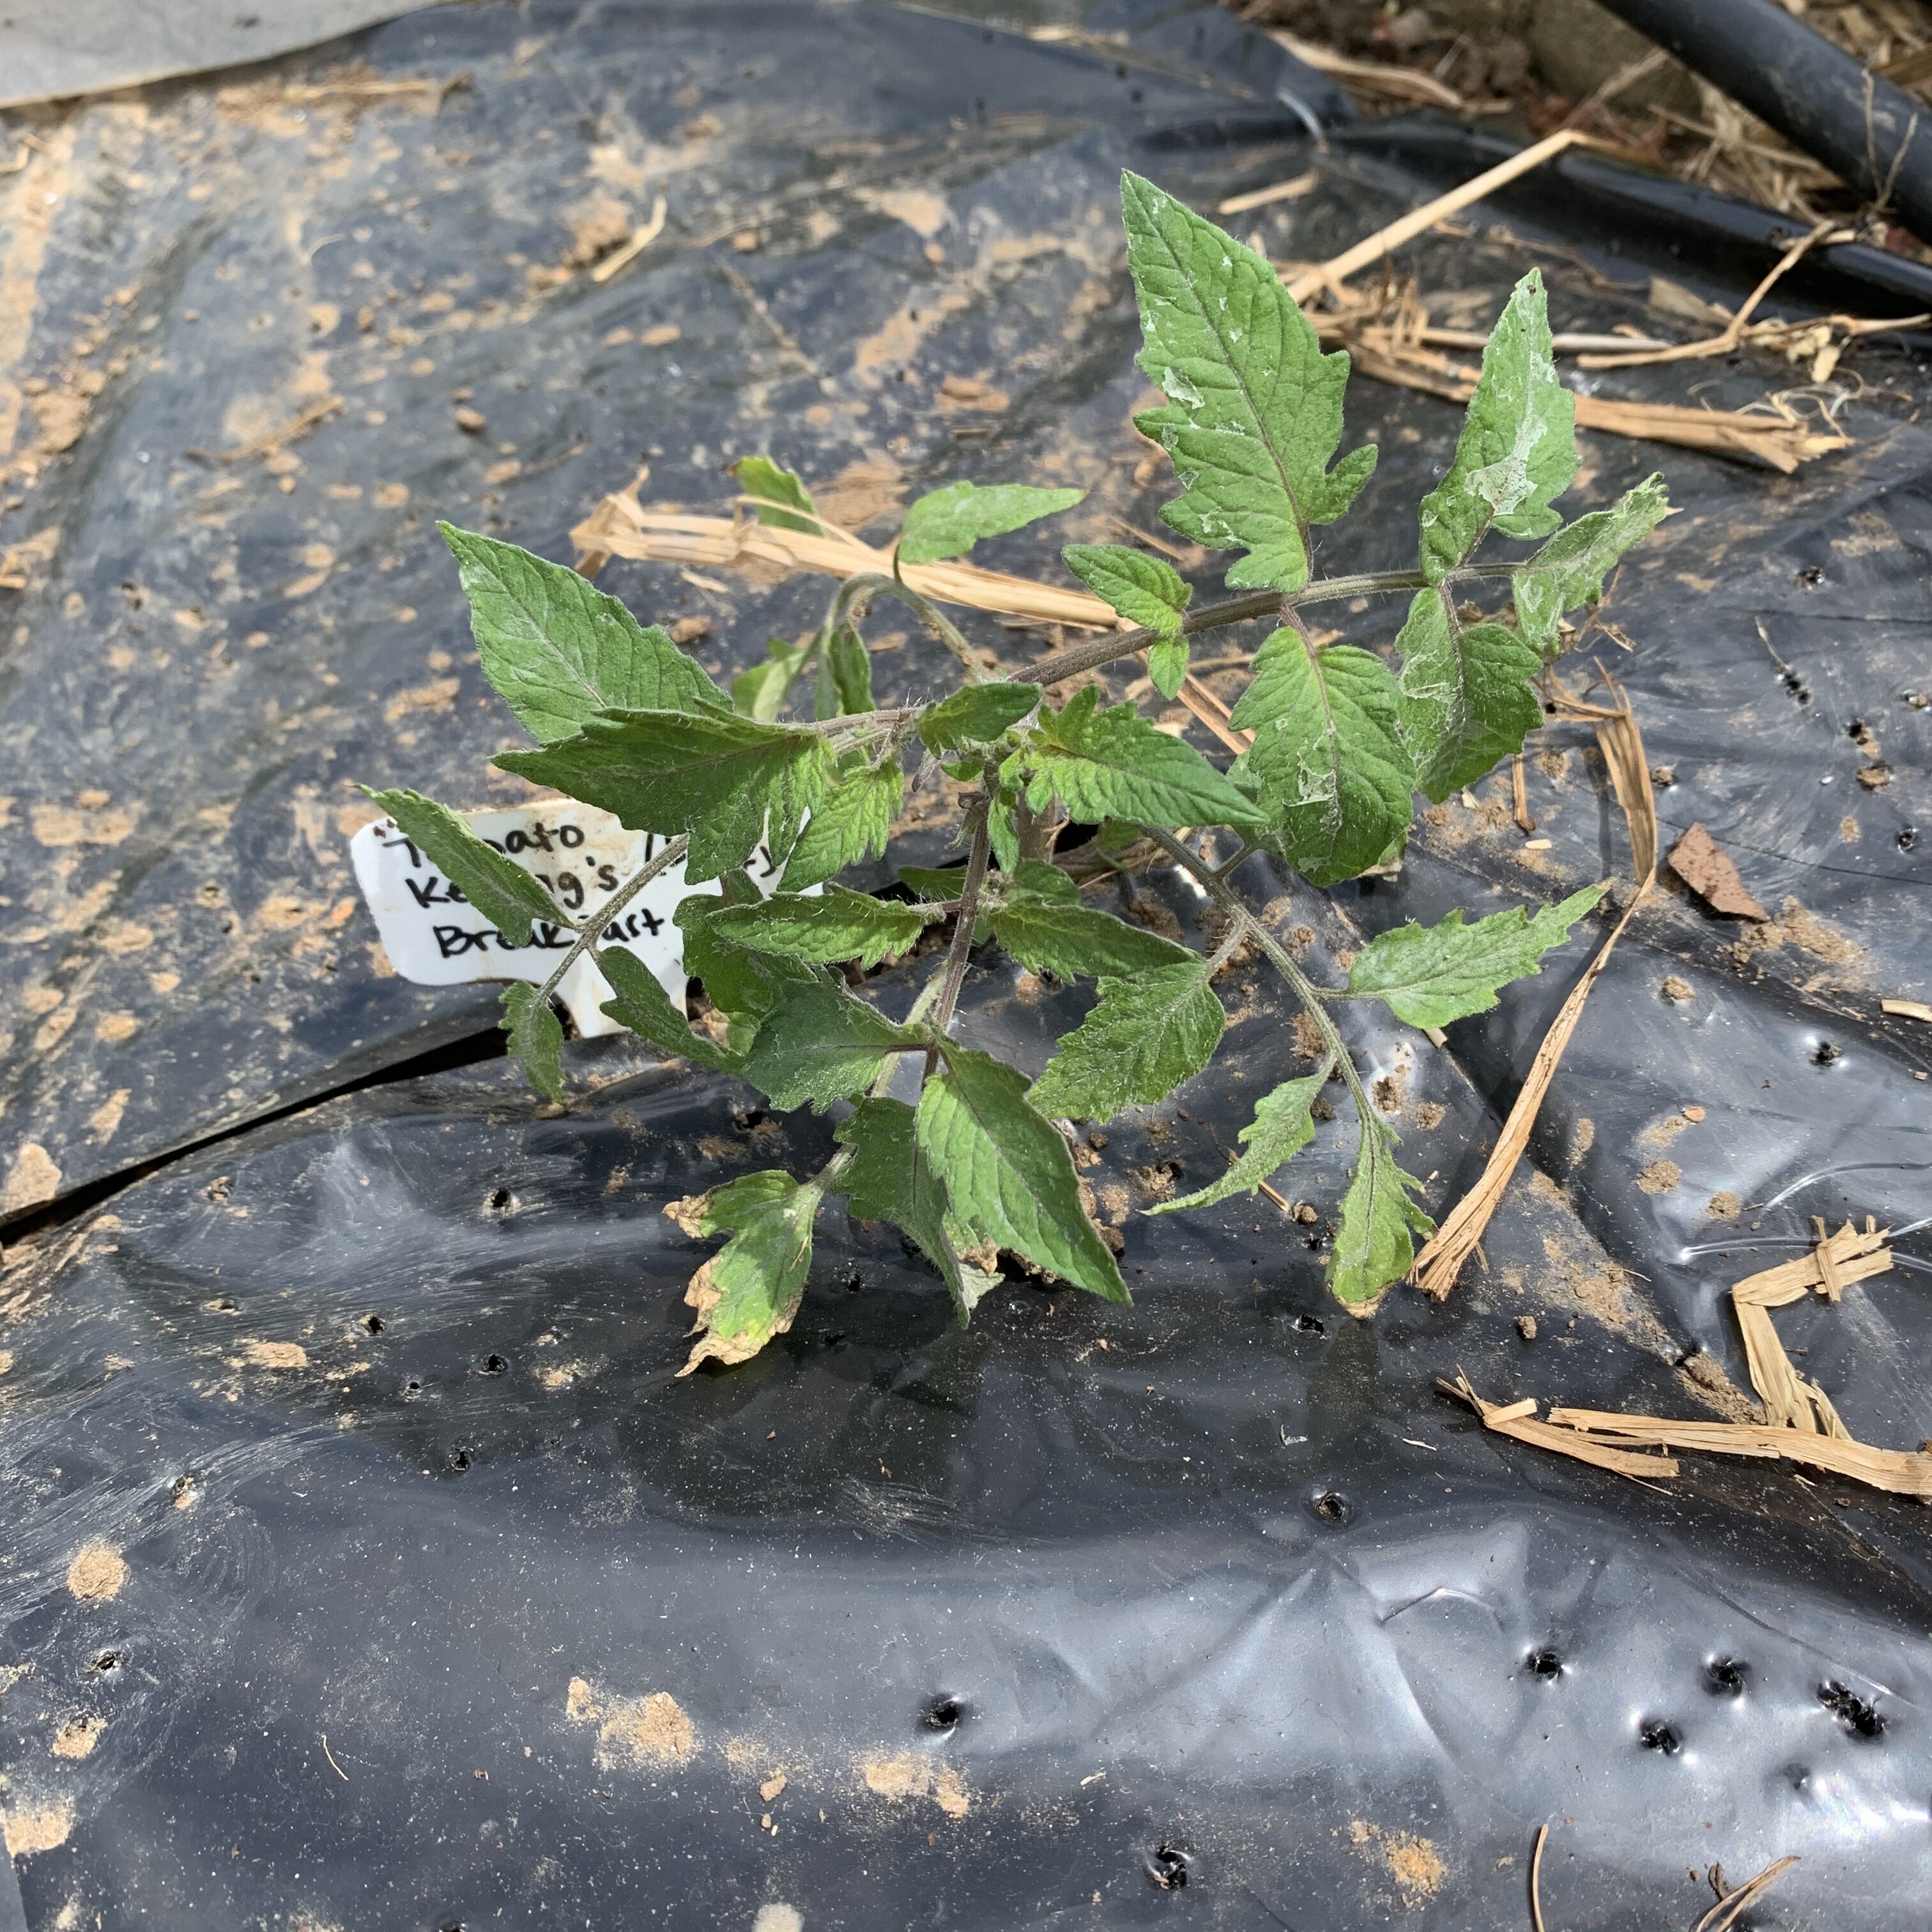
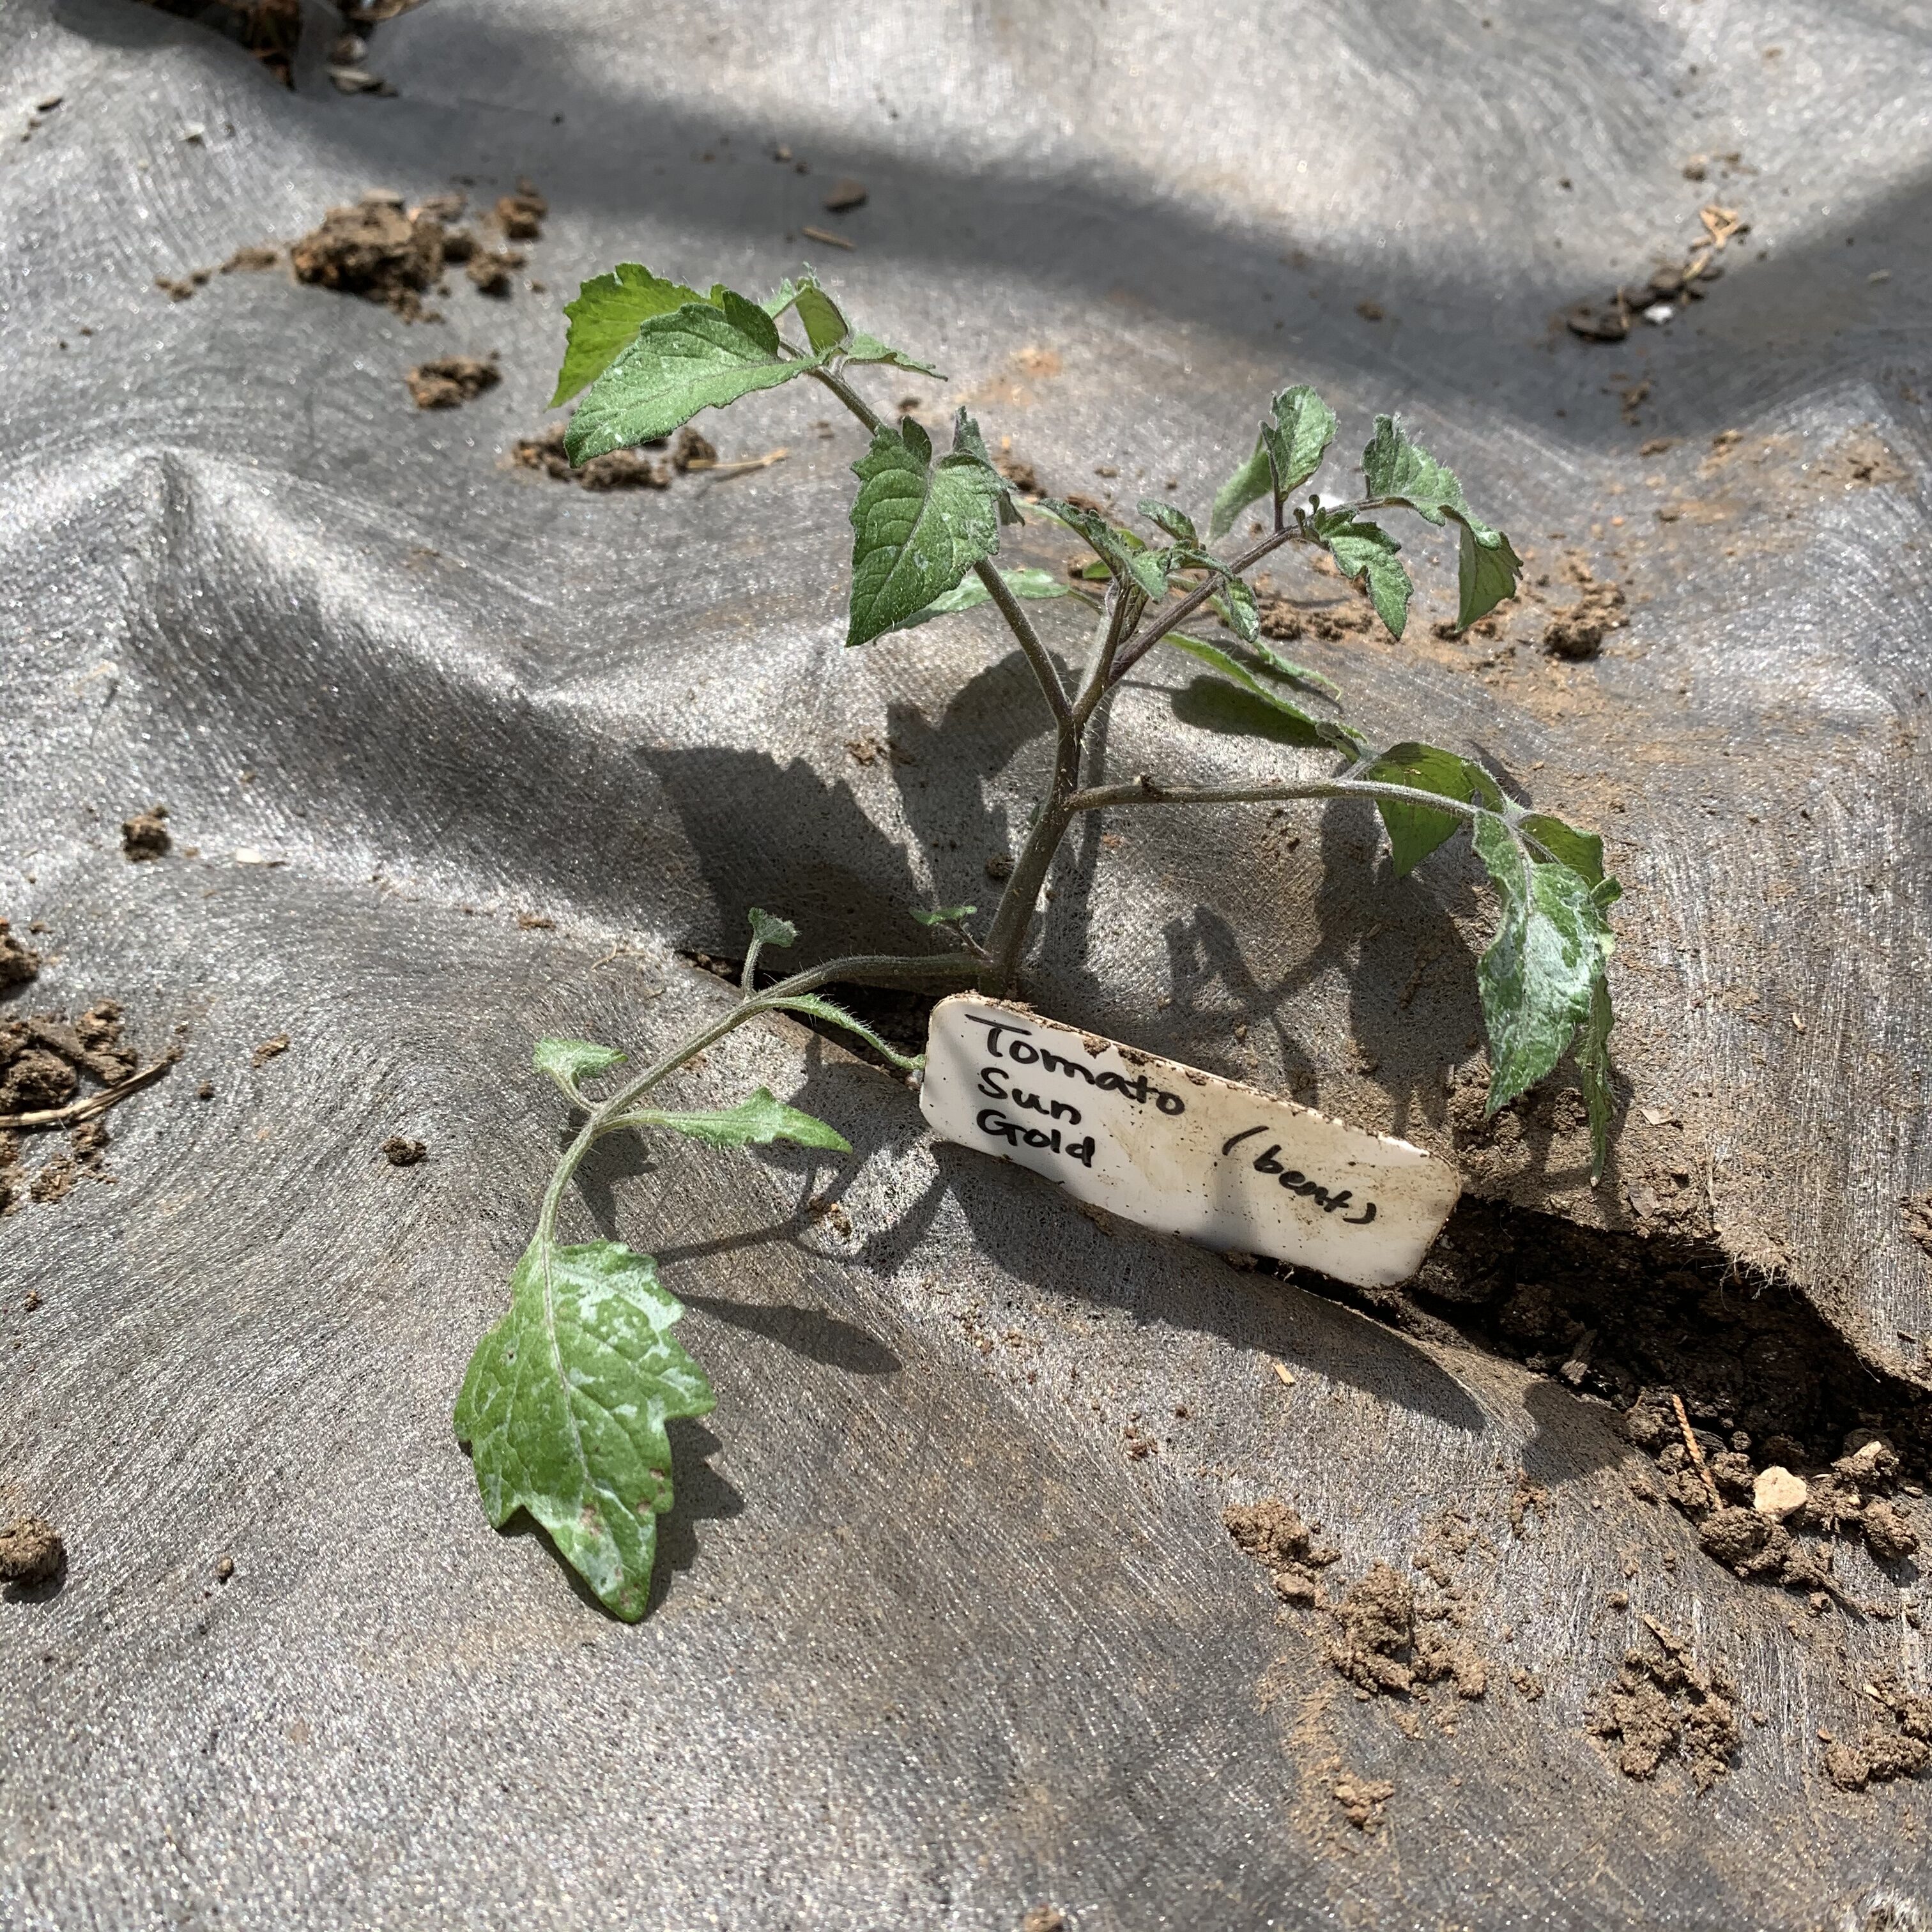
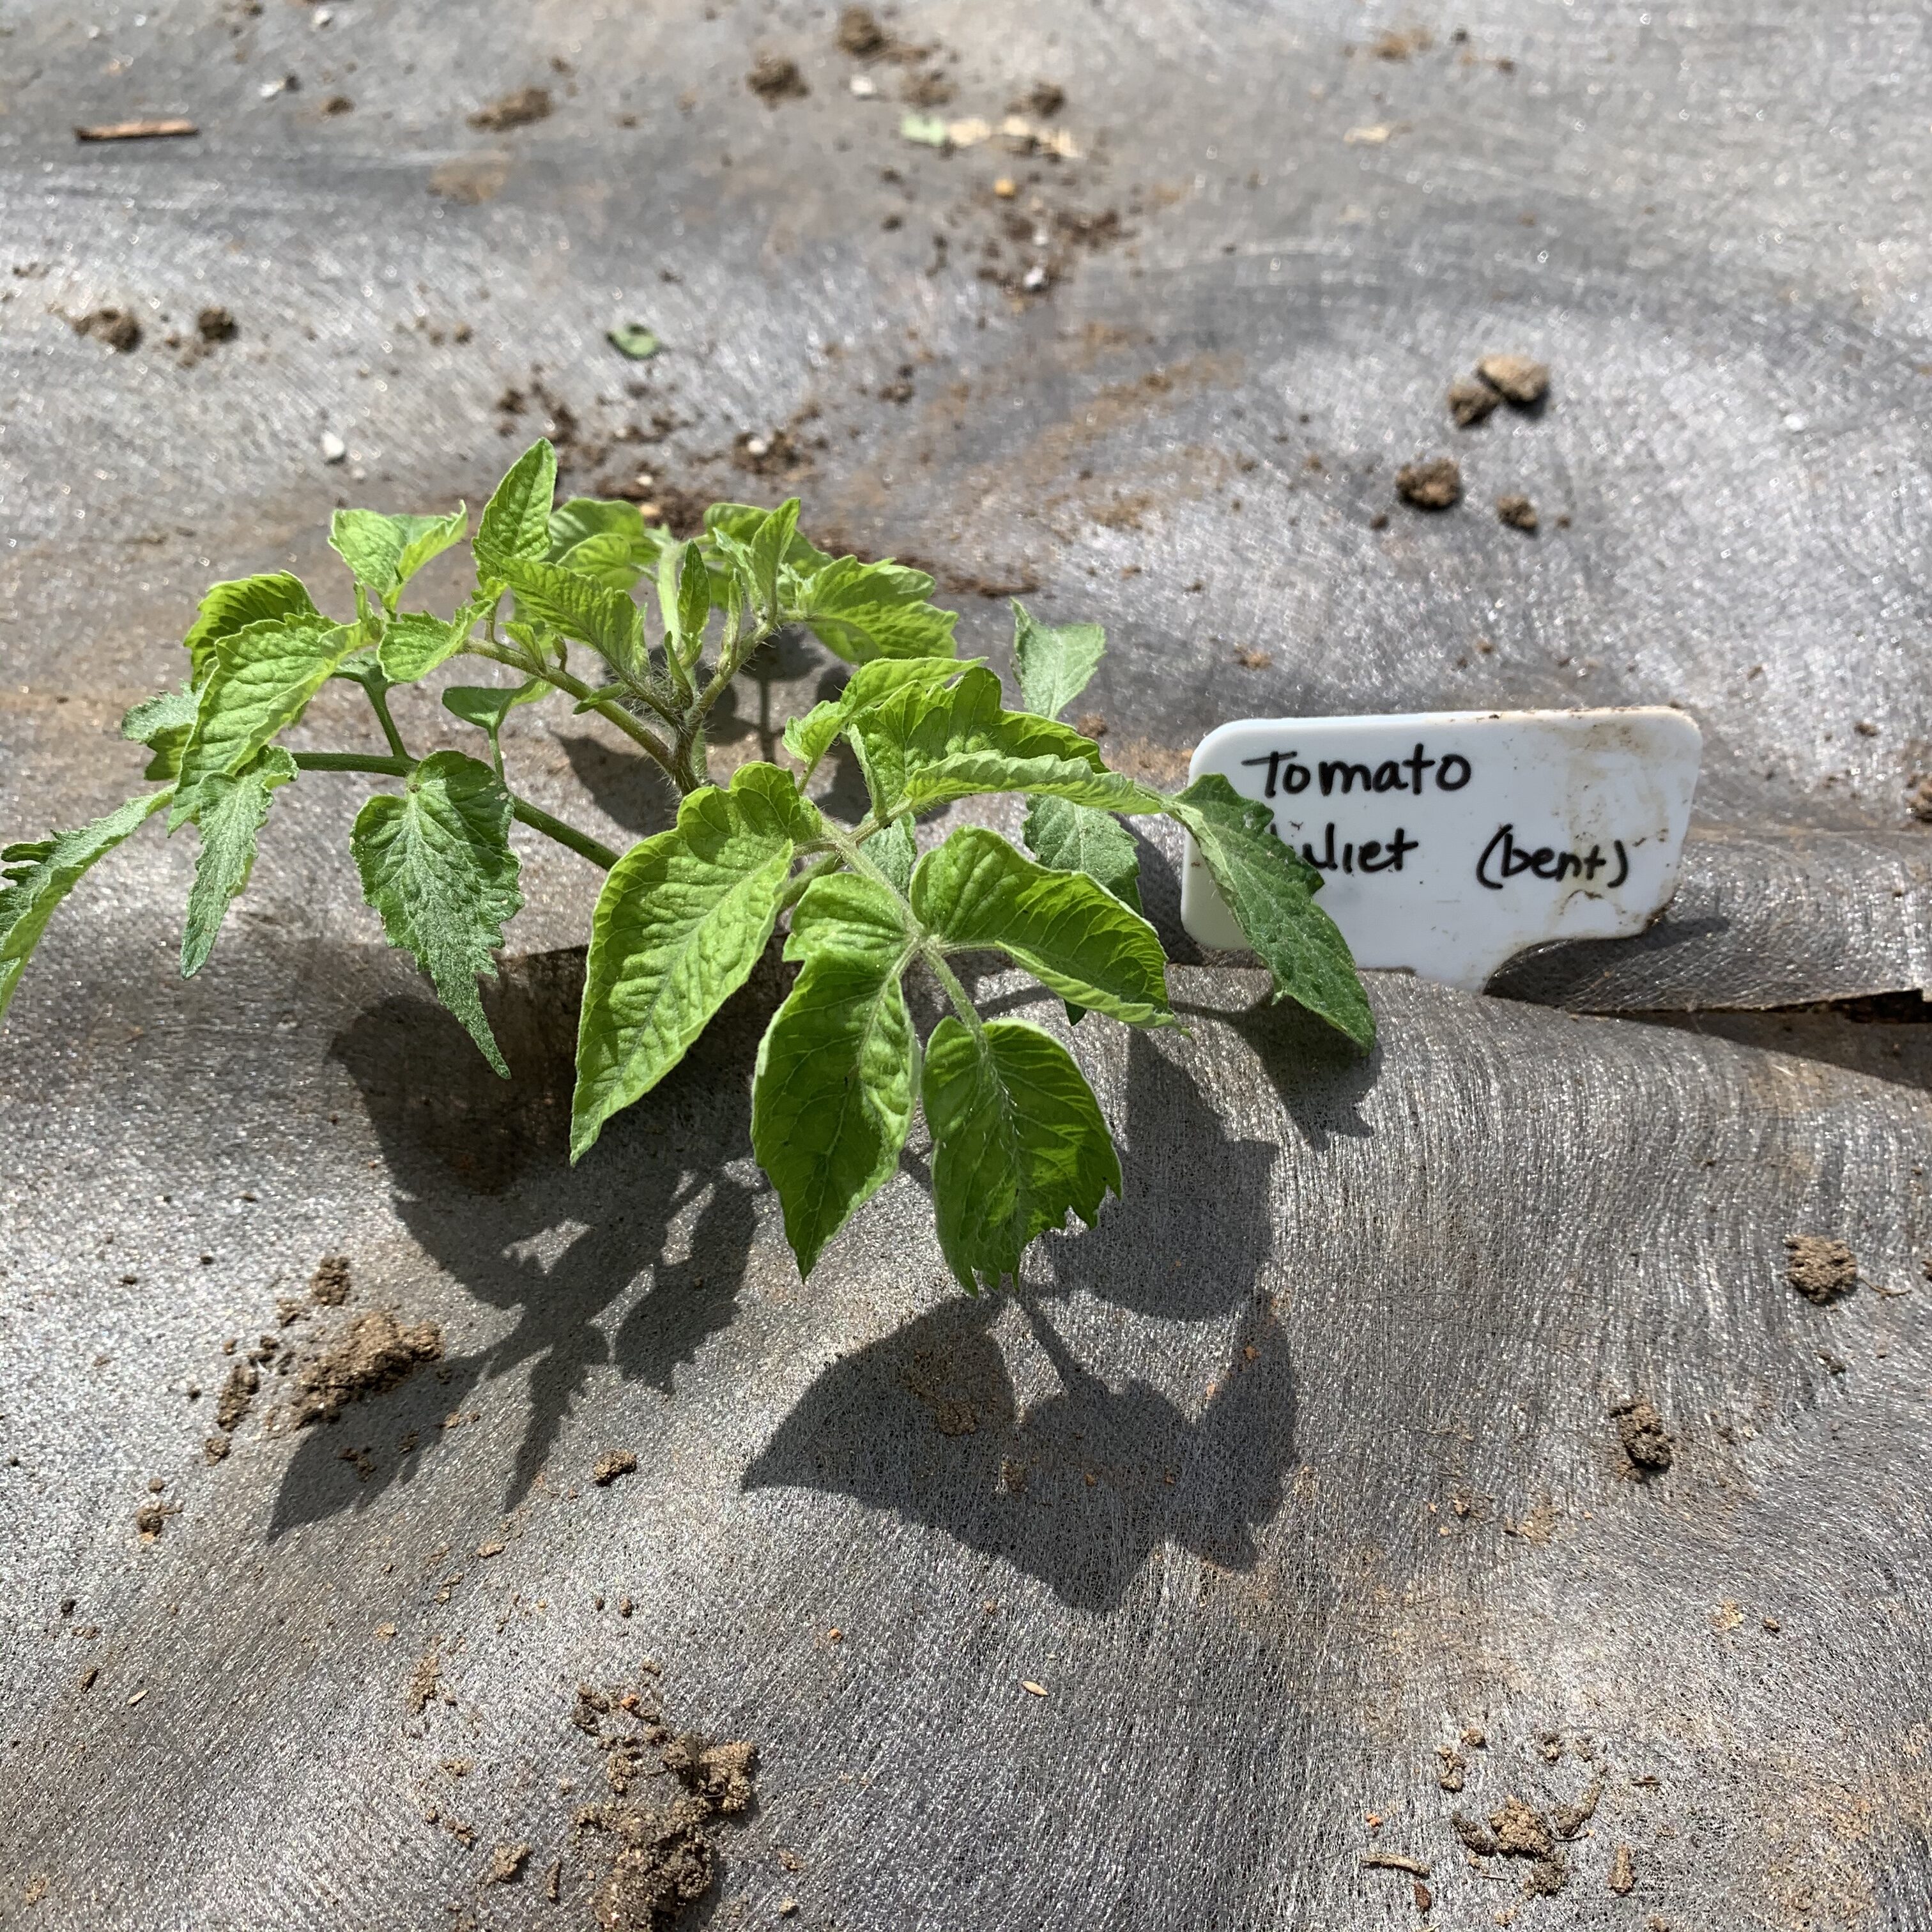
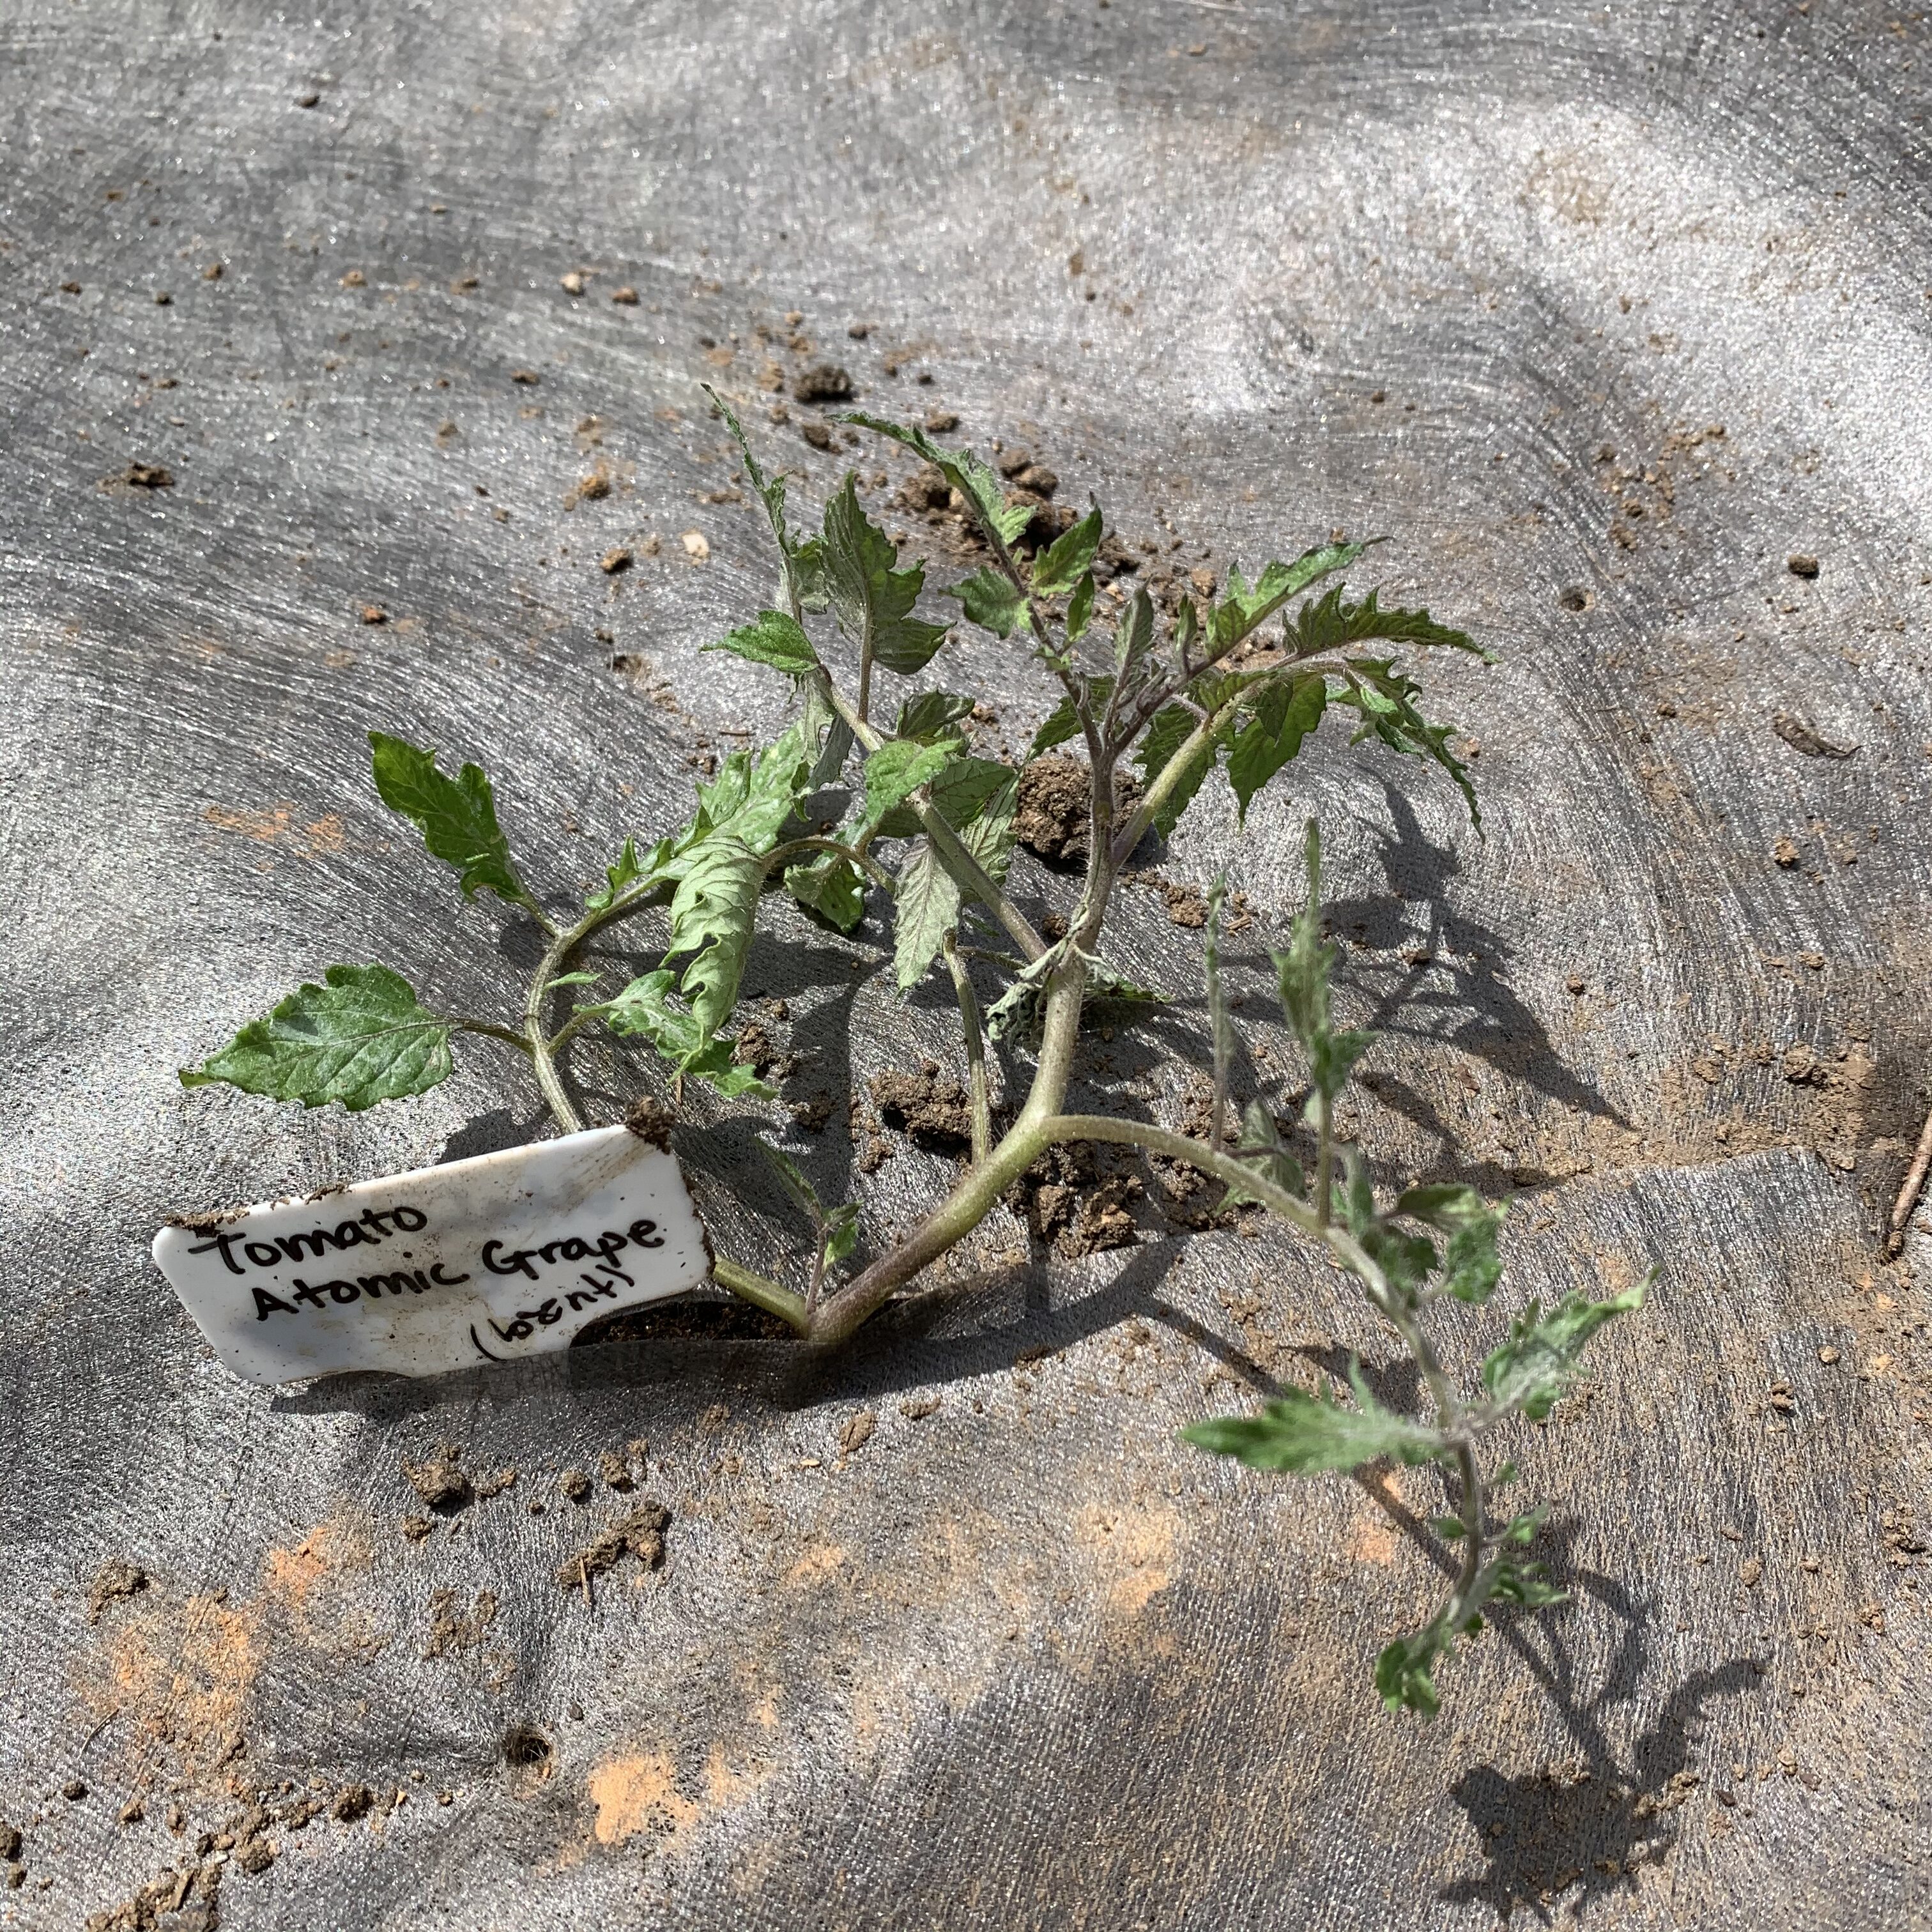
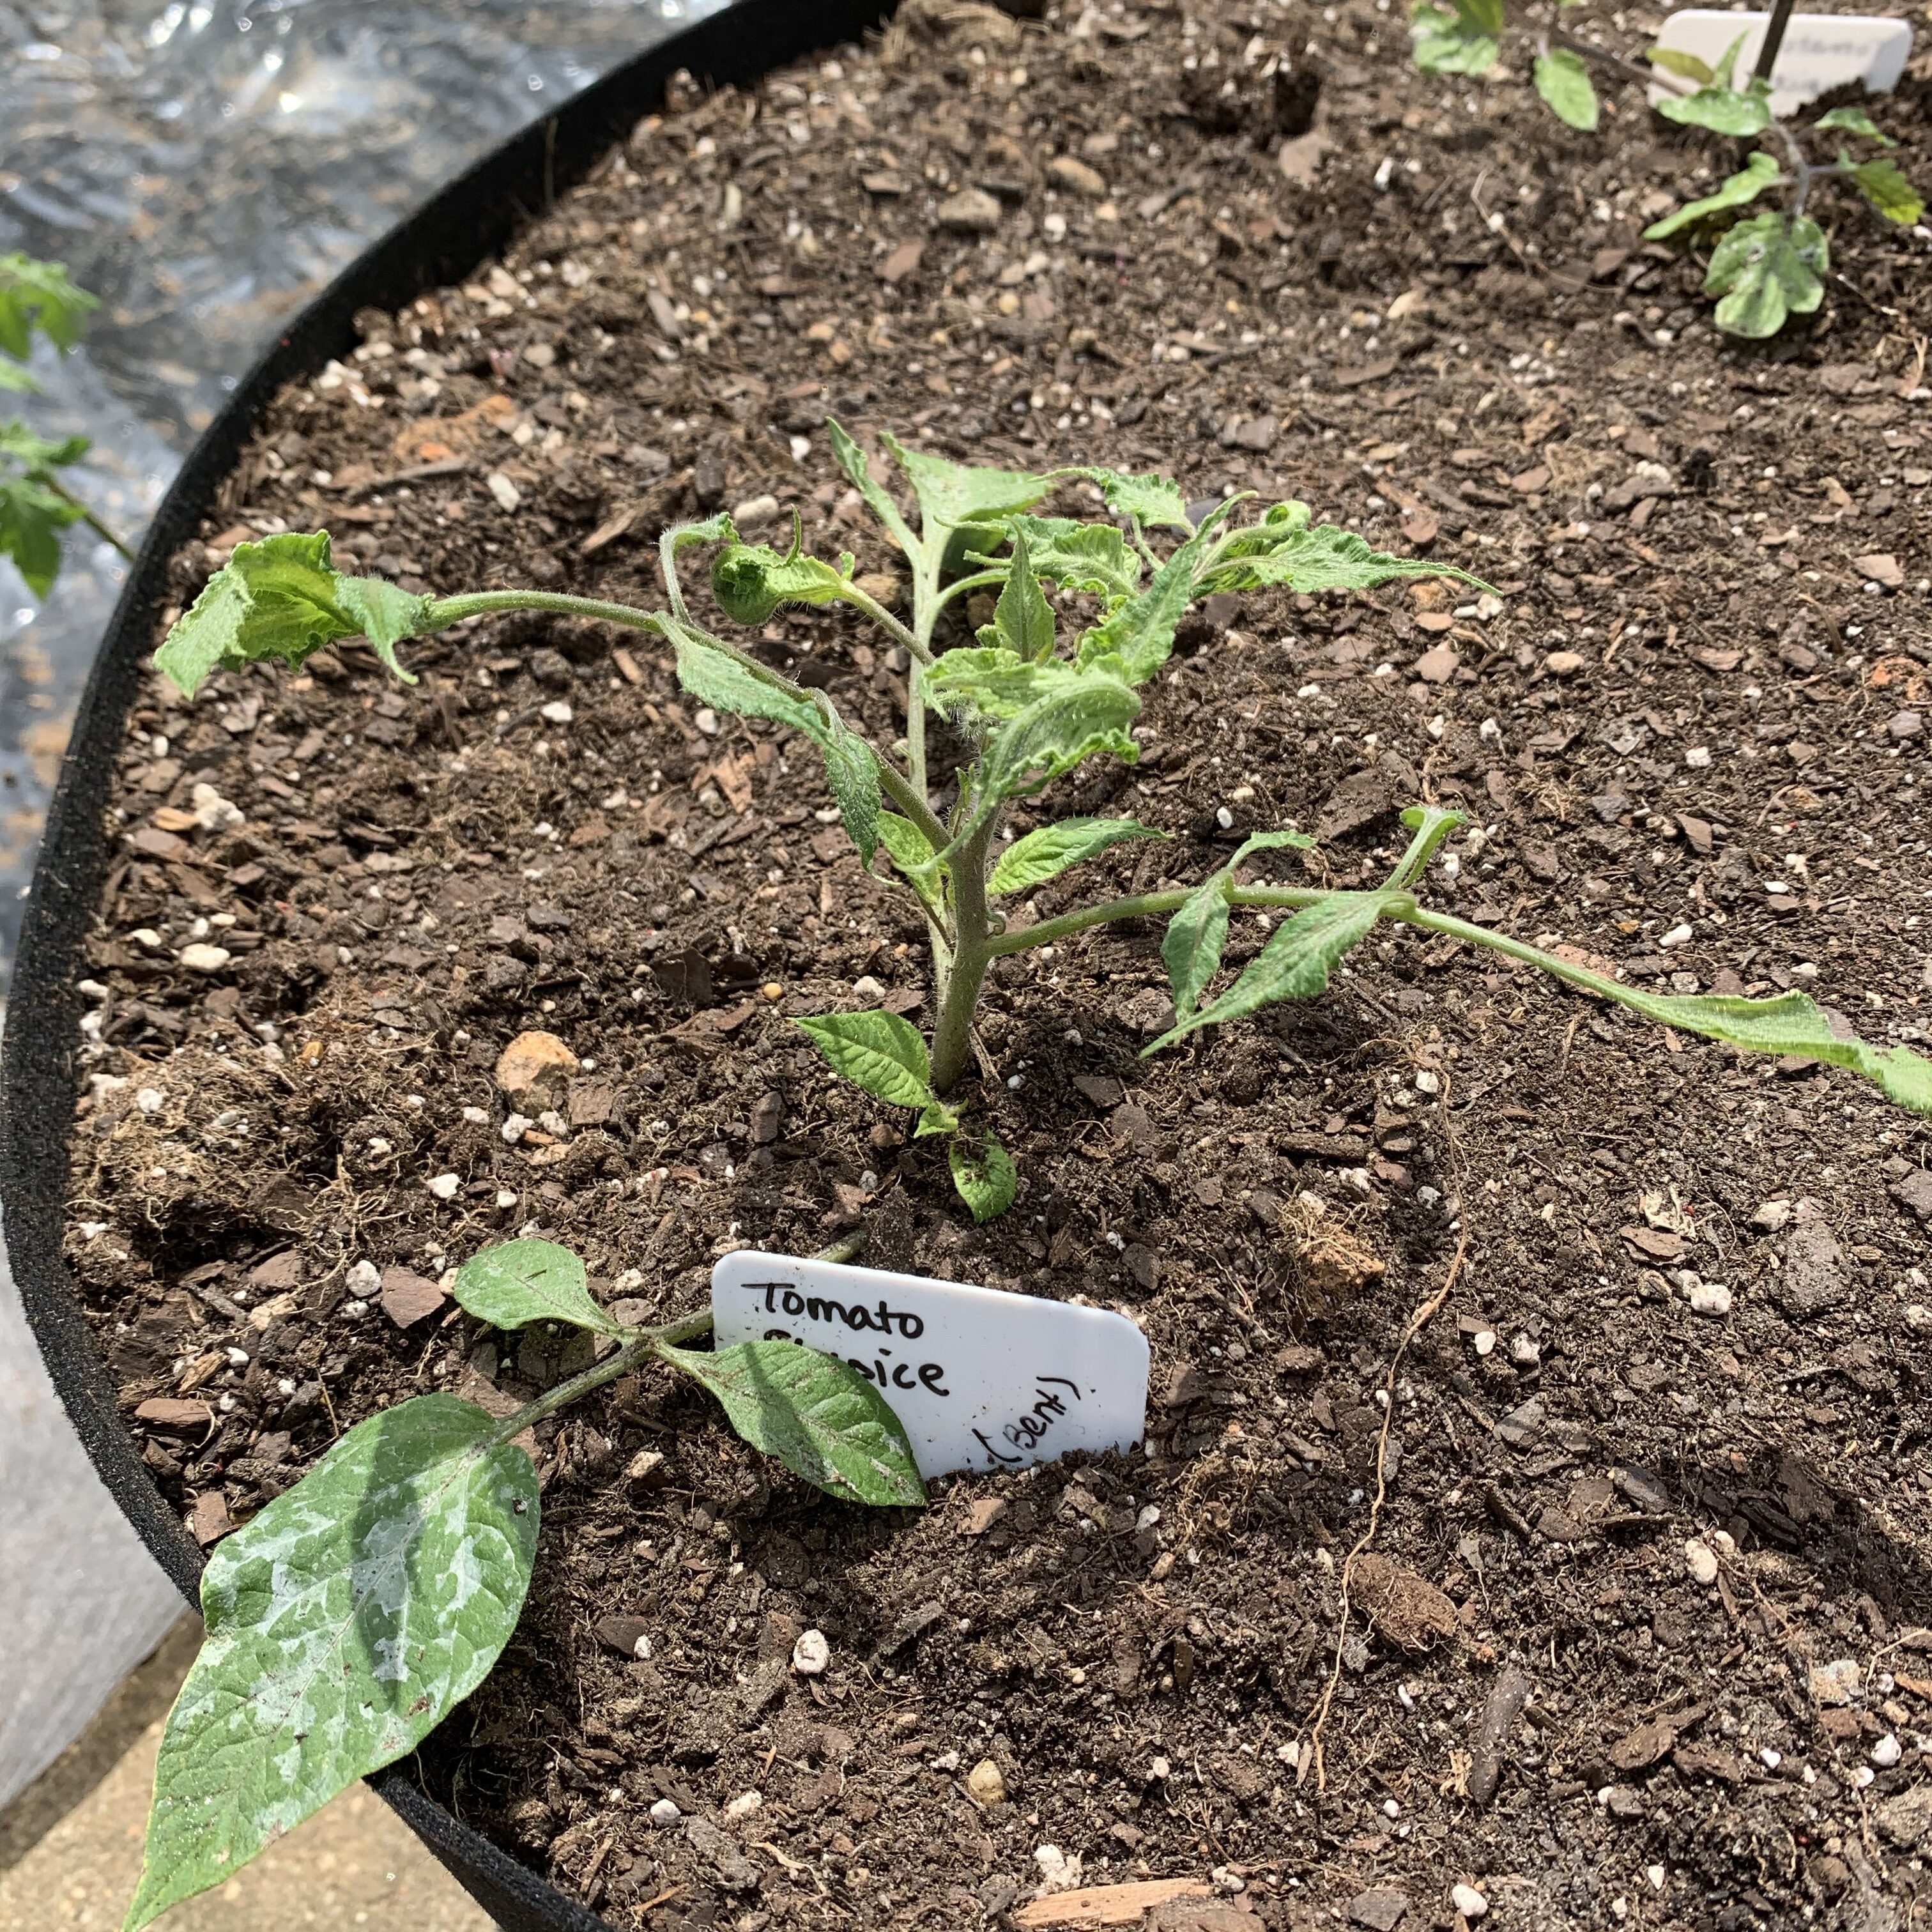
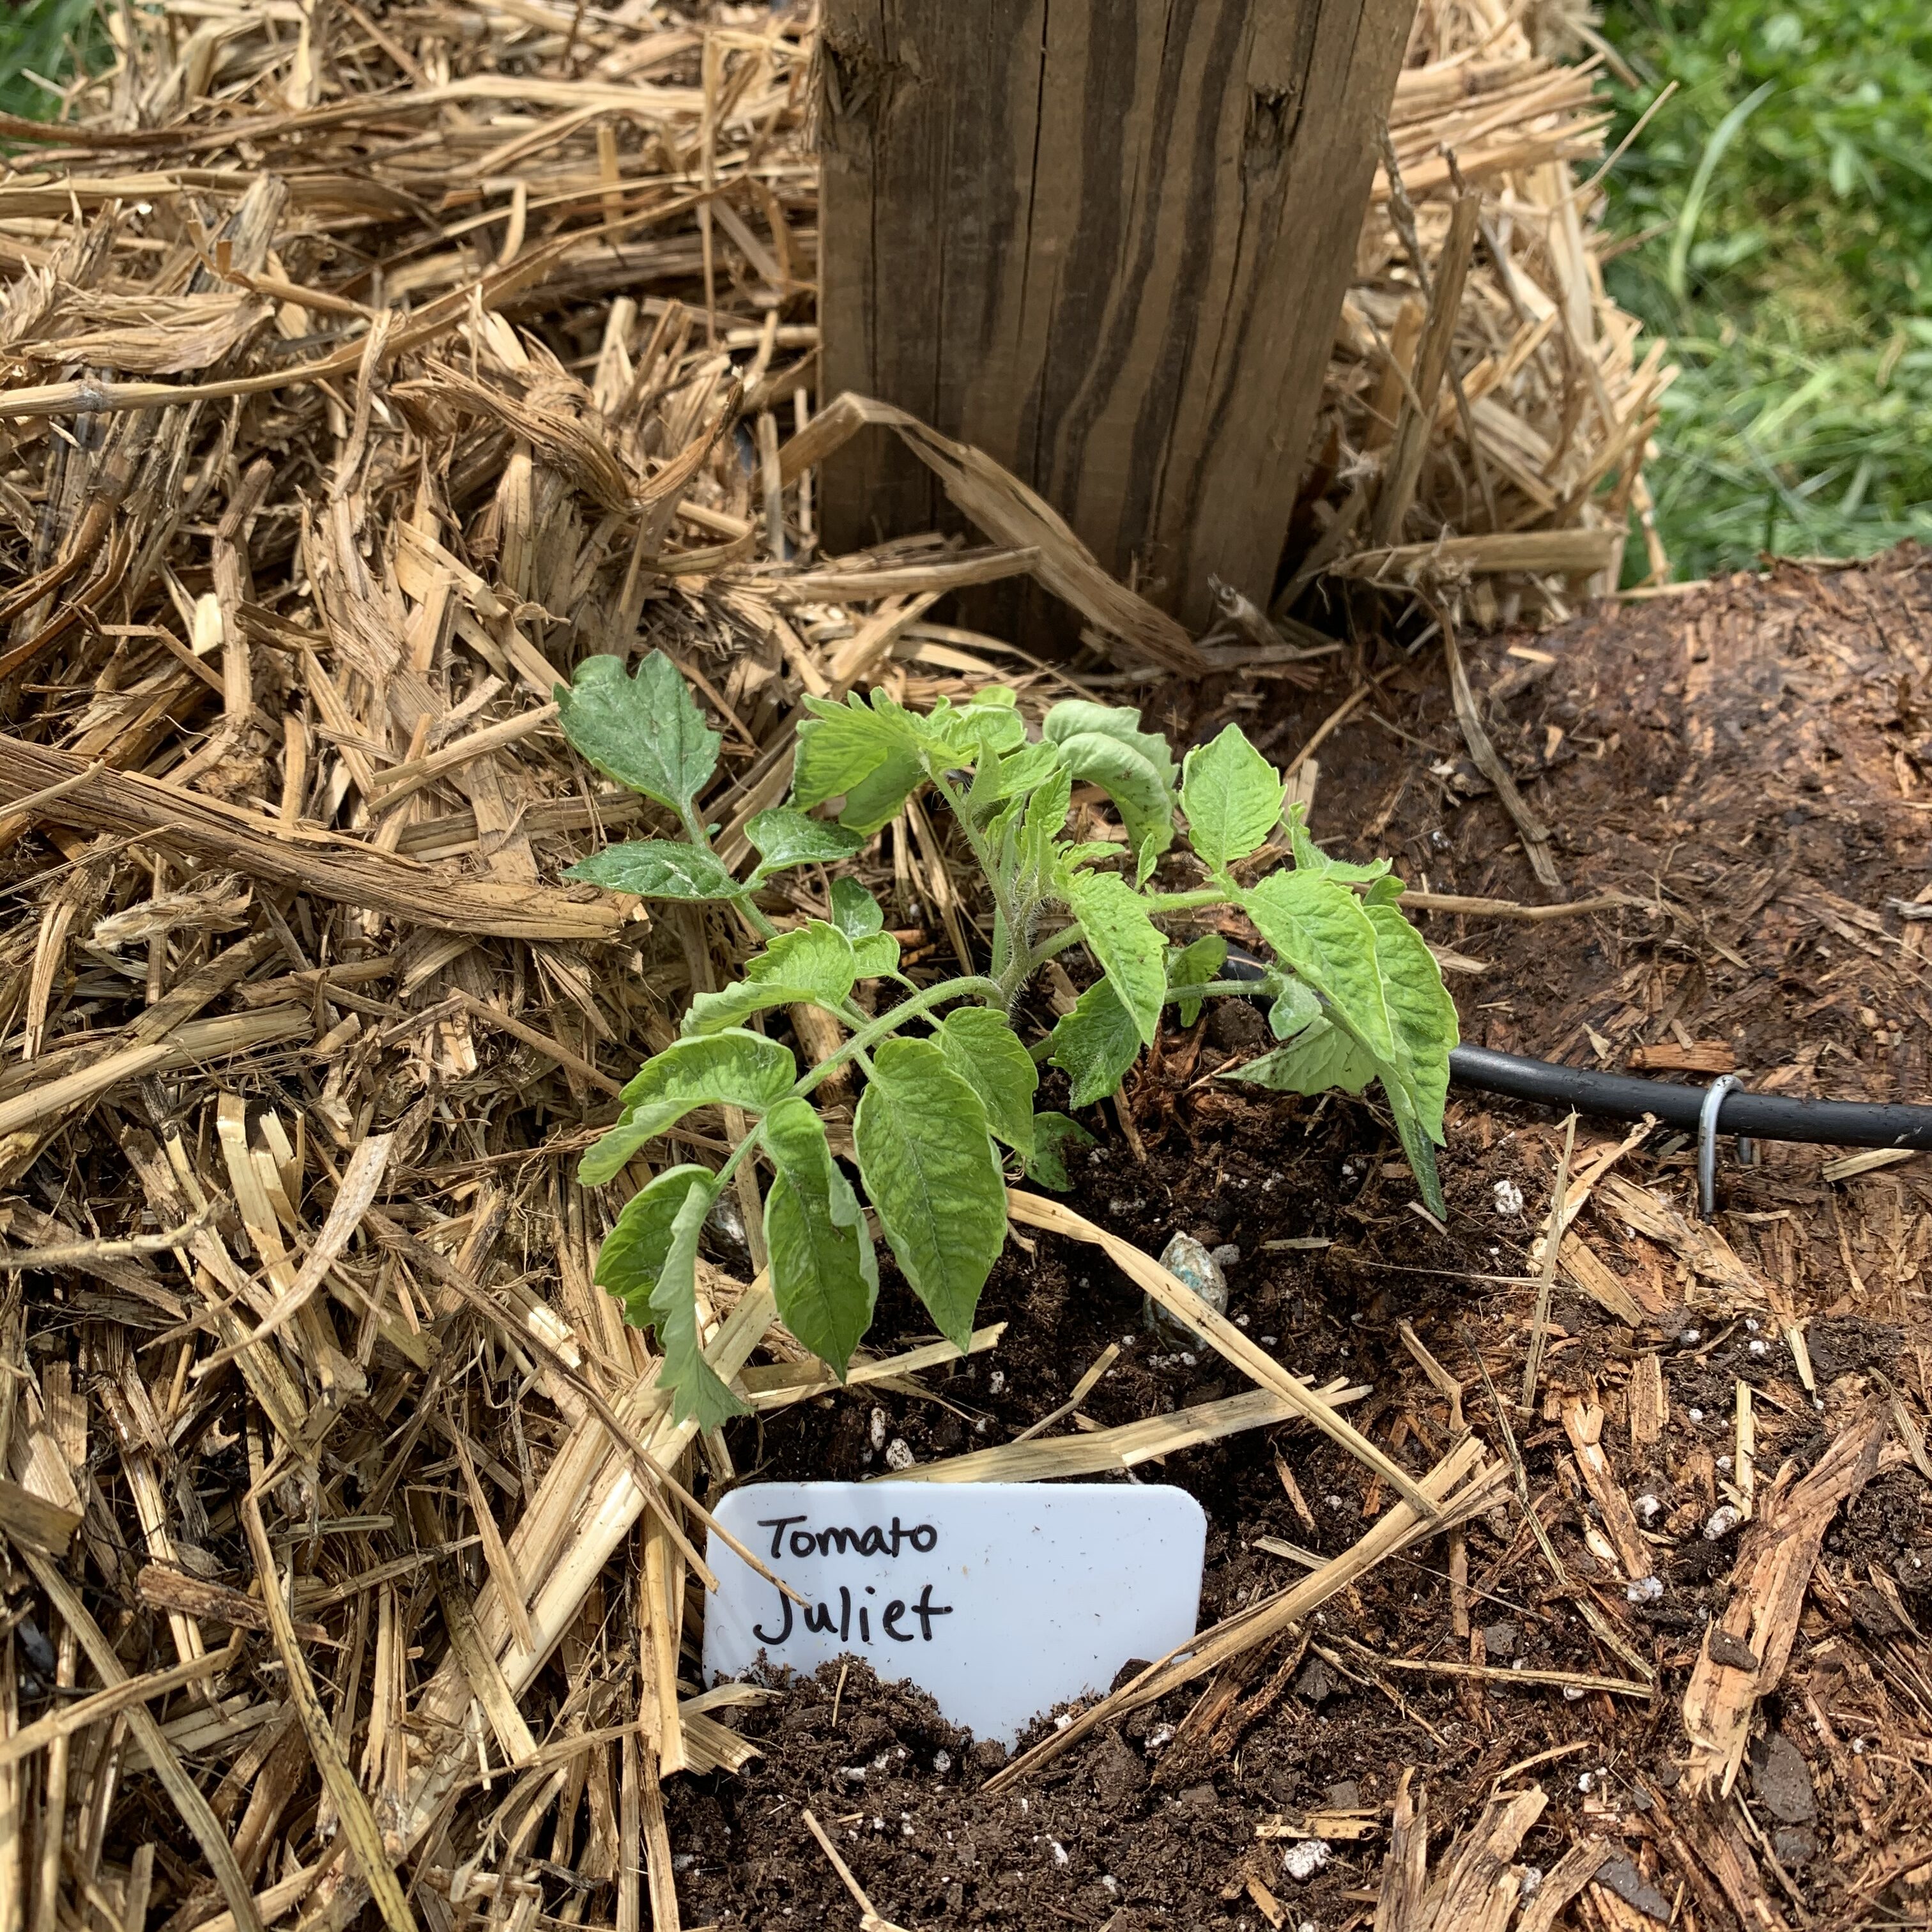
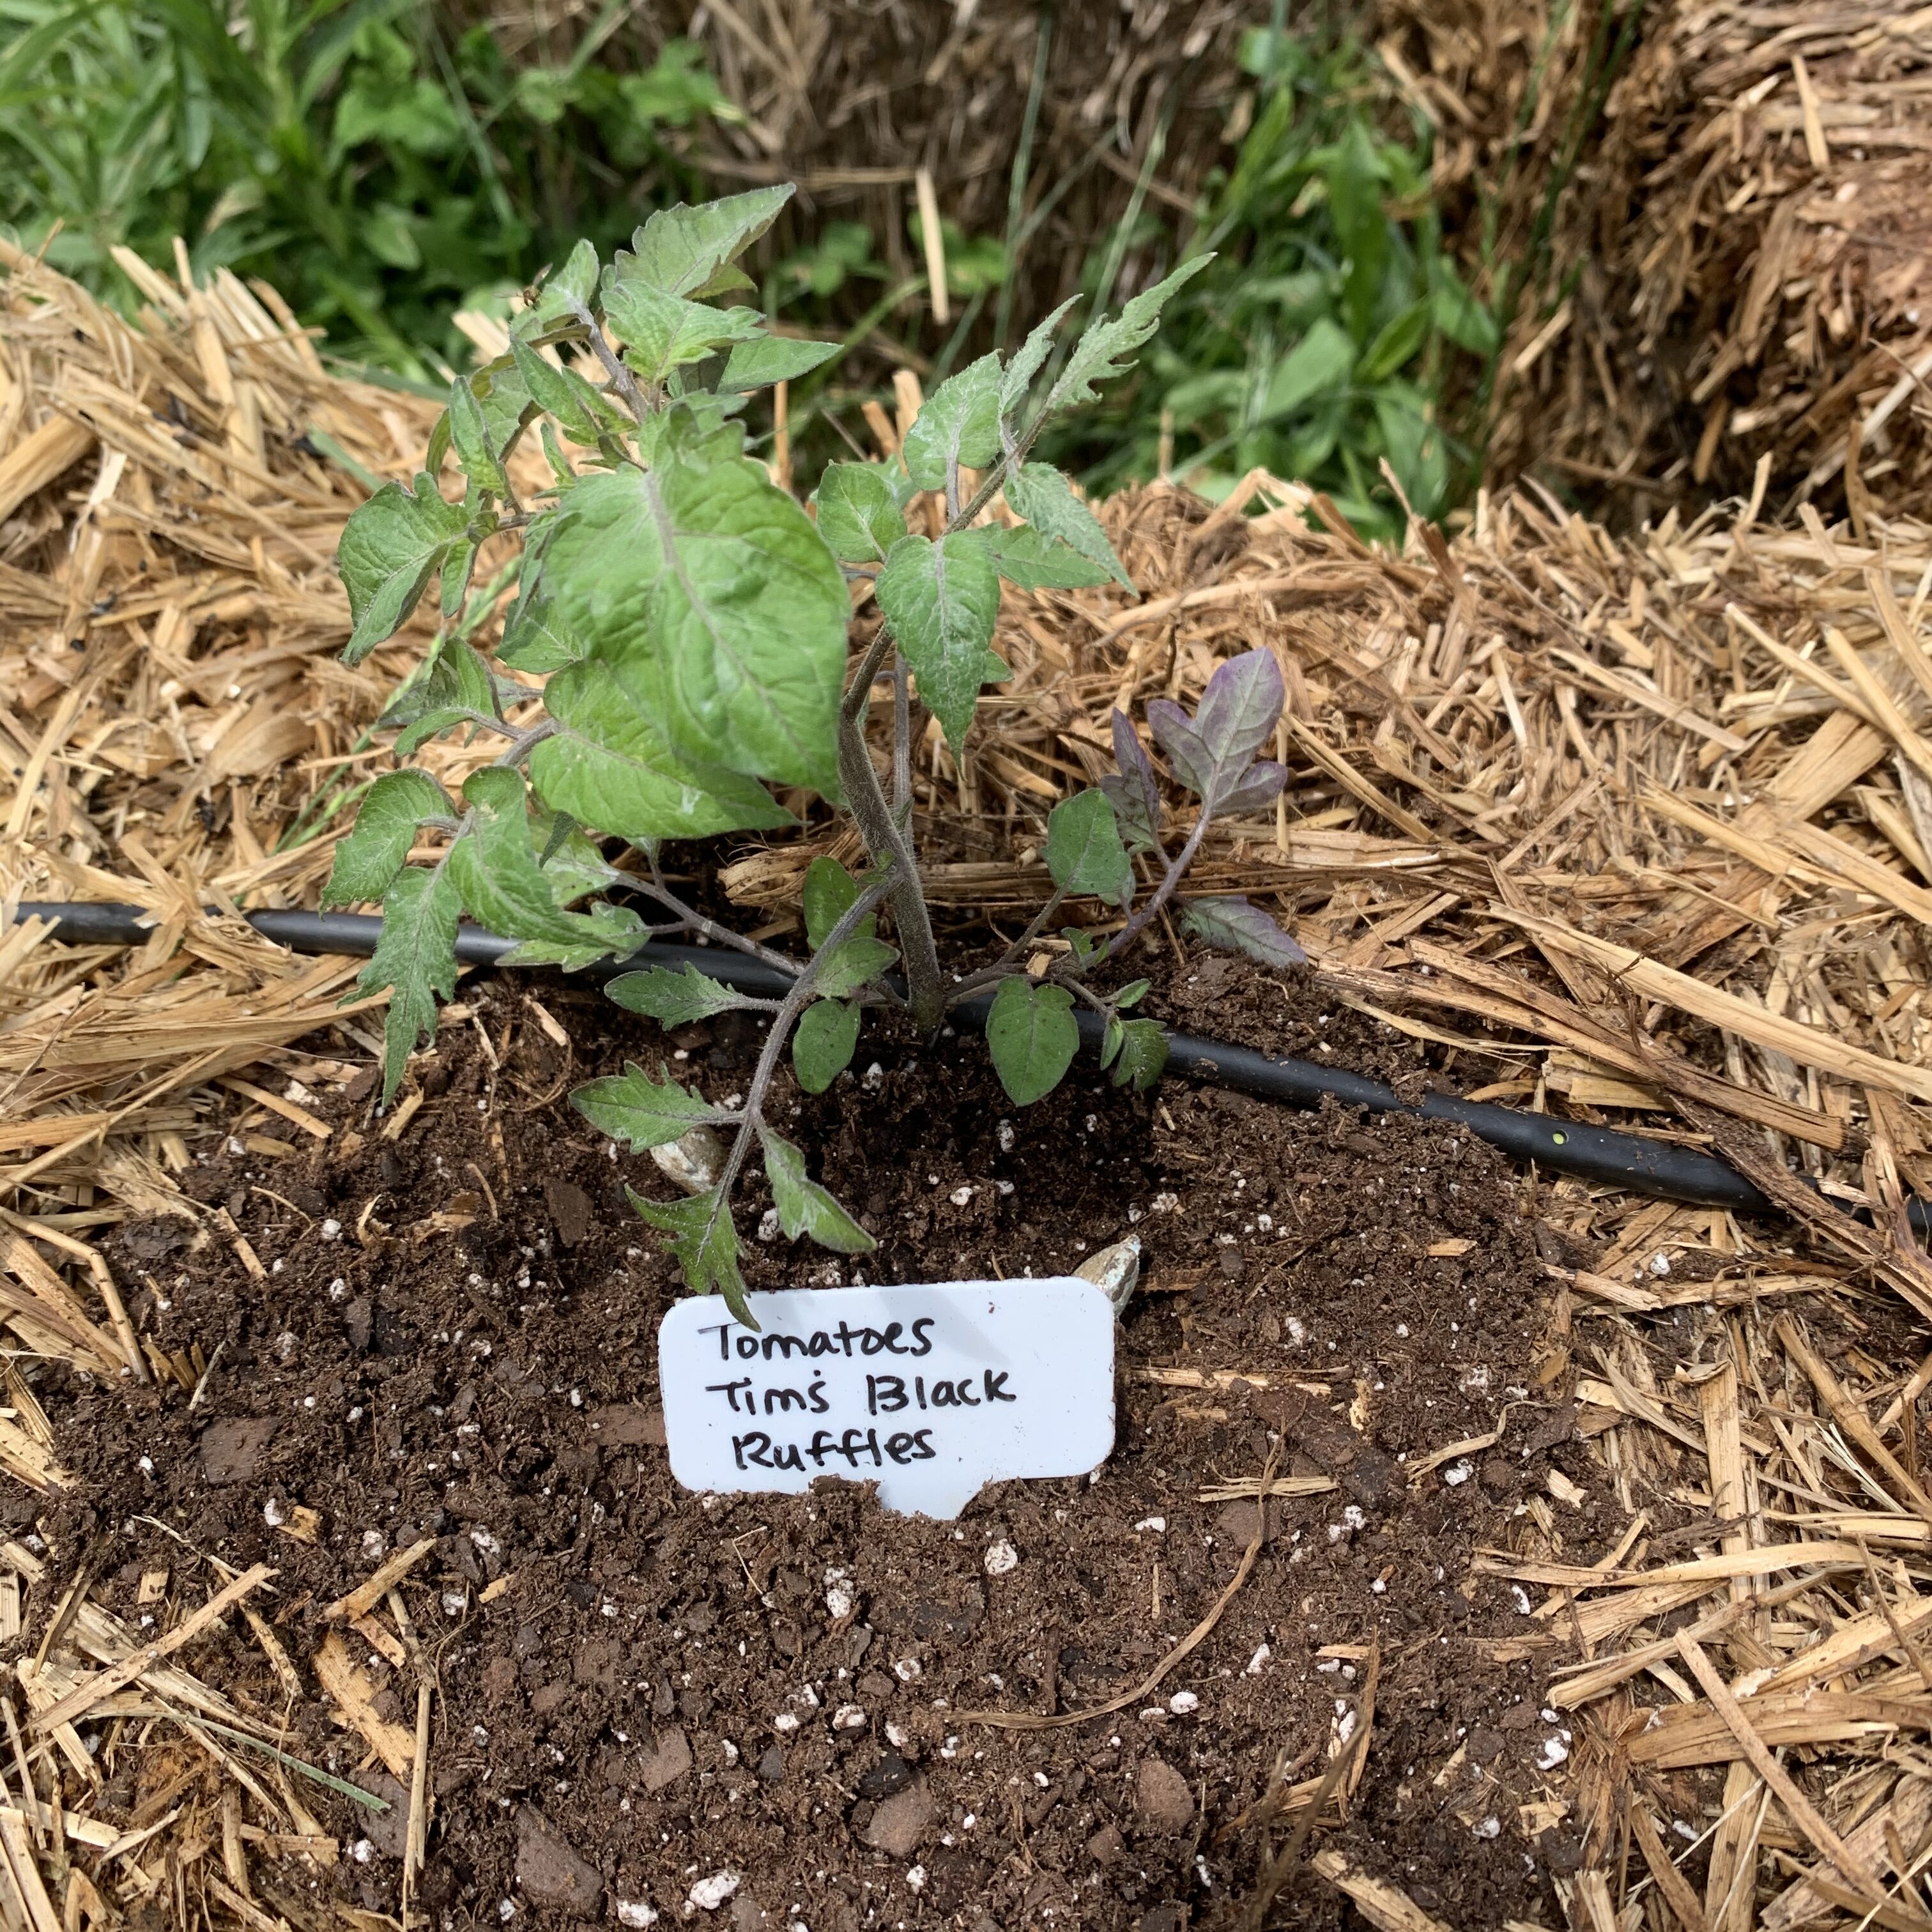
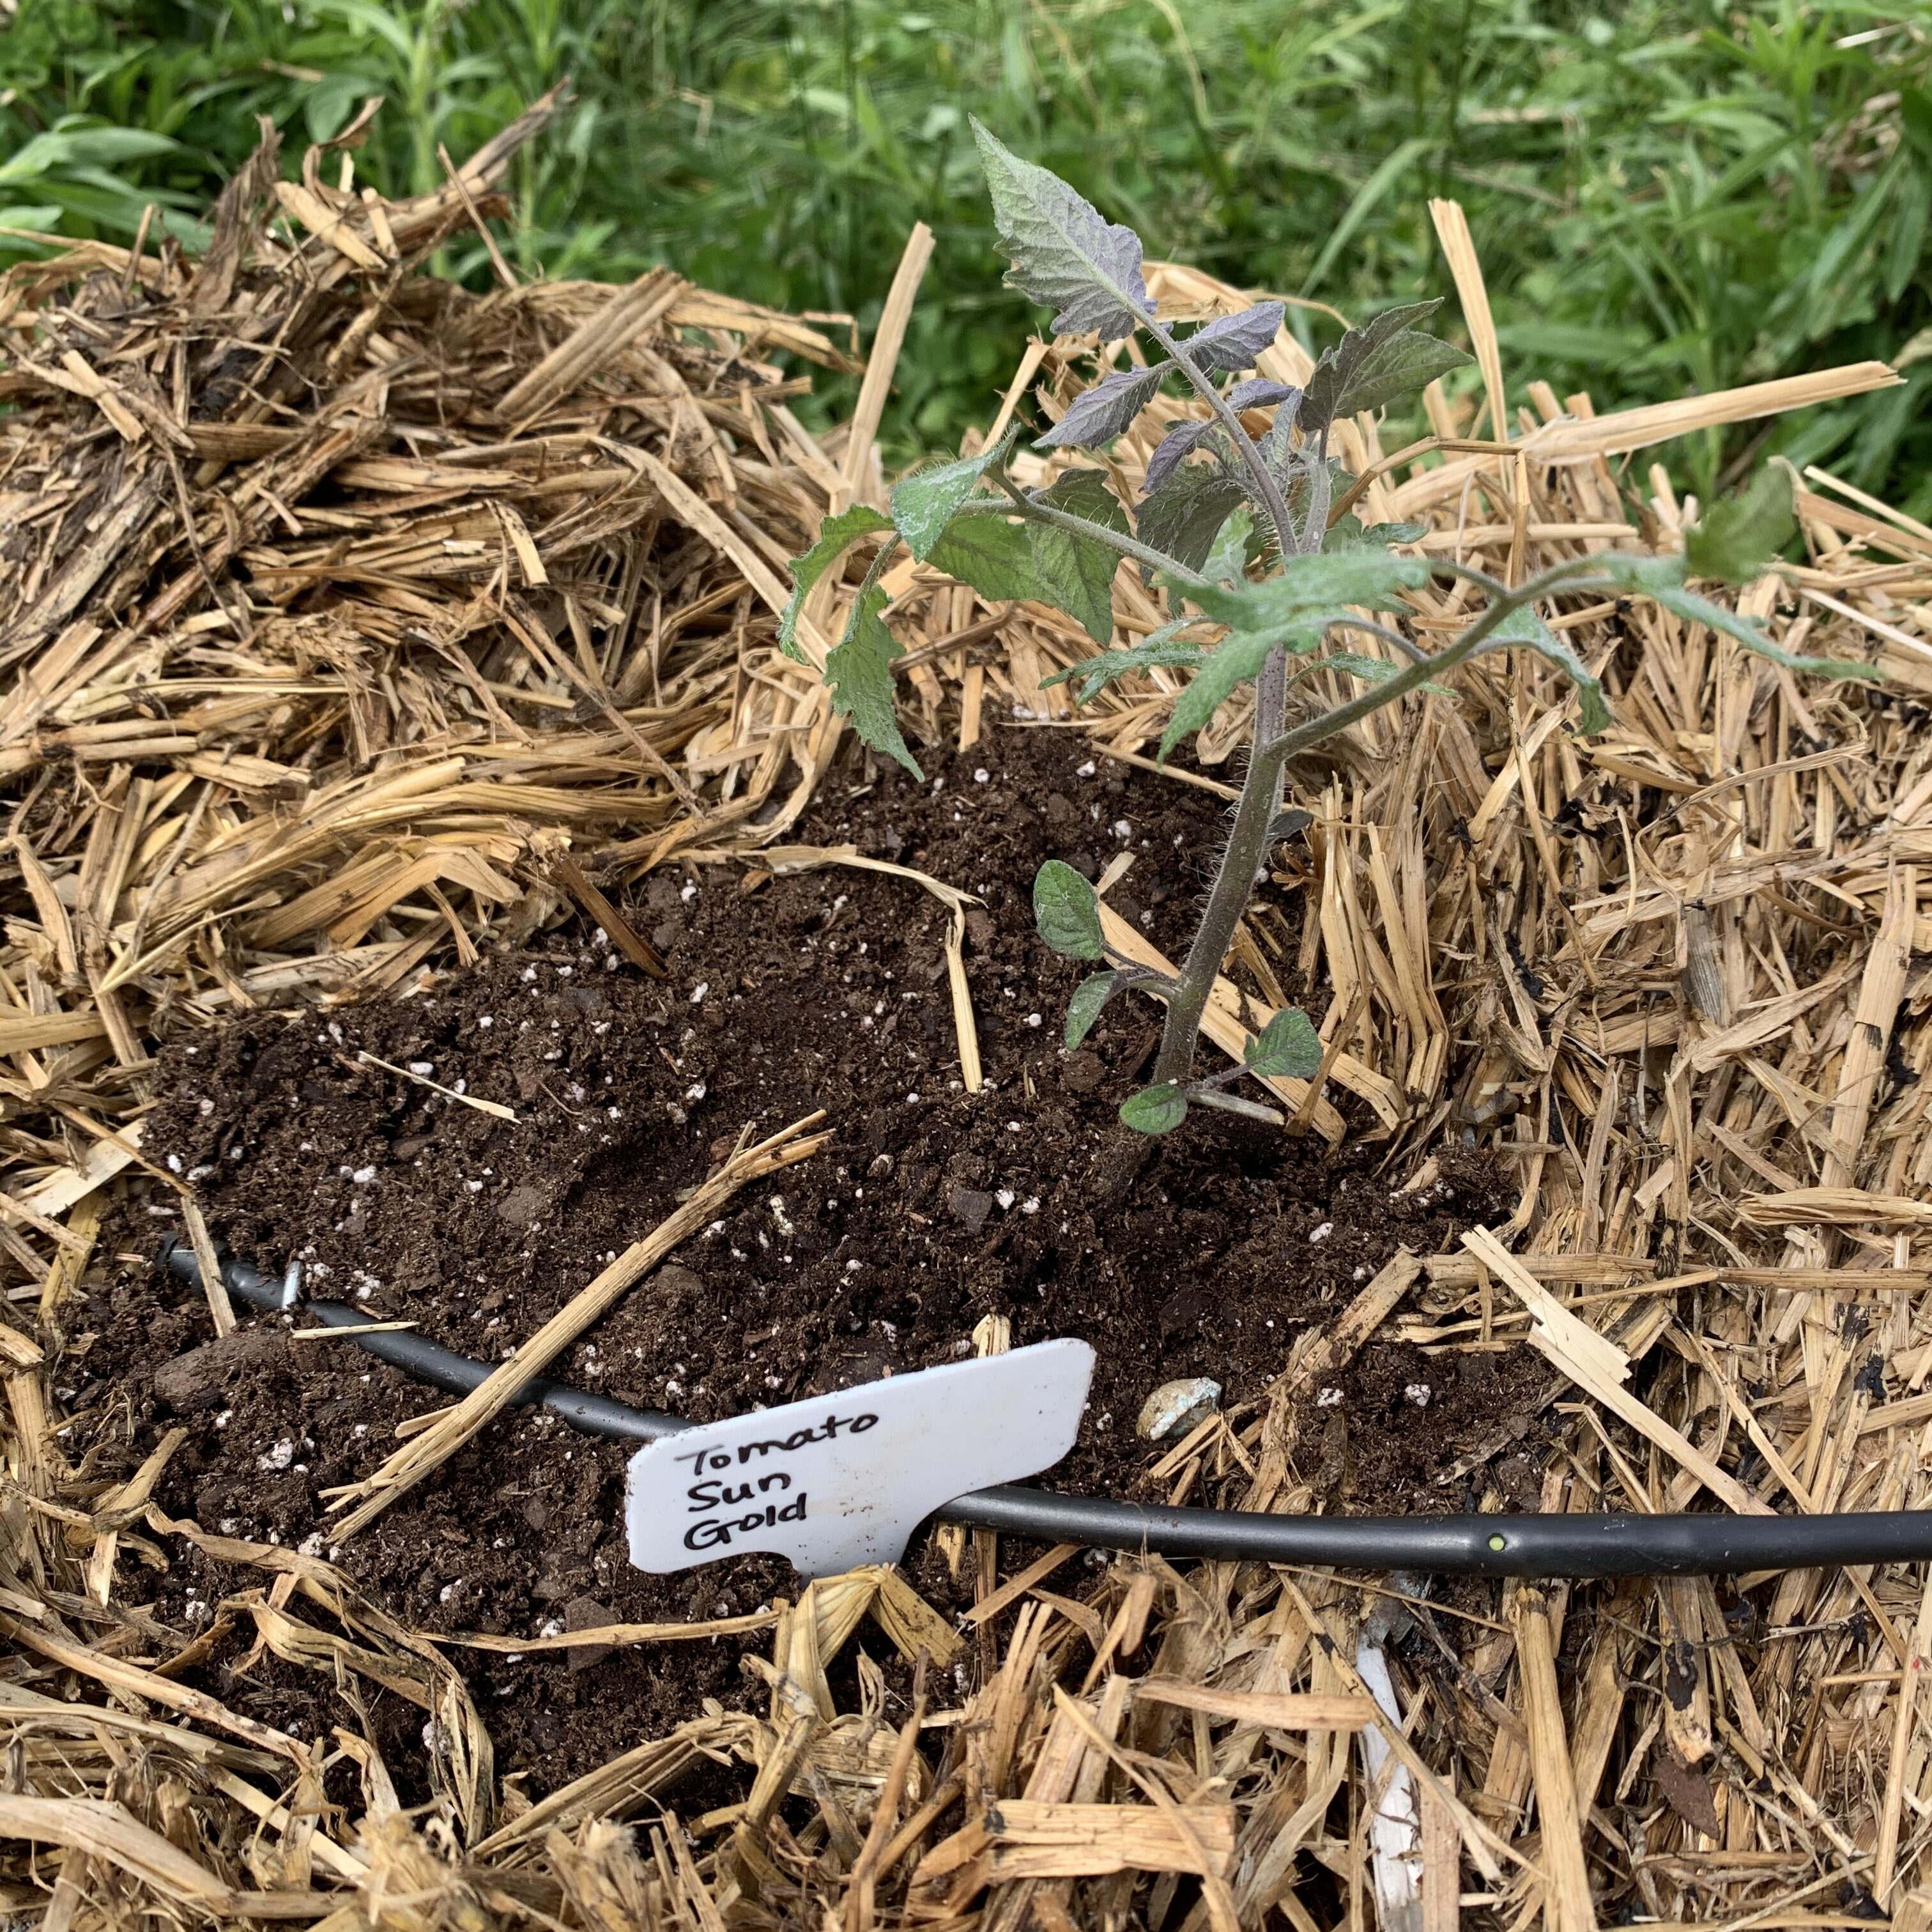
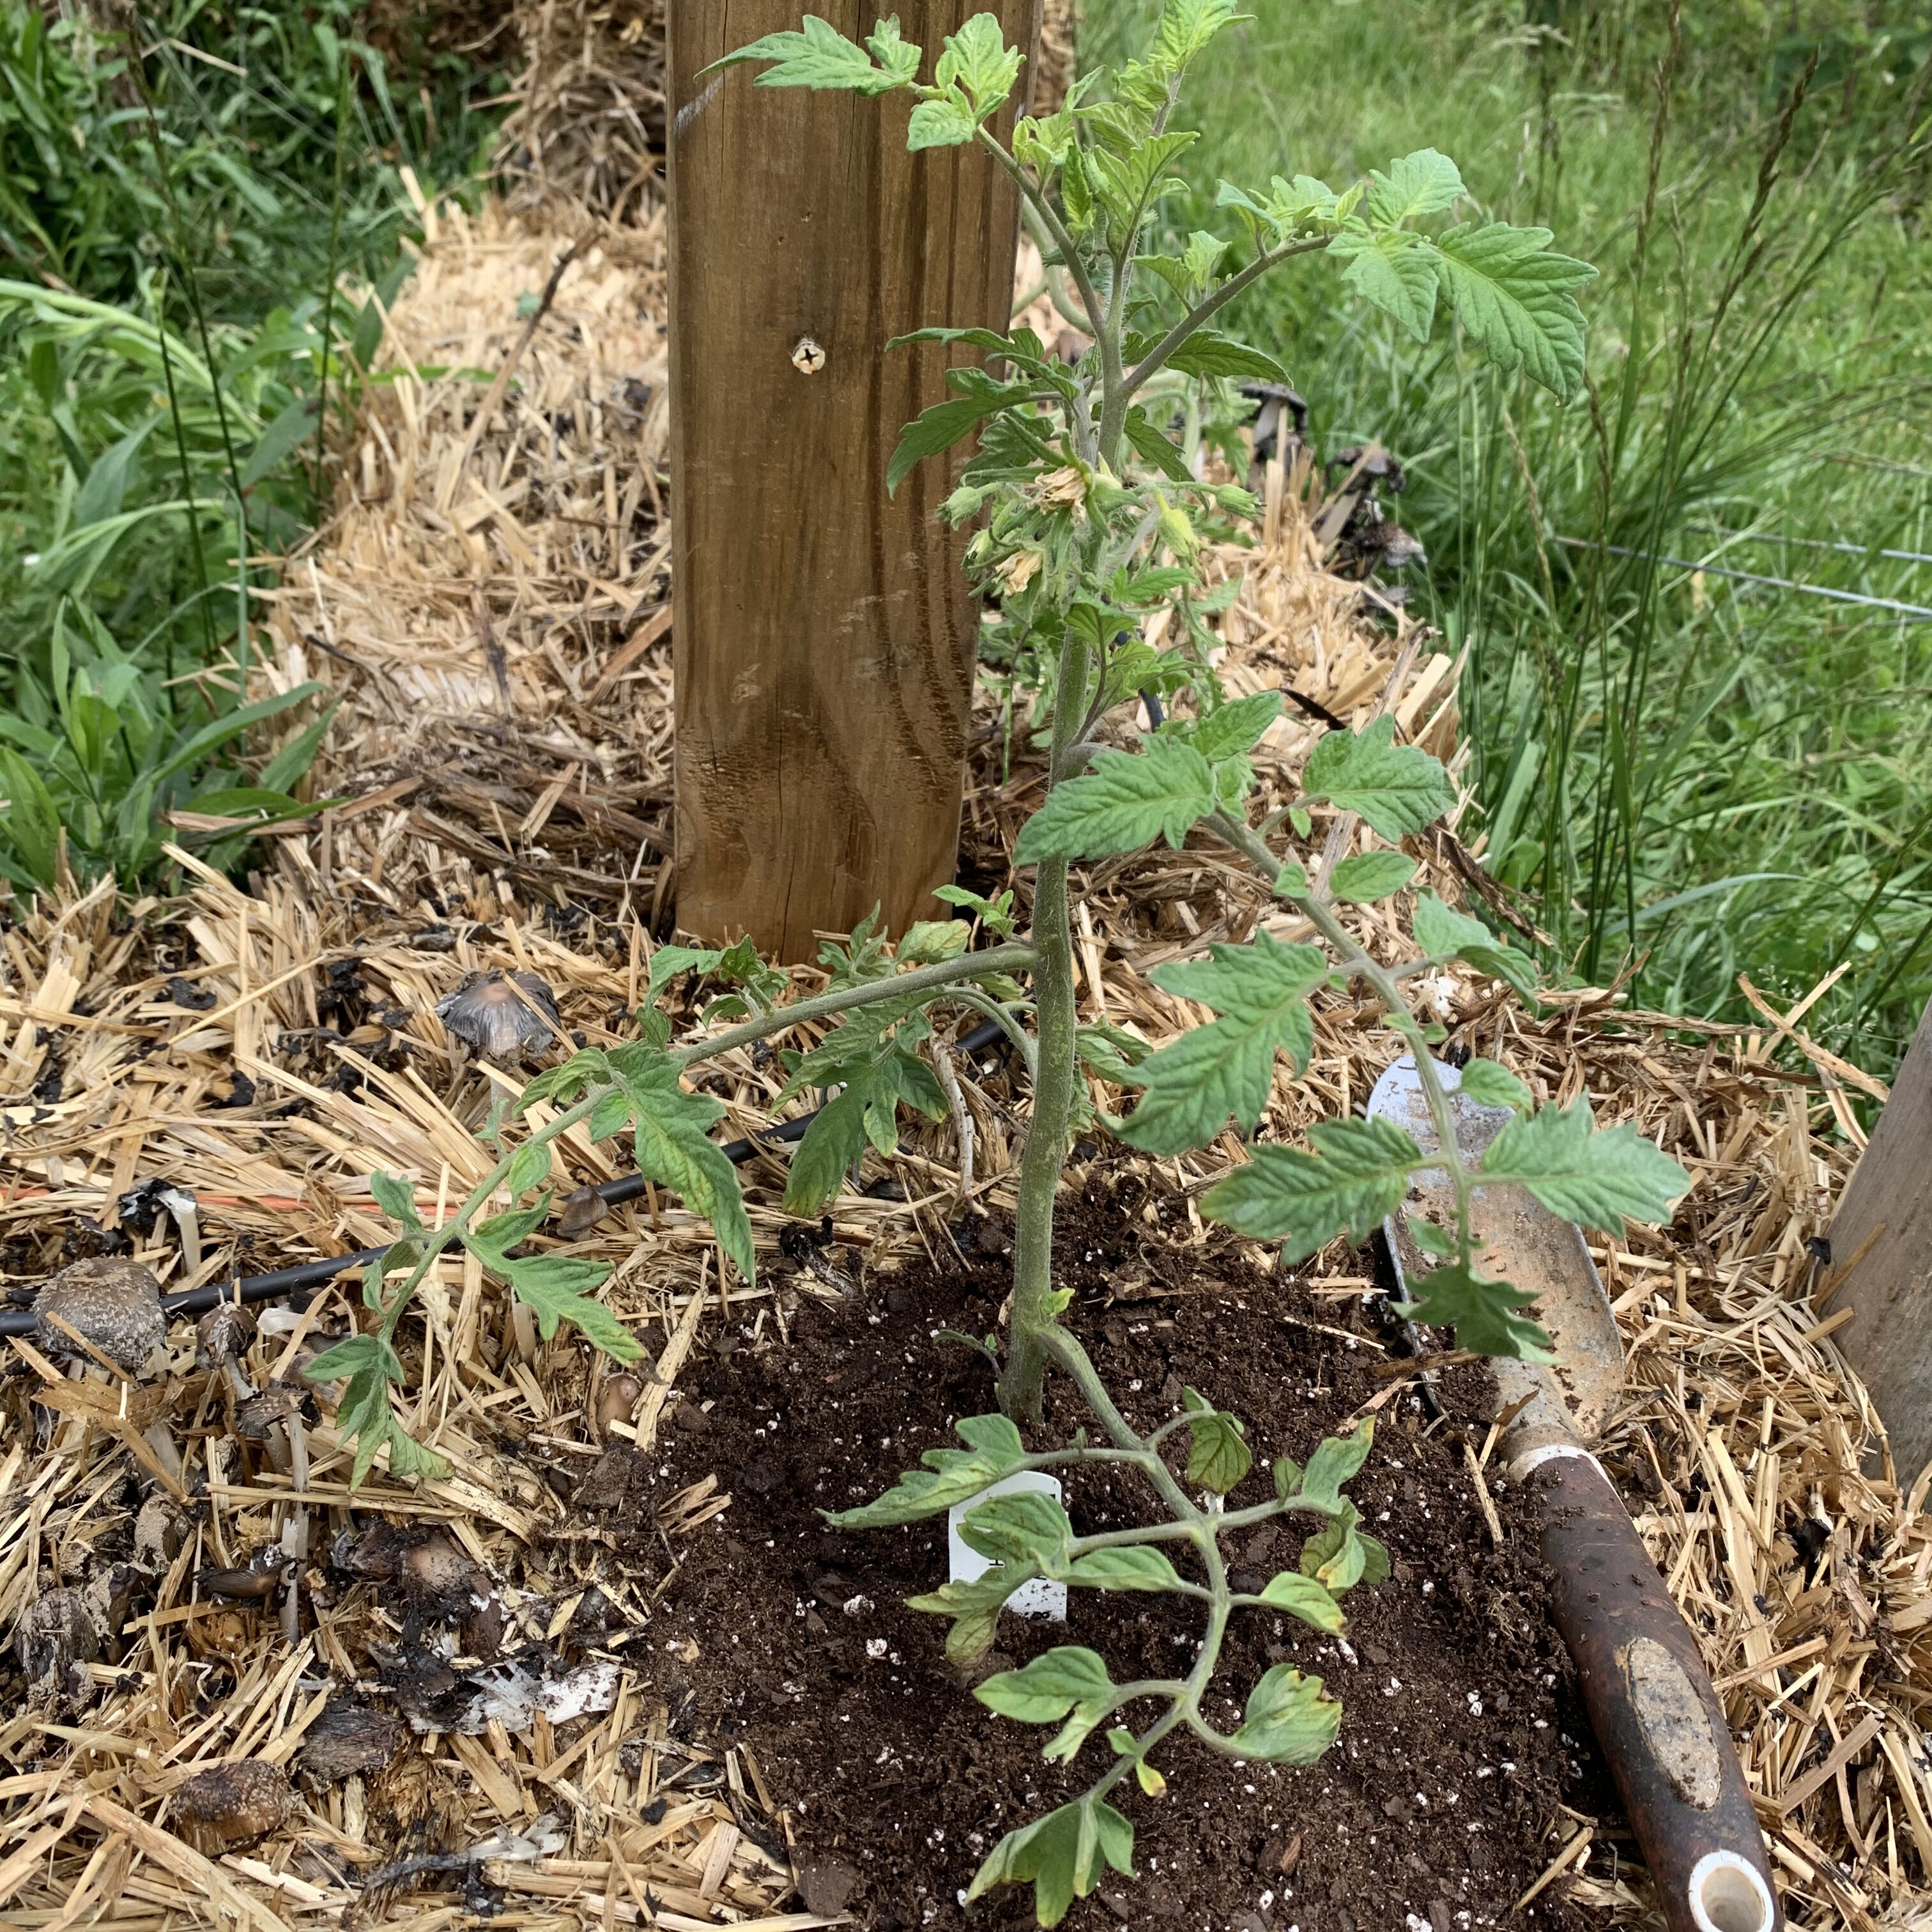
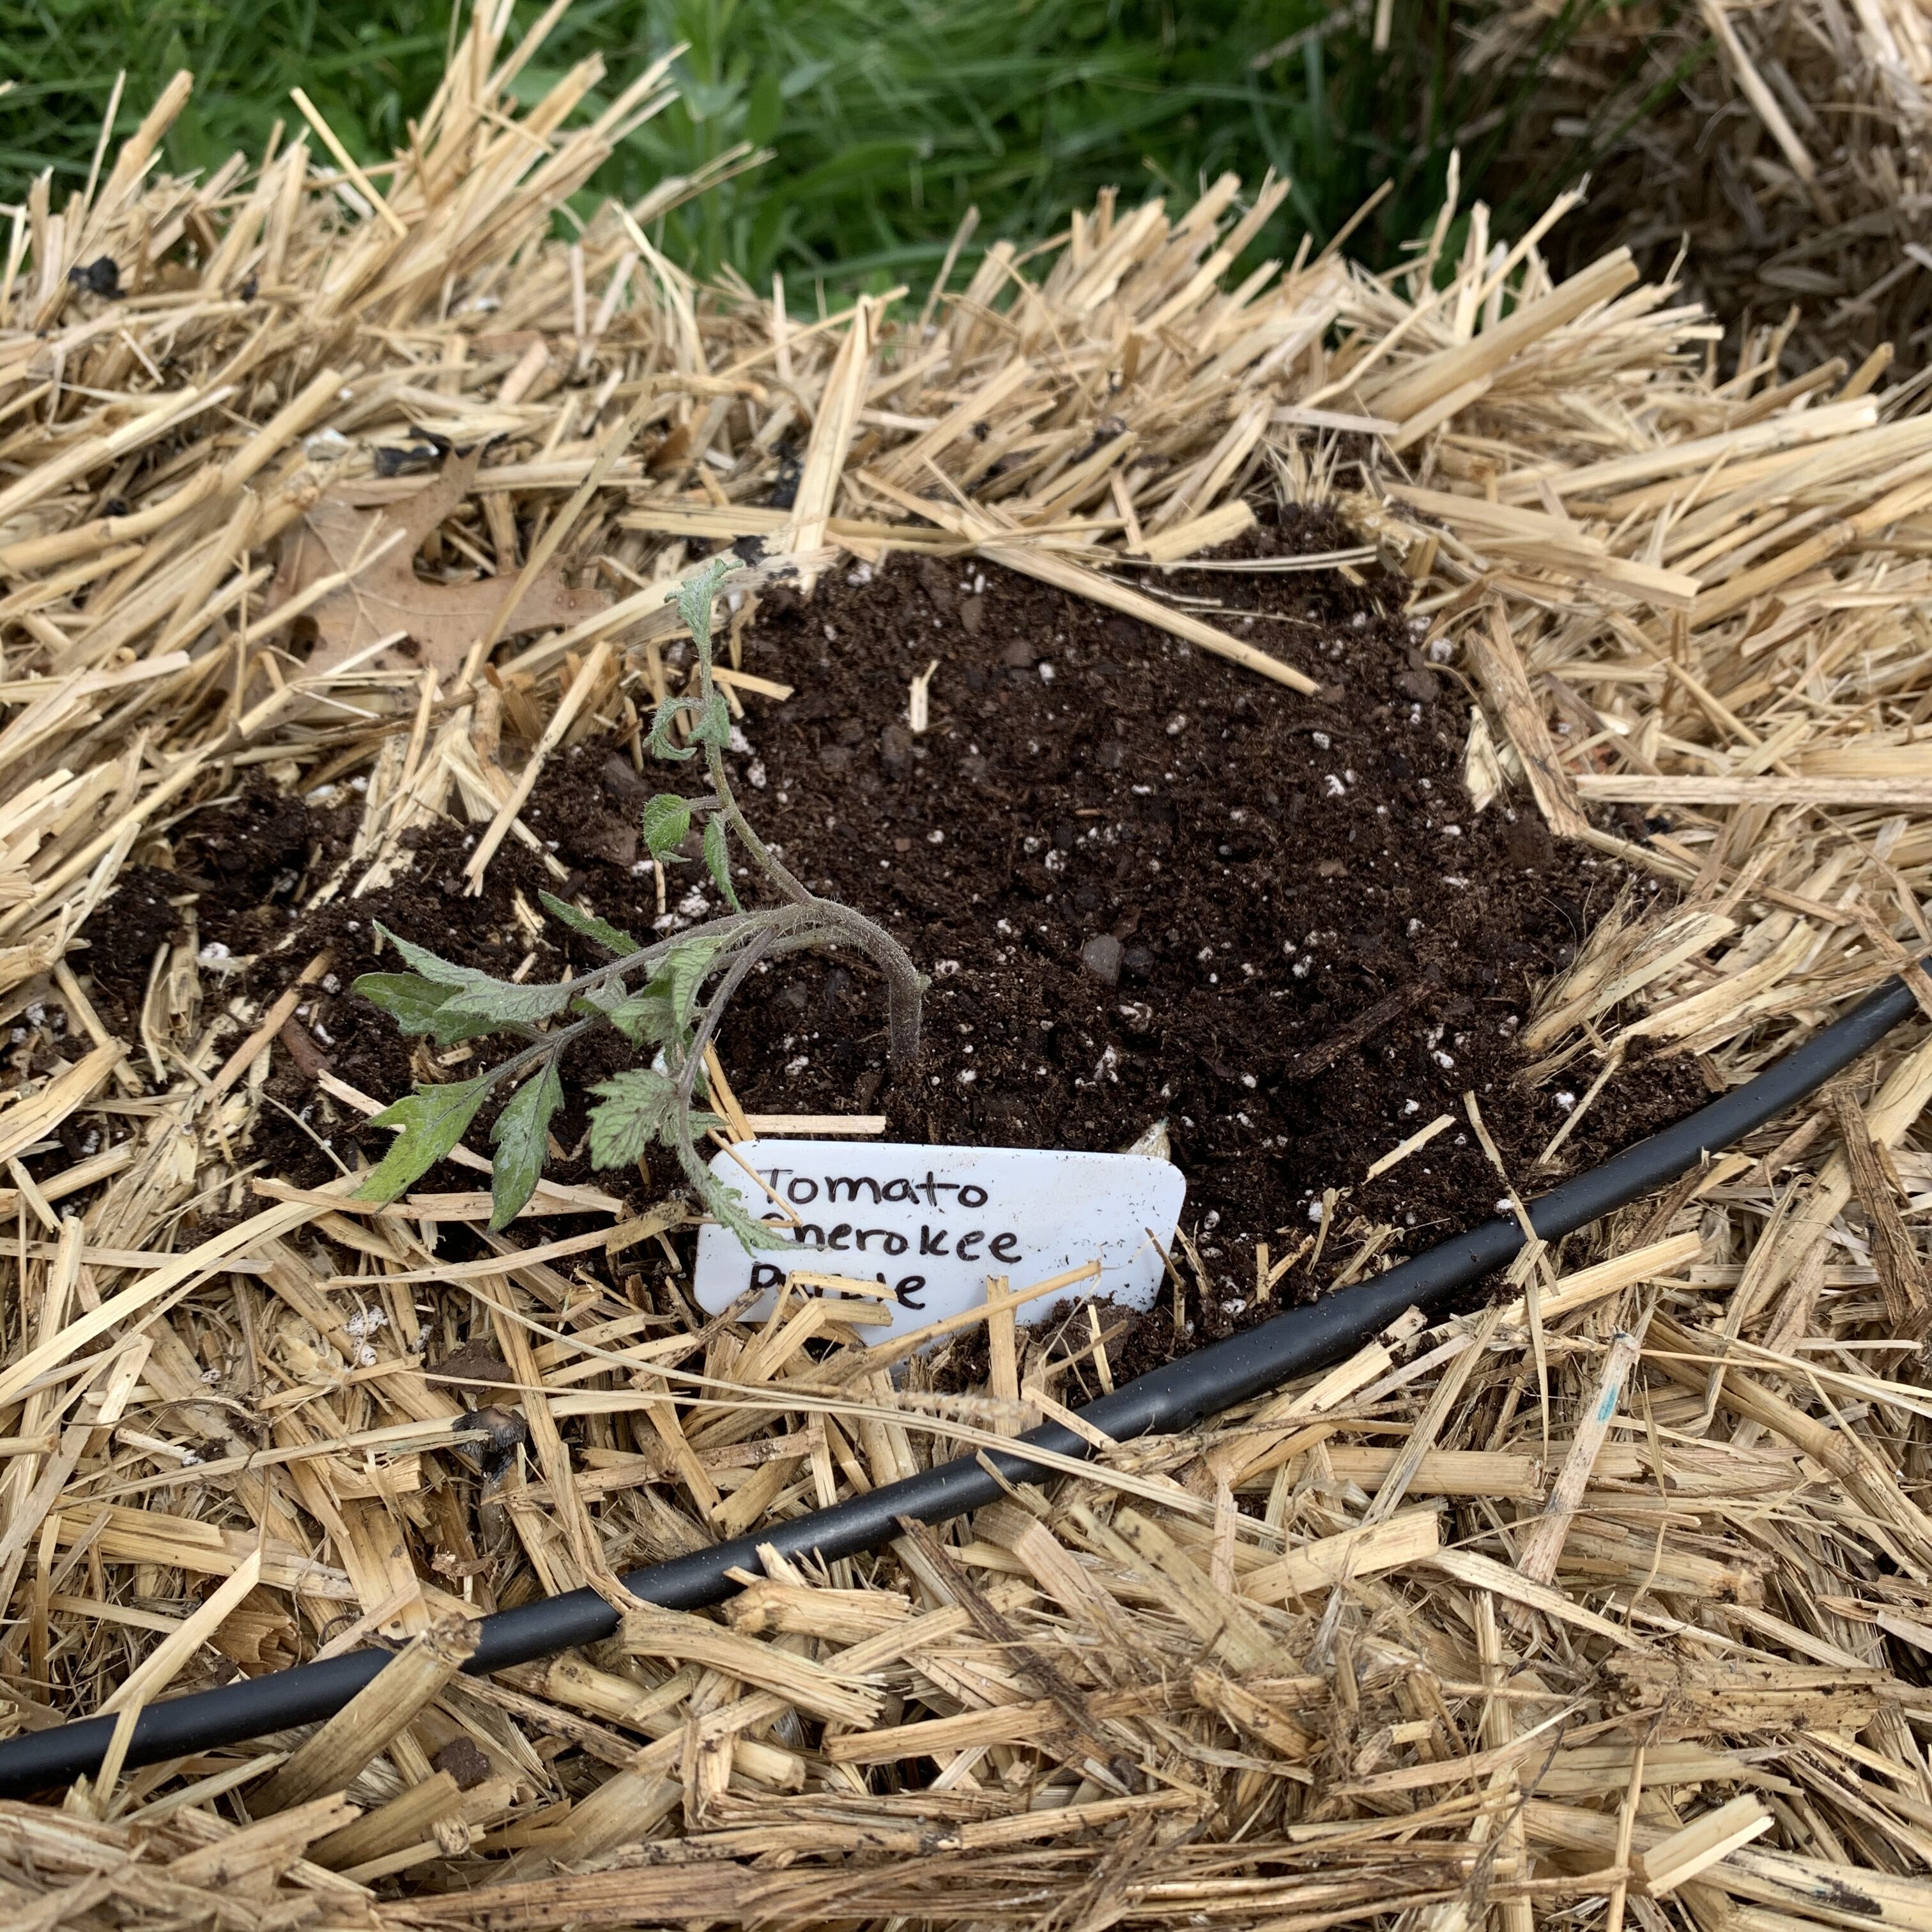
- I found that cutting an L-shaped slit in the weed barrier worked great for planting the bent tomato plants. I cut the long side of each triangle abut an inch from the irrigation tubing and parallel to it. I found that I could estimate how long the first cut should be by lying there plant down and making a wedge that would accommodate it.
- After folding the plastic under, I dug a wedge-shaped hole, shallower near the sharp tip of my triangle.
- Next I put in a tablespoon and a half of Osmocote and mixed it around.
- Then I put in the plant, carefully positioning the plant at the tip of the sharp part of the wedge.
- I patted soil around the stem to hold the plant in place, and then crushed a baby aspirin using the spoon and tiny bowl. I sprinkled the powder on the plant.
- Then I buried the plant the rest of the way.
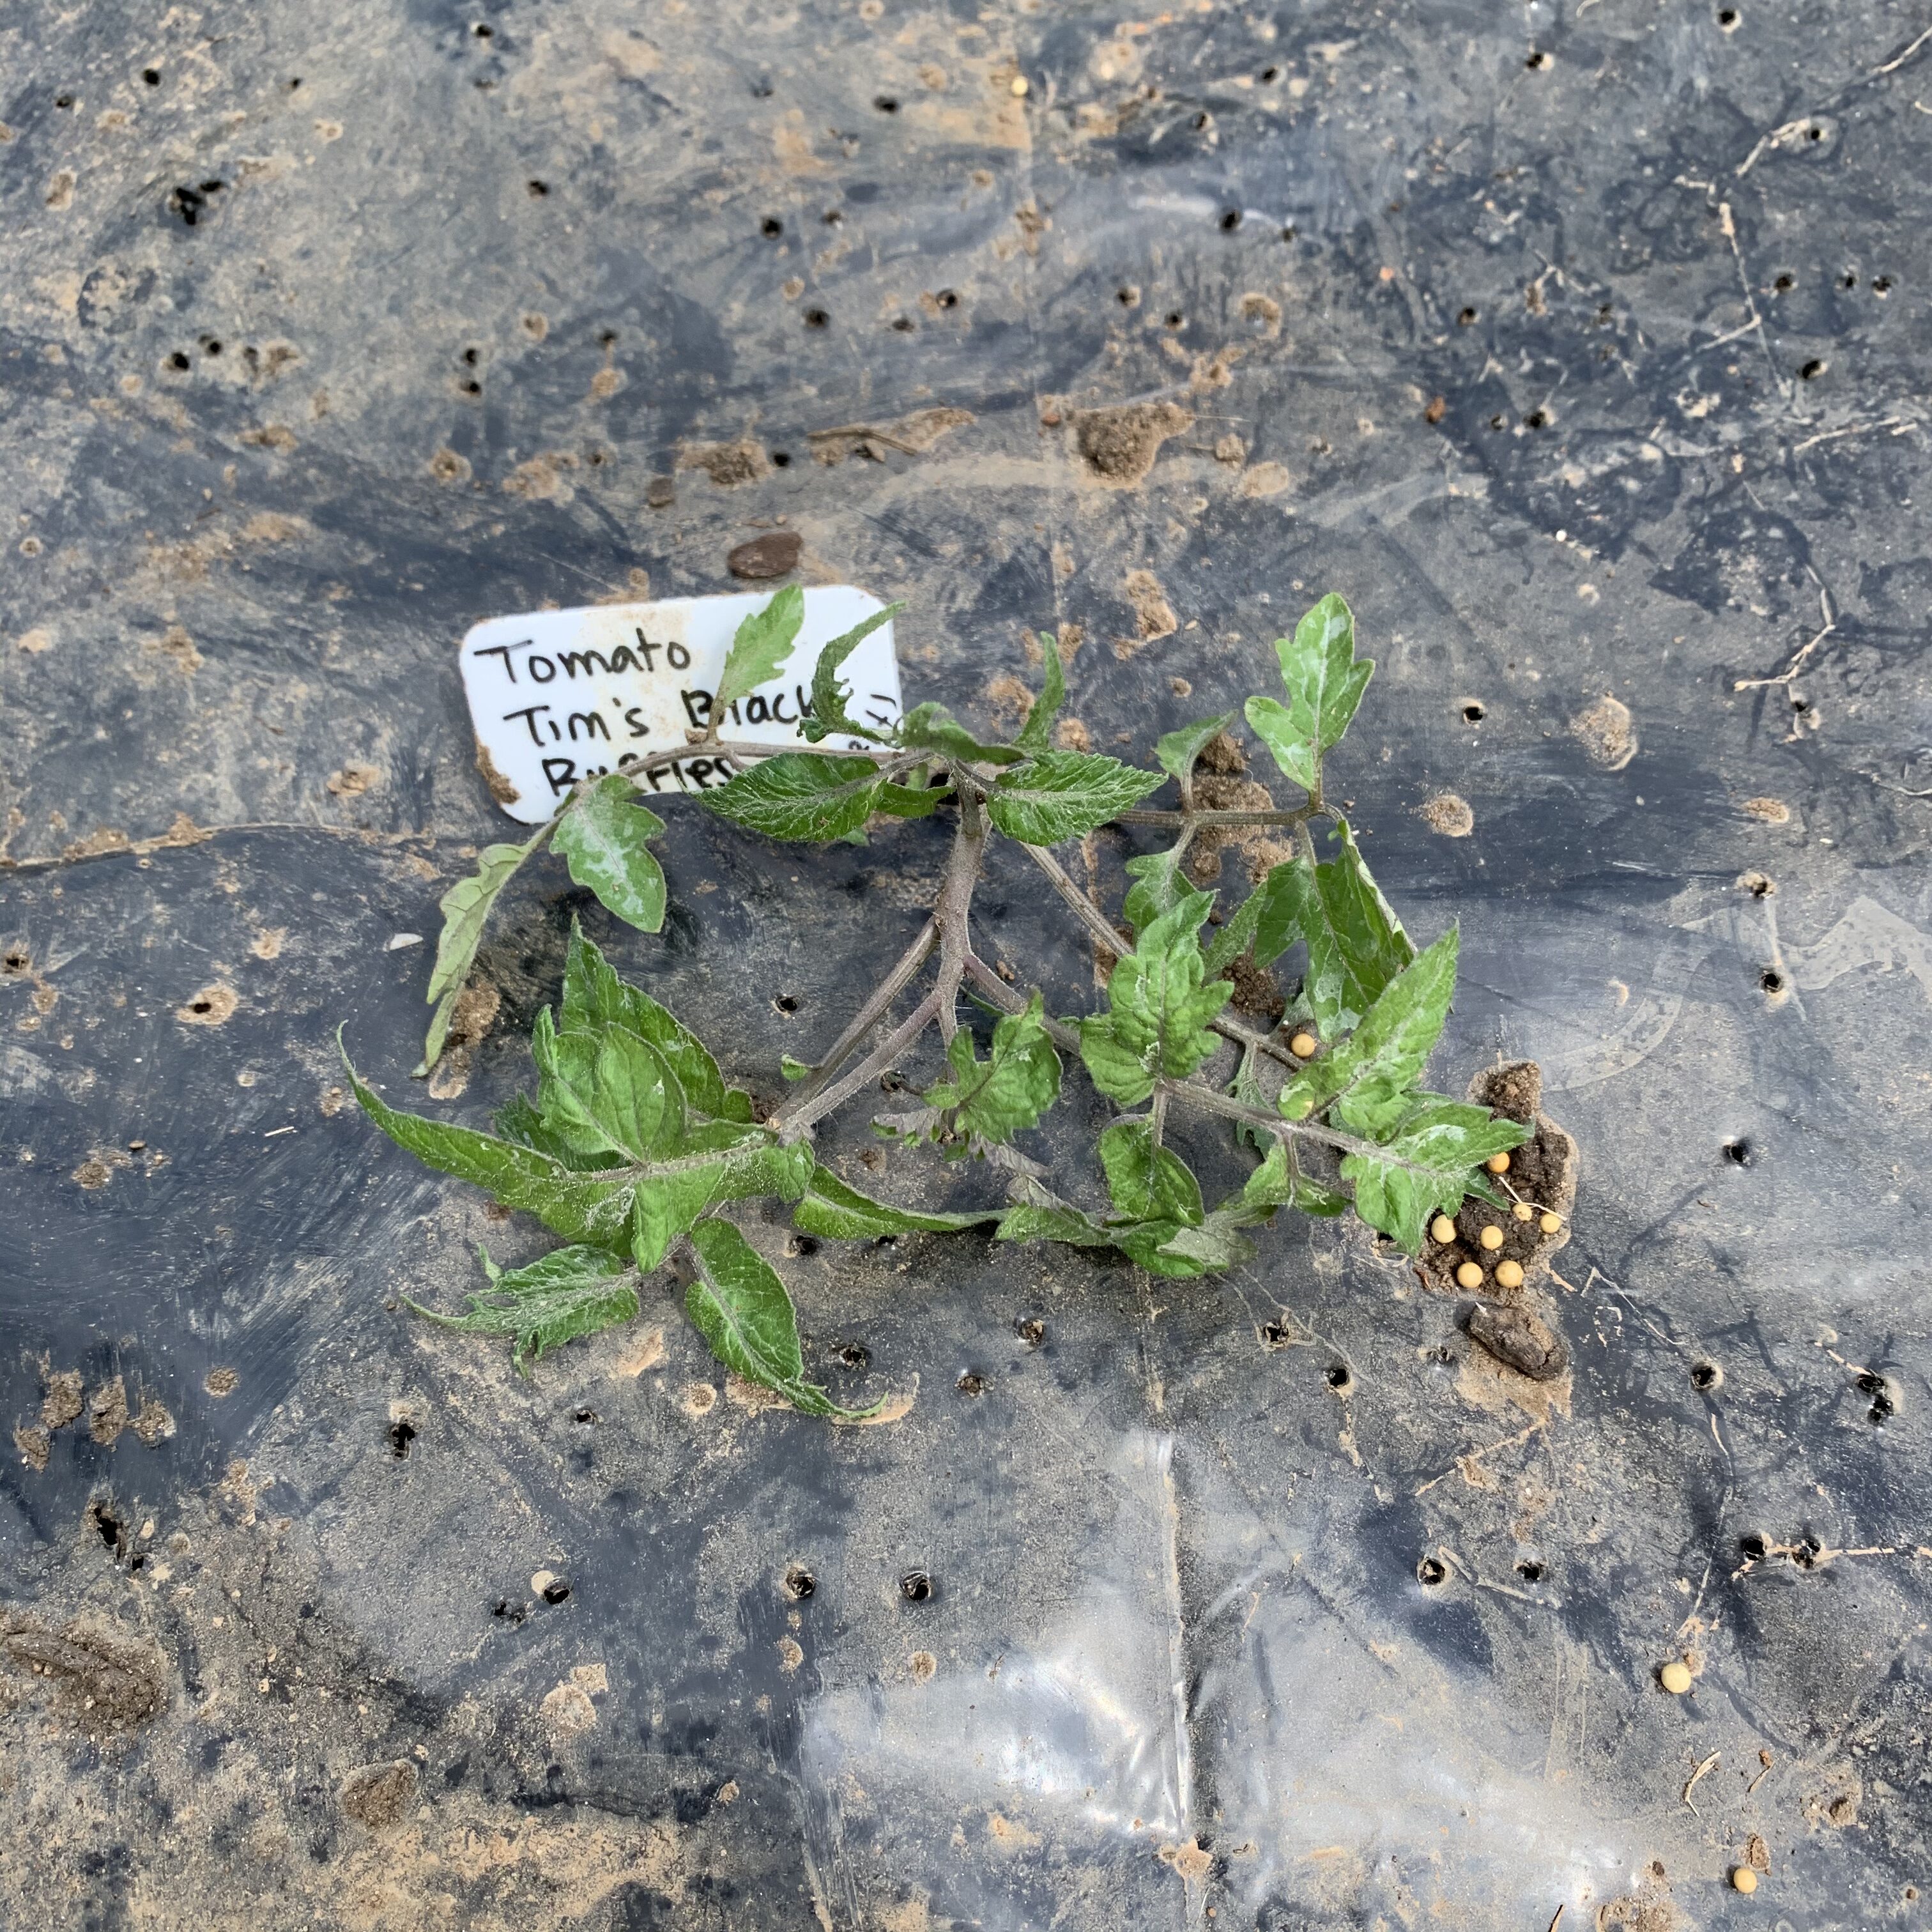
- To finish, I pulled back the folded over plastic, pinned it down with old landscape pins, and added the plant label.
There’s a very good chance that I damaged the Sun Gold when poking in the plant label. I heard some scary crunching sounds, and I may have killed it. I’ll know tomorrow, I suppose.
Planting in the grow bag
- I made holes in the loose soil with a spade and mixed in 1.5 tablespoons of Osmocote.
- Then I added one crushed up aspirin.
- Next I put in the plant and plant marker.
I decided to put Stupice in the grow bag because I read that it is not a very tall plant compared to other indeterminate plants. I haven’t decided if I will stake or cage them.
Planting the straw bales
As I started making the holes in the bales, I remembered reading somewhere that you were supposed to set up the bales so that the strings were parallel to the ground—and mine definitely aren’t. So I googled and thought about it and looked at the bales from last year and decided to flip half of the bales up the tall way (strings parallel) and compare with the other to see which ones fall apart. This way I’ll know better which way to orient them if I ever do this again.
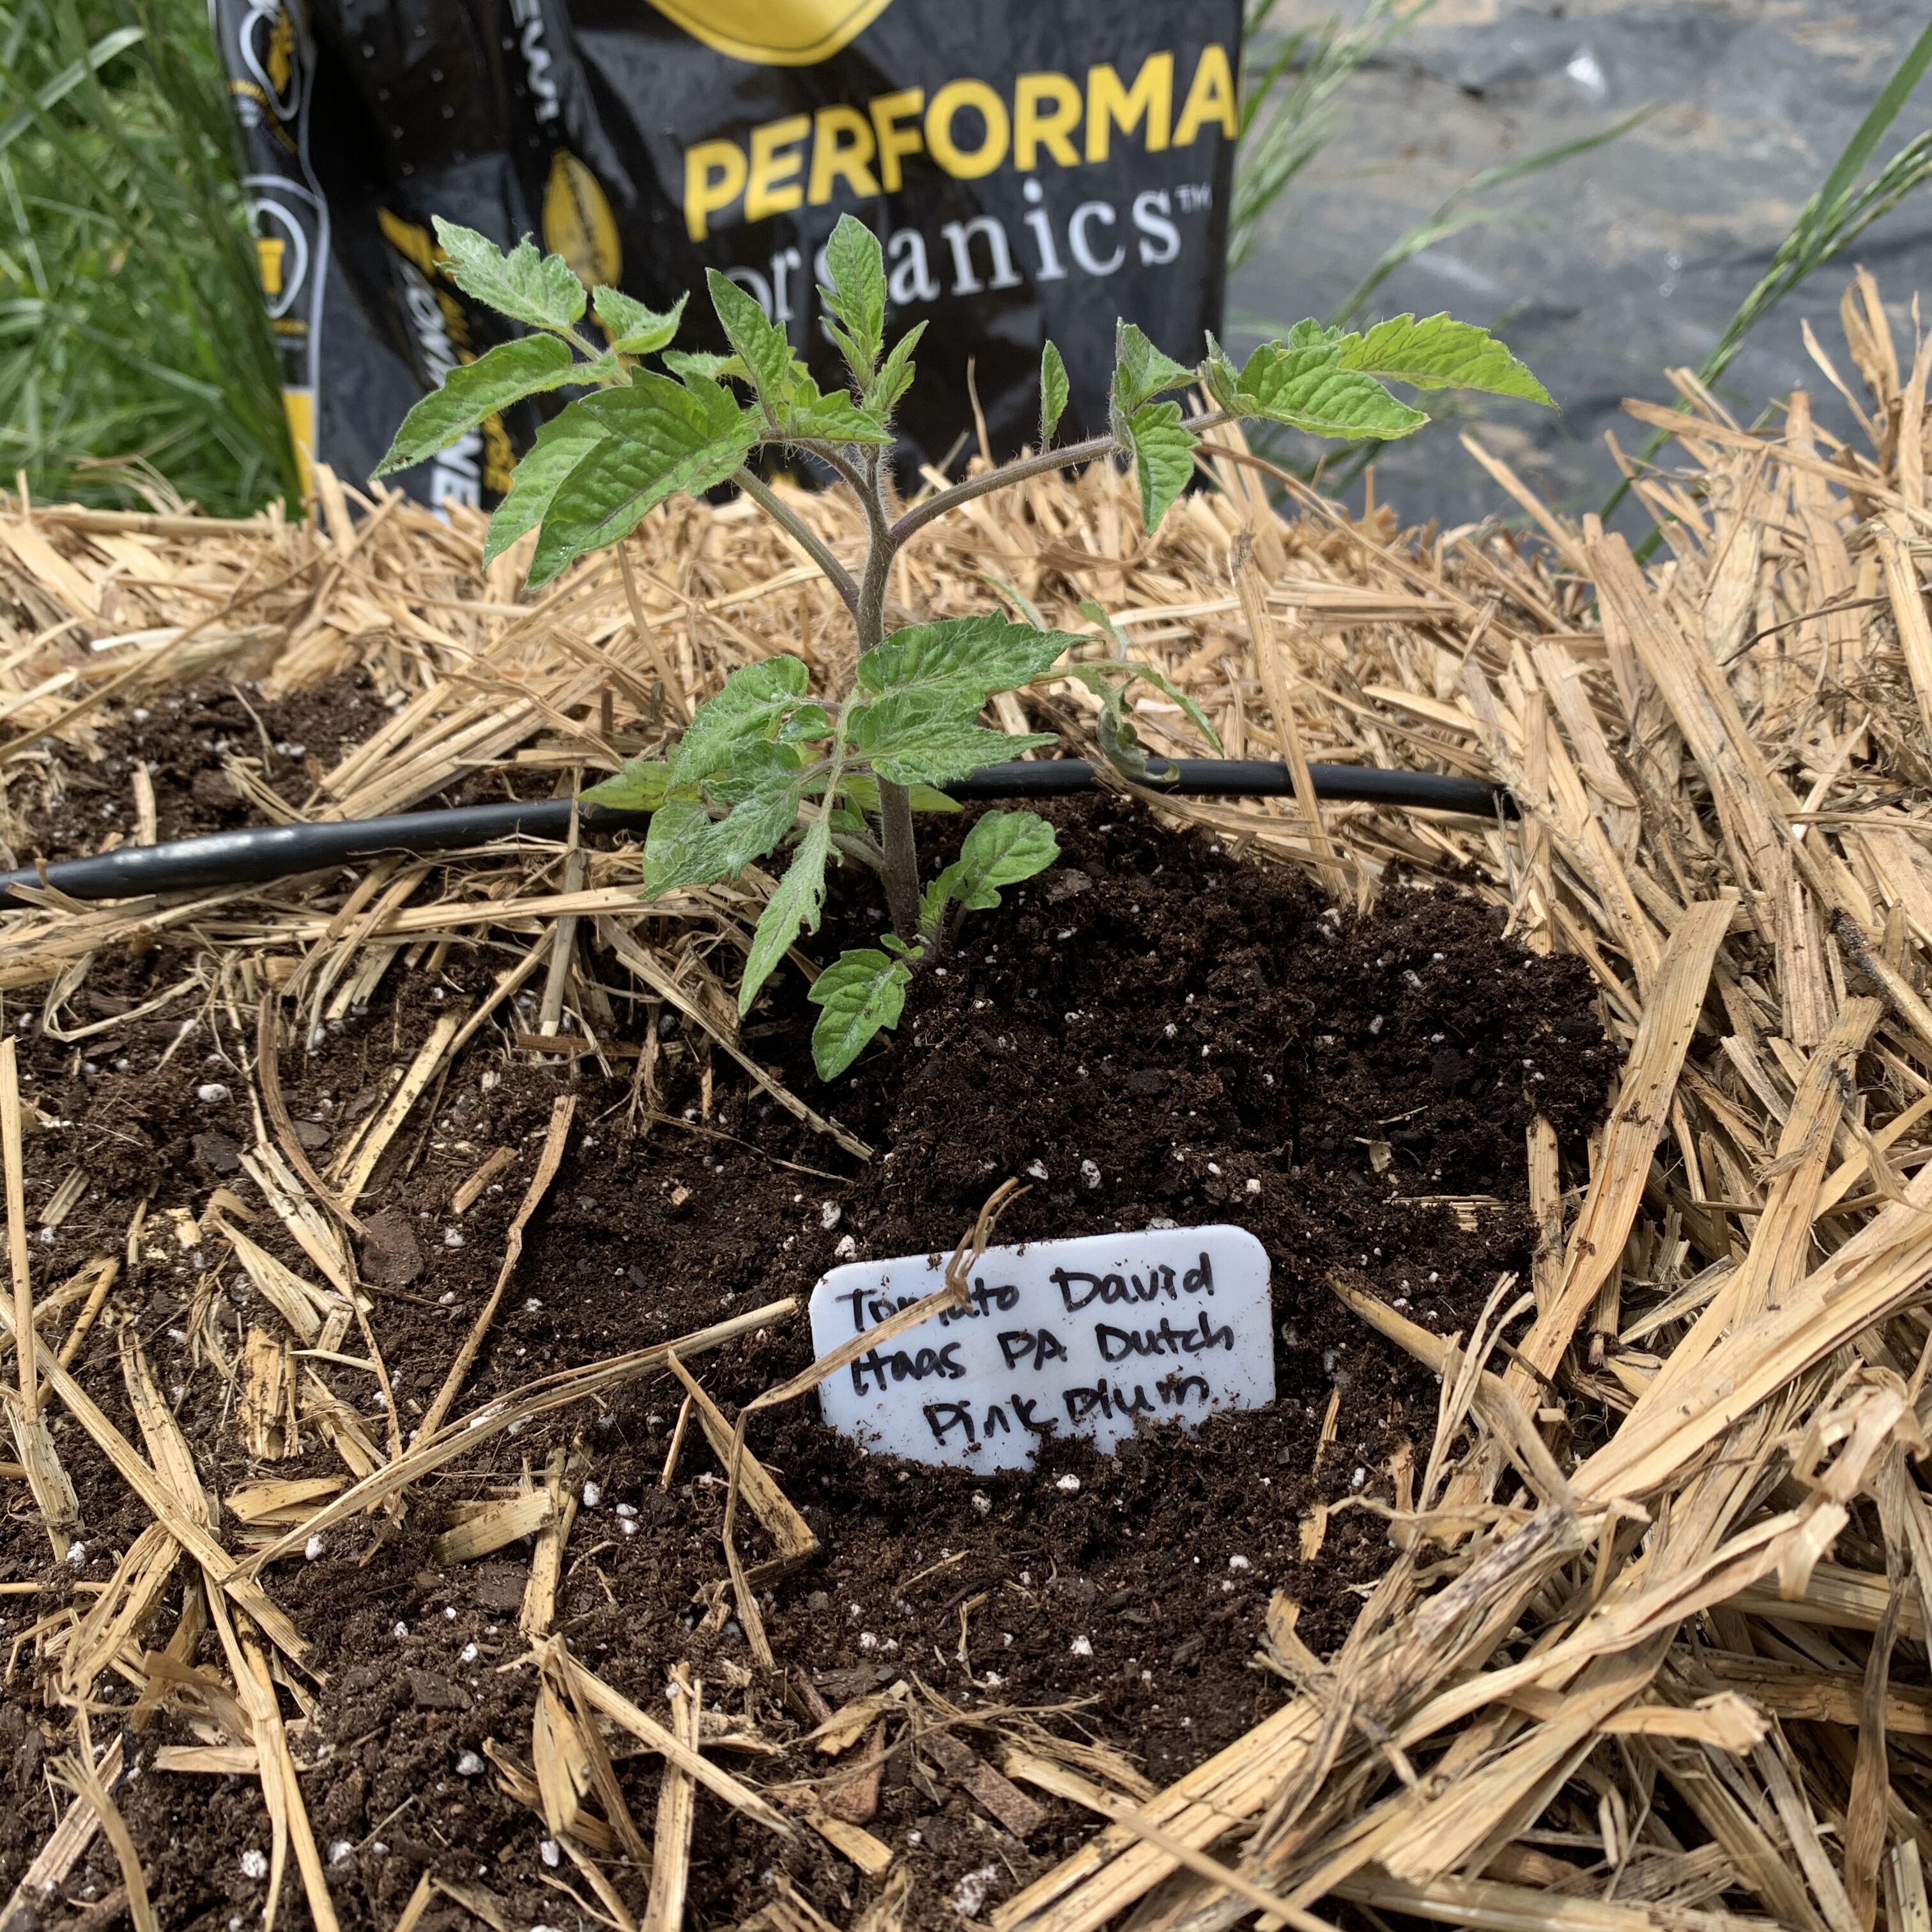
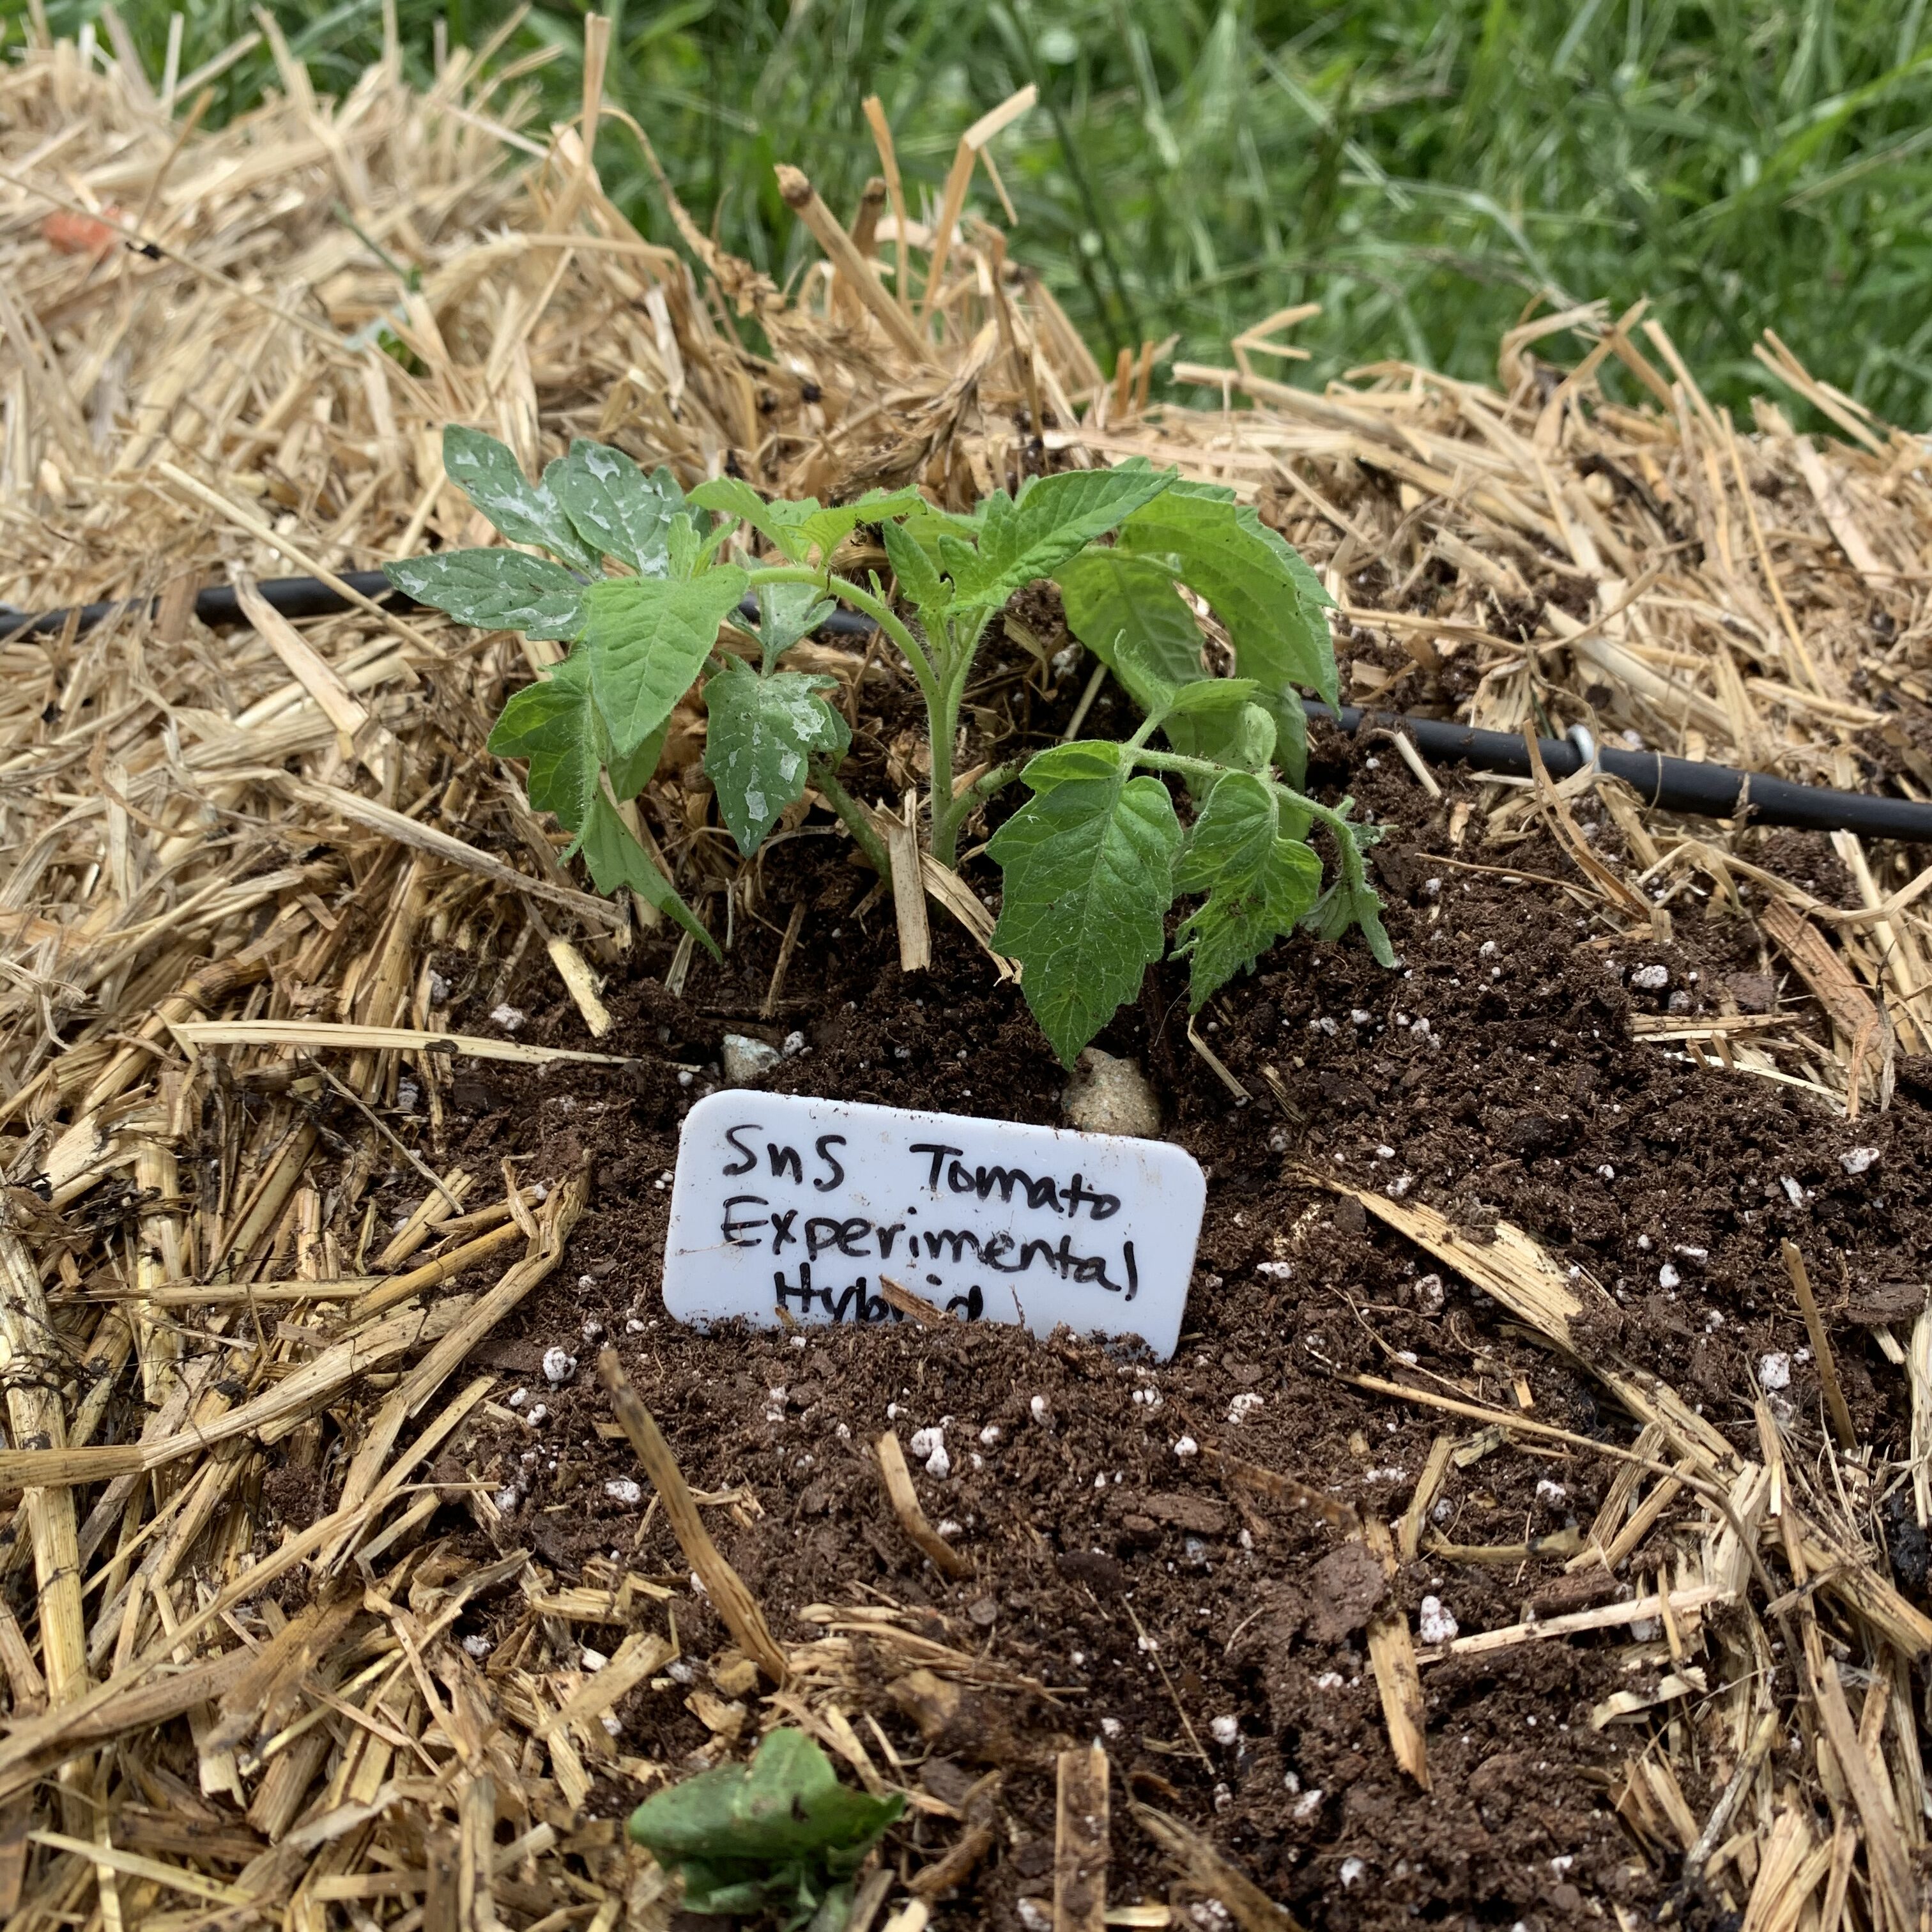
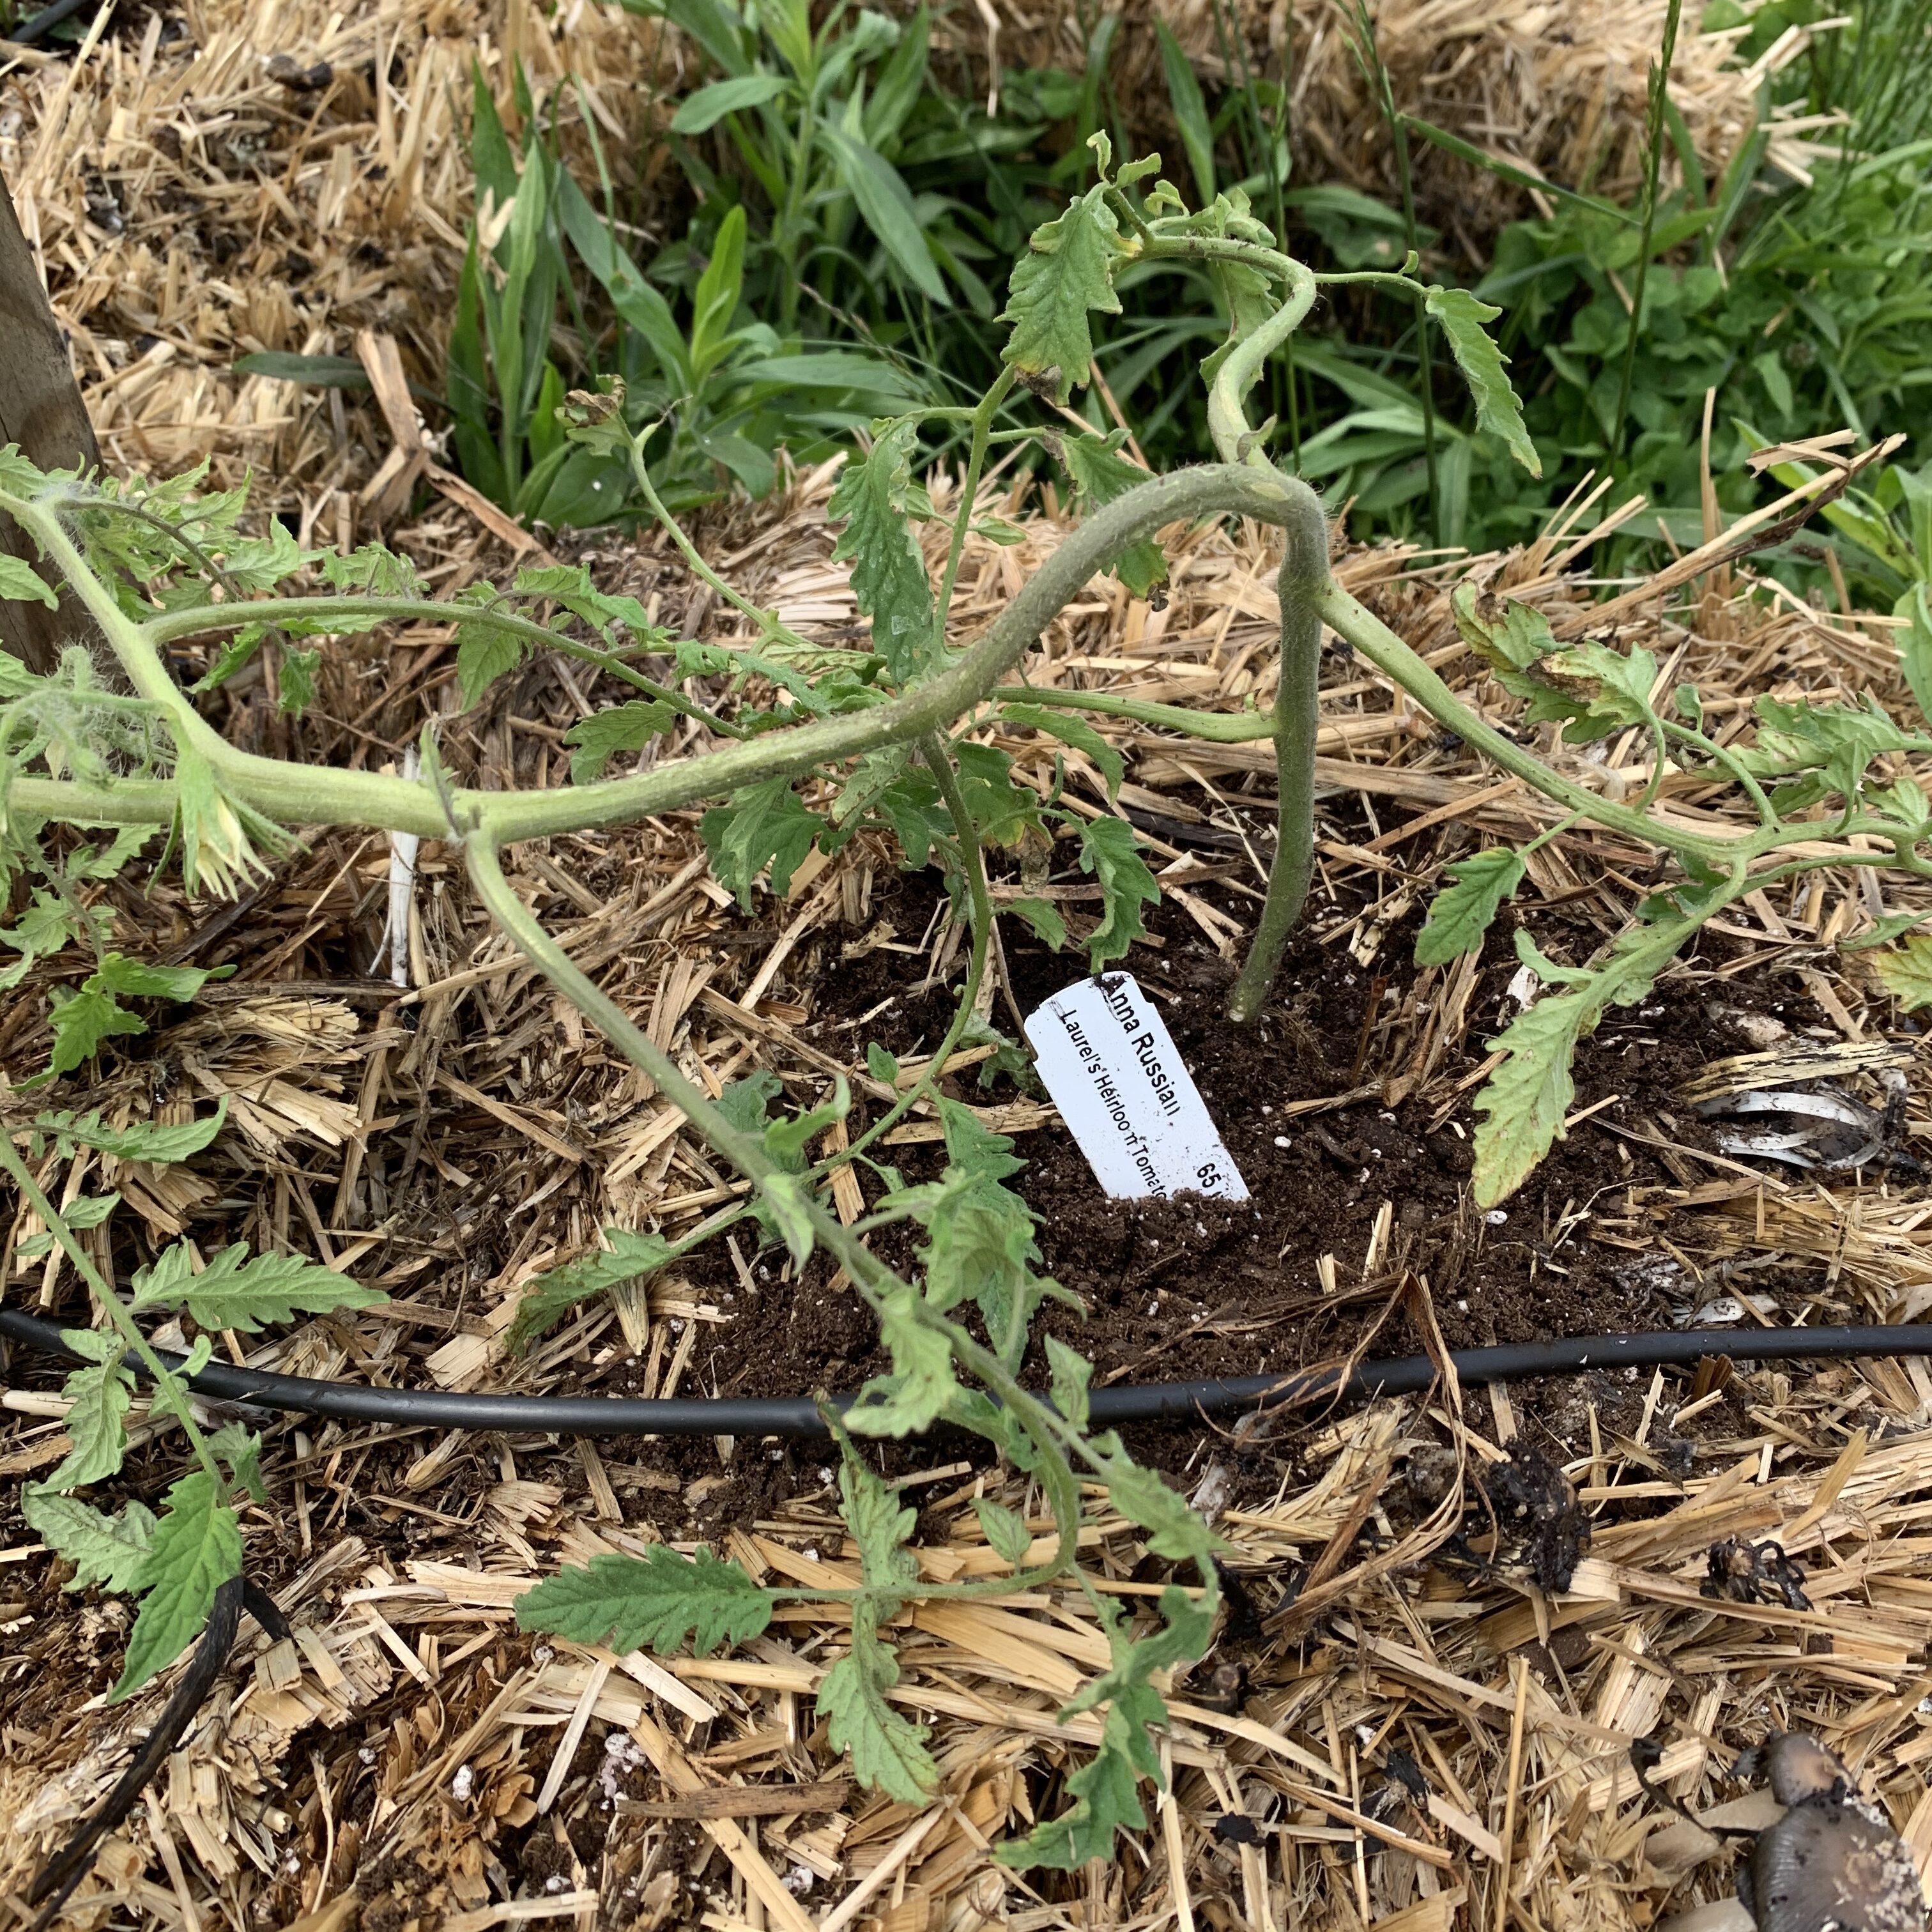
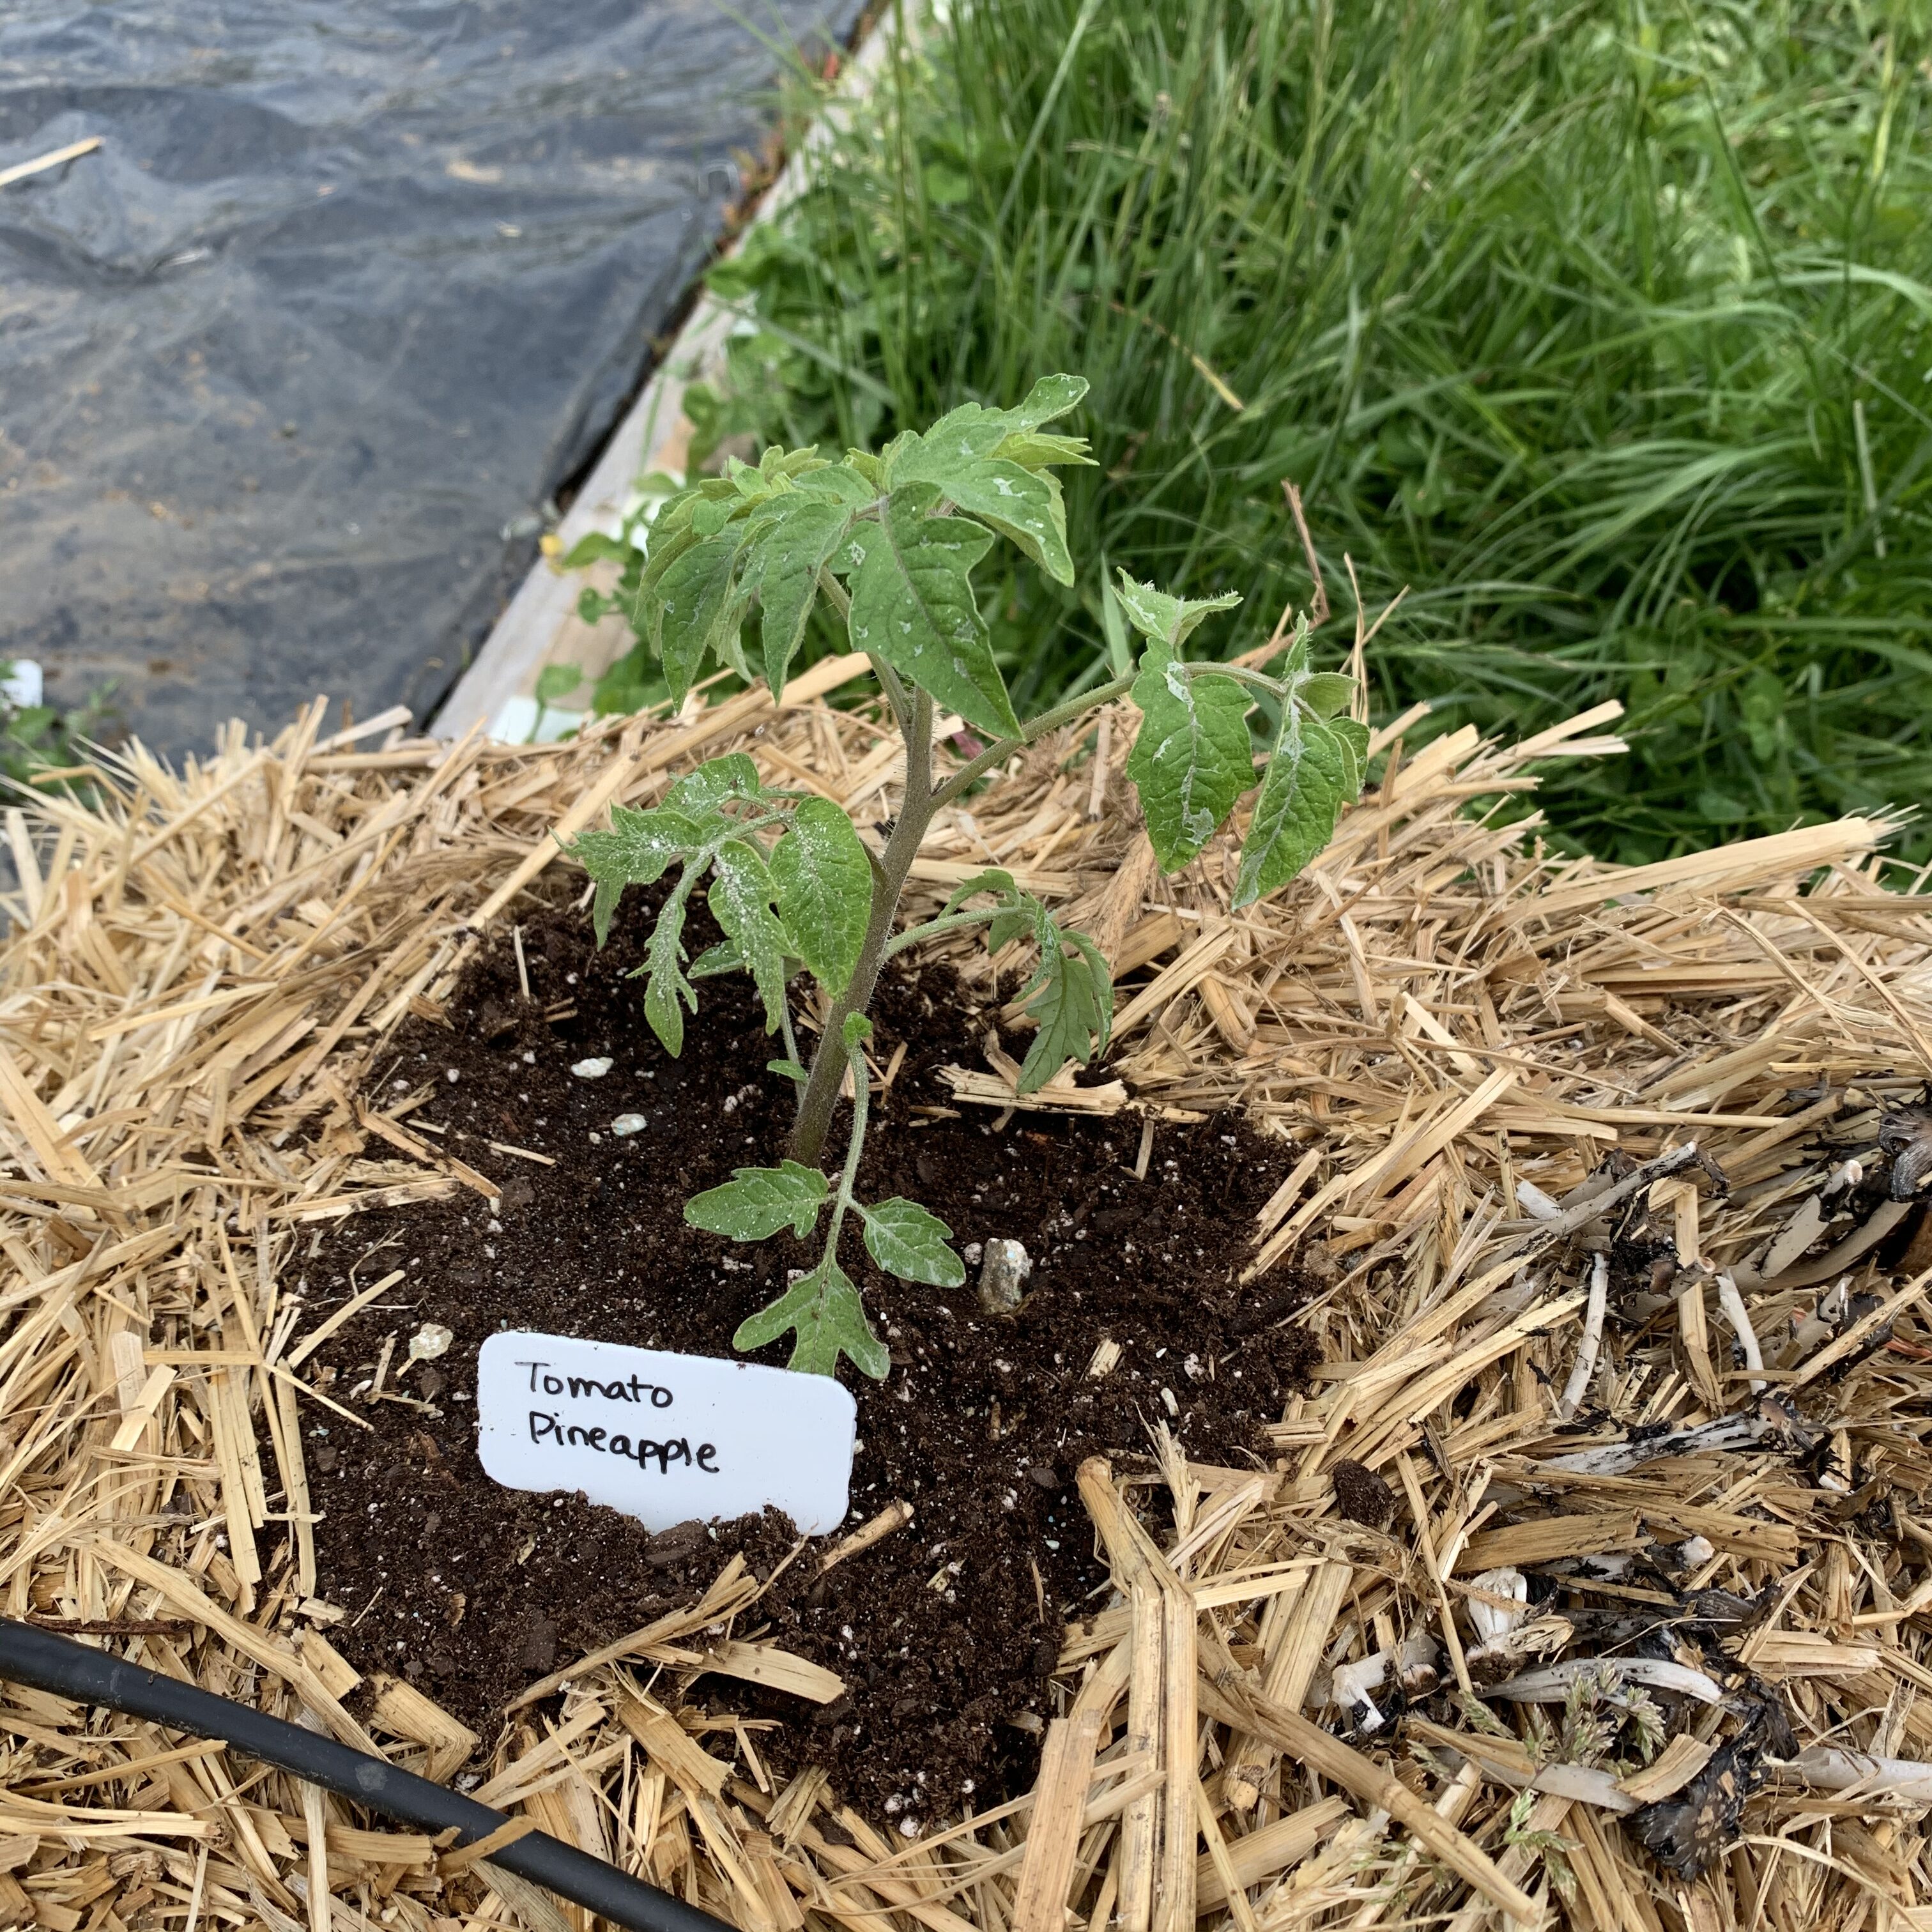
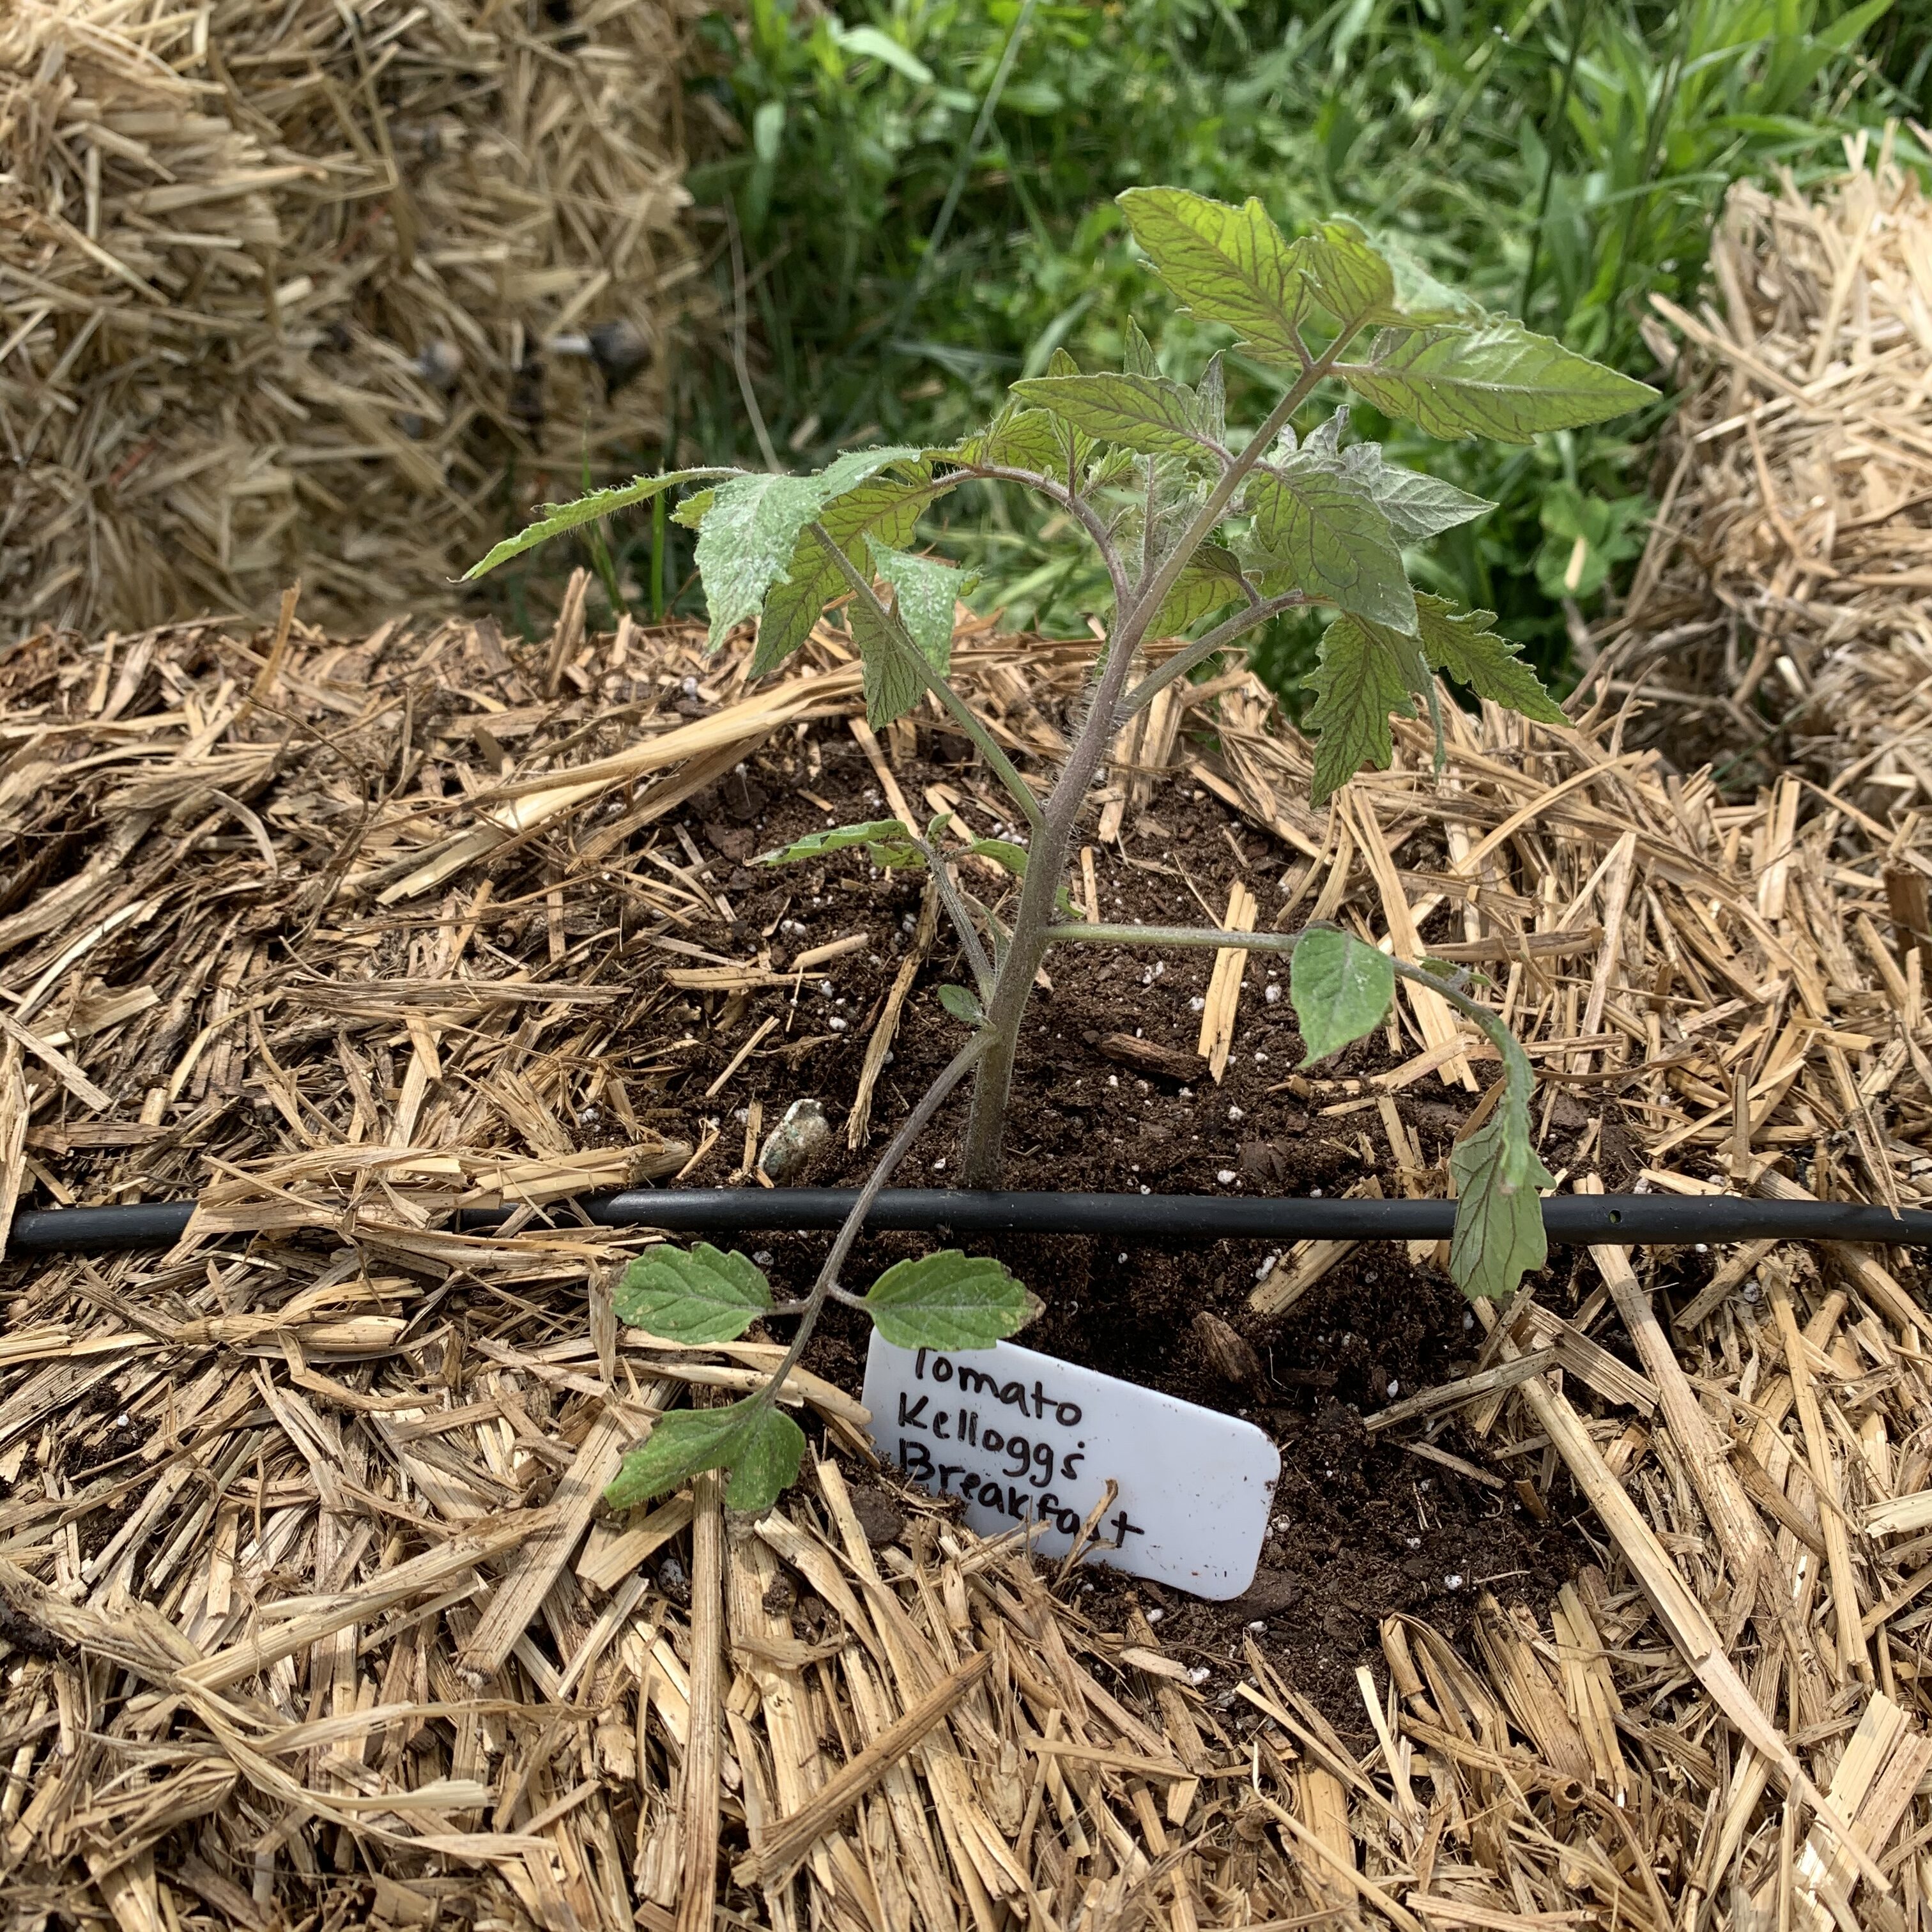
- I used a sharp spade to help cut out straw to make a hole twice as big as the root ball of each plant. I made it deep enough to plant about and inch below the lowest set of true leaves. This was harder to do on the bales that were tipped up so that the strings were parallel to the ground.
- Next I put about a cup of potting mix in the base of the hole and packed it firmly.
- Then I positioned the plant and packed more potting soil around firmly until the plant was set and pushed din the plant marker.
- To finish, I put two Jobe’s plant stakes in beside each plant.
I’m trying the Jobe’s plant stakes to see if it helps cut down on the amount of fertilizer I have to use in my bales. I’ve read you need to fertilize the straw a lot because fertilizer tends to wash right through the bales. I’m hopeful stakes will stay in place and fertilize each time I water.
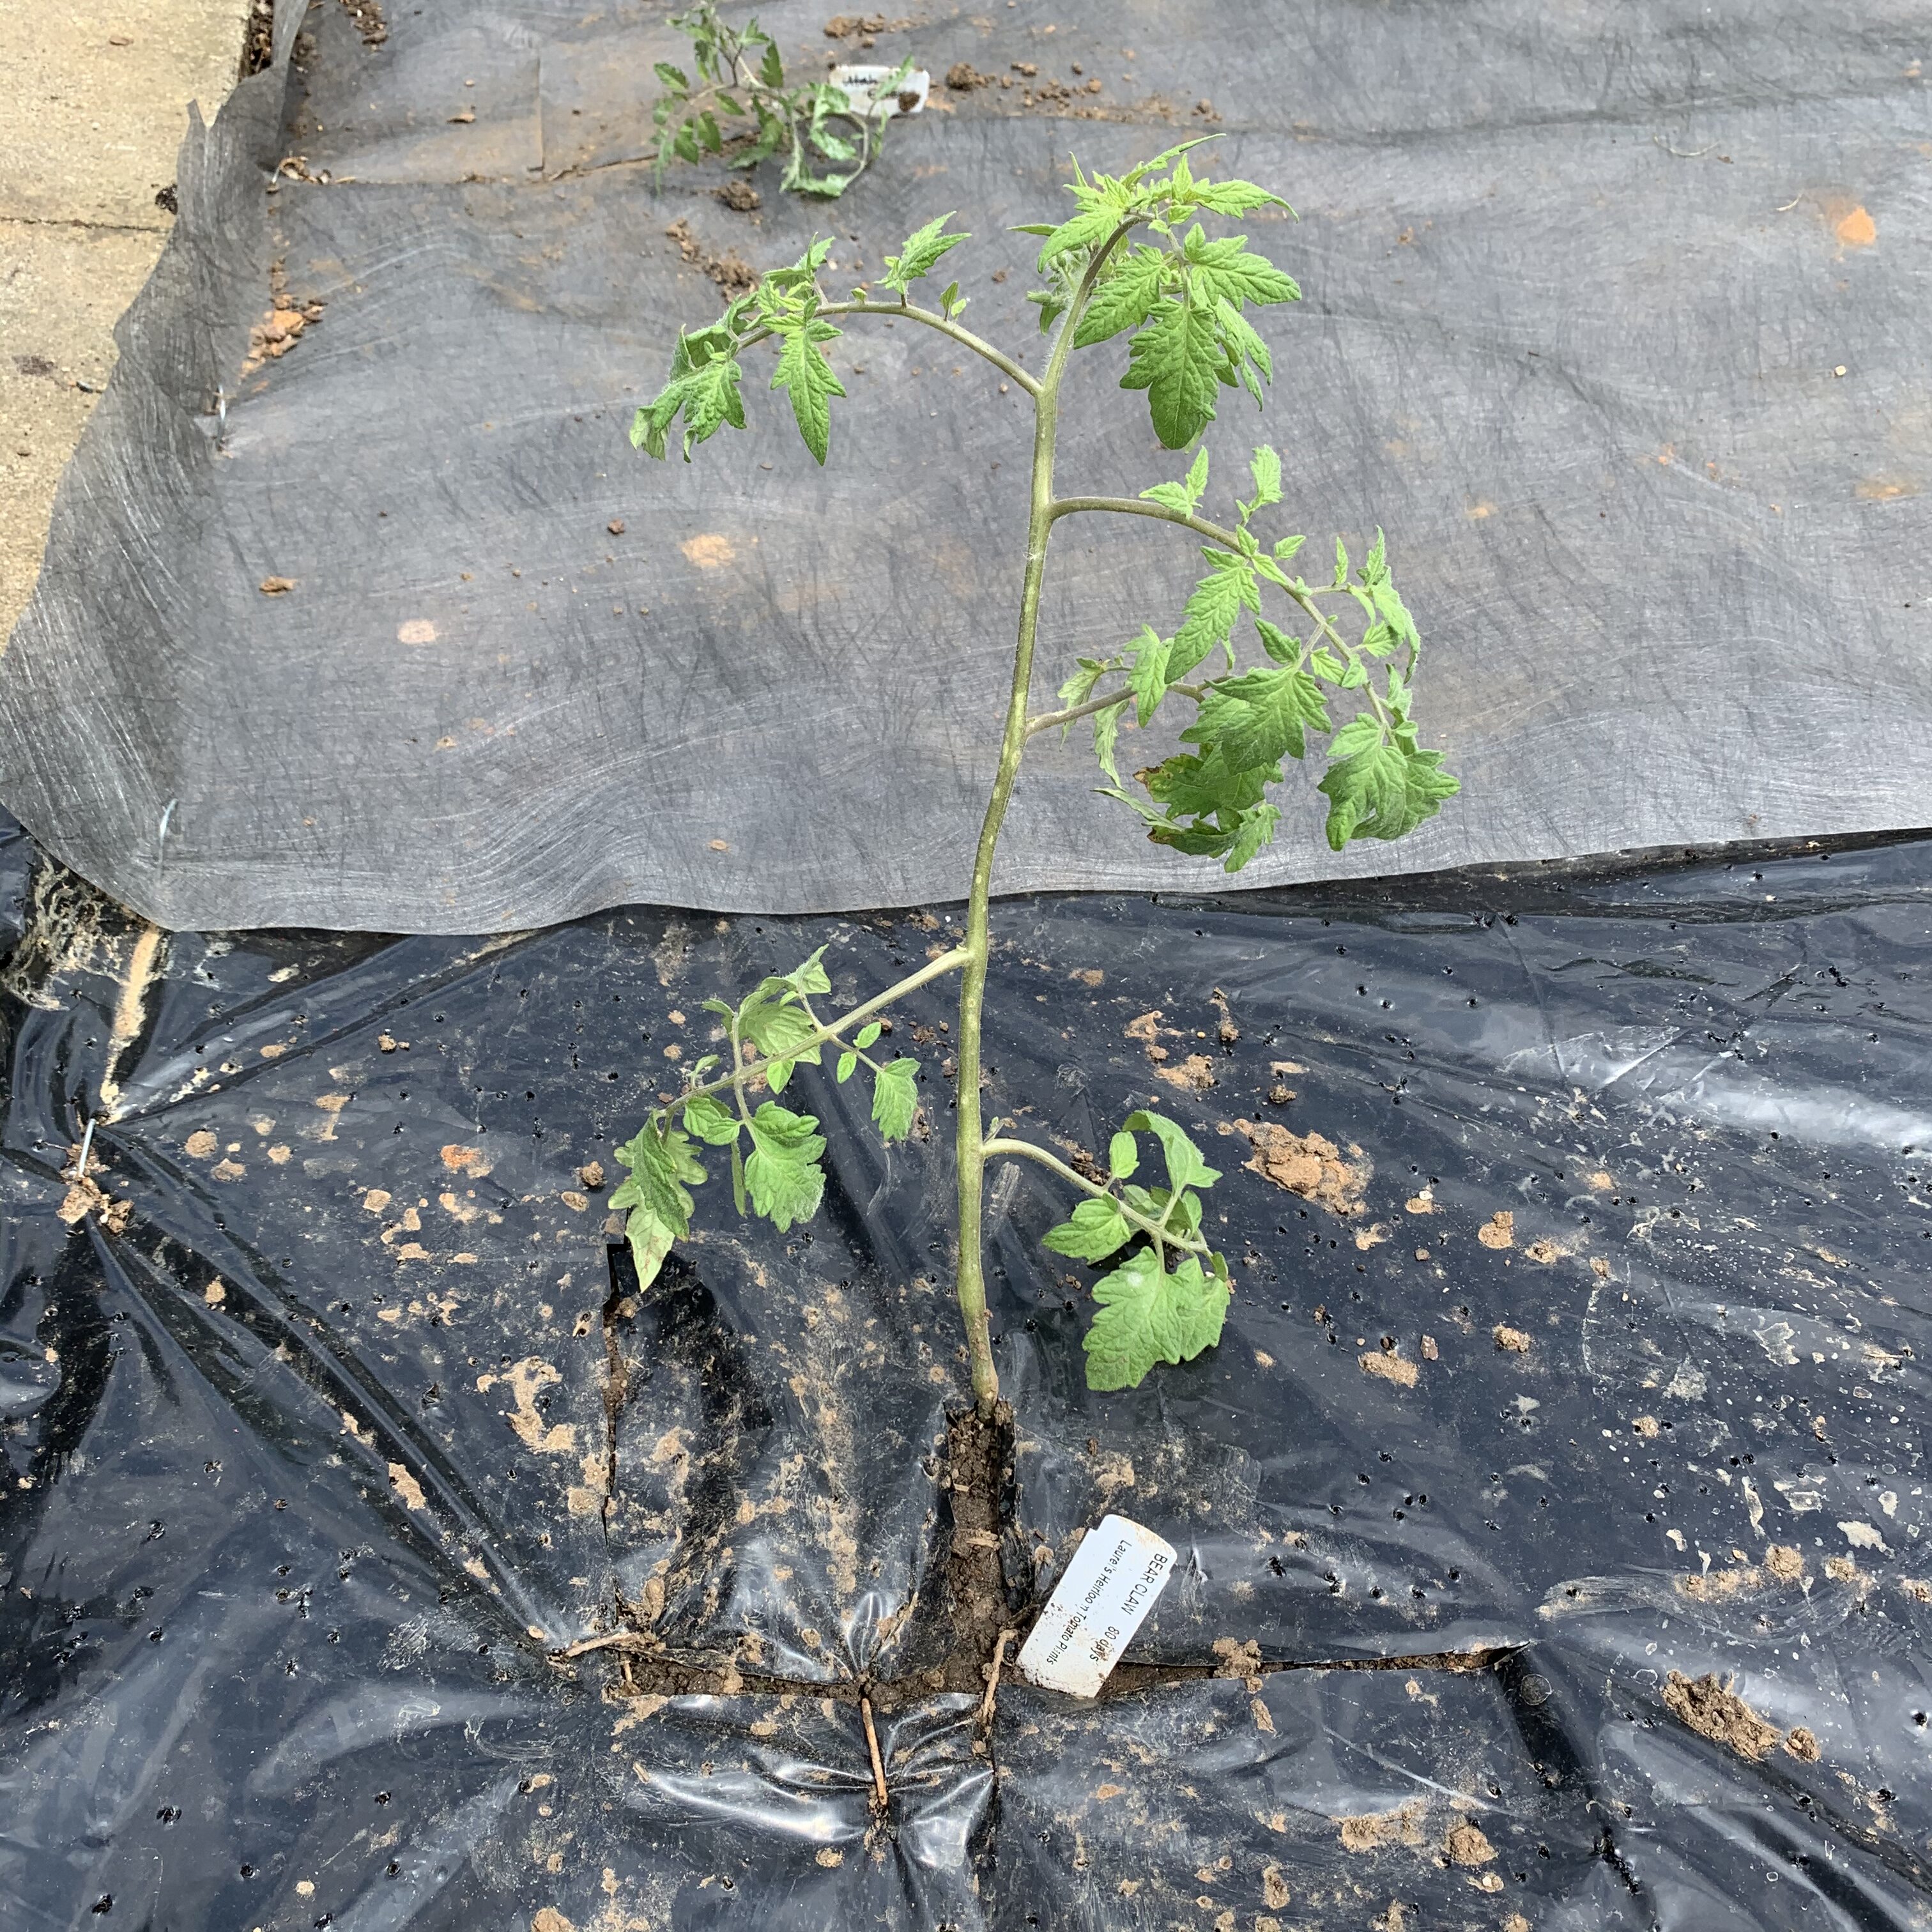
I put Bear Claw and Anna Russian in on the corners so they’d be easy to tie up and support. I think they may be tricky size-wise later on.
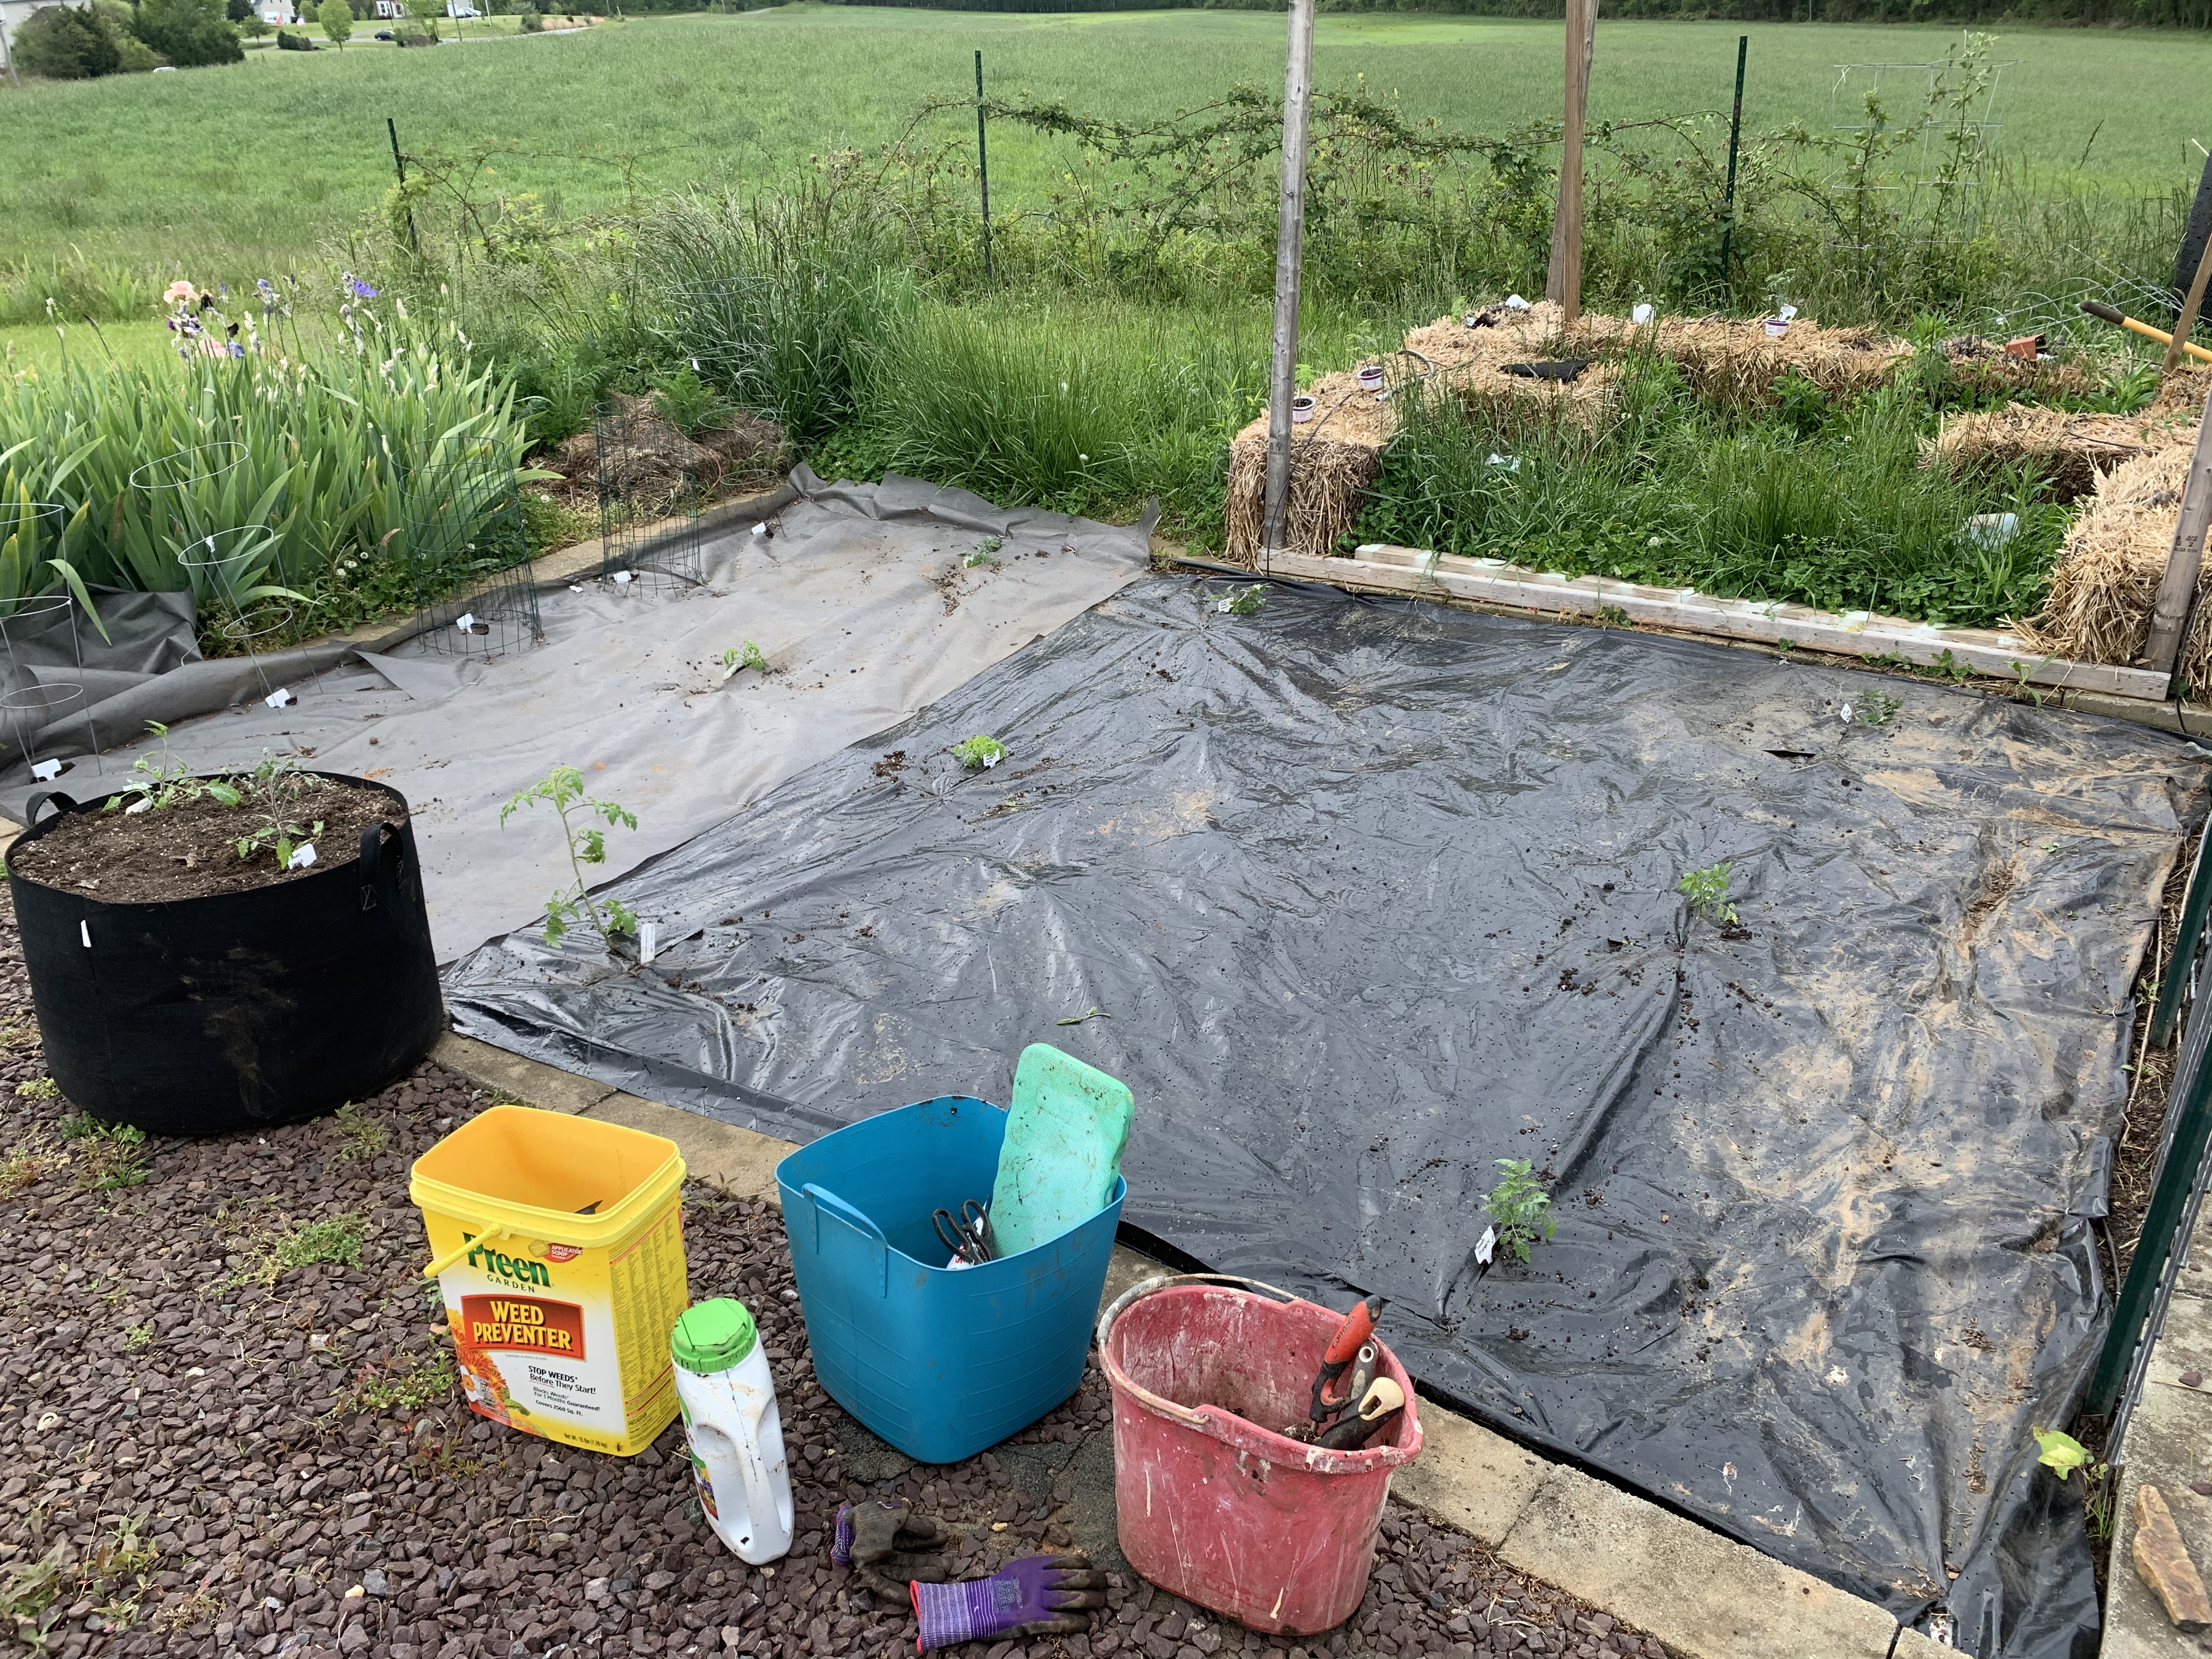
The whole thing
Other notes
I’m very pleased with the way my plants’ roots looked. All of them had very good root systems. They were not root bound yet, but they all had very good looking roots. I didn’t make much effort to break them up, but I did spread them when I could do so easily (usually this tomatoes I trenched). Daddy says the plants I sent him are doing great, as a measure. They experienced no transplant shock and have been growing well in their spot in the garden for over a week now. I think I’ve grown some very good plants this year, and they should do well.
I forgot to put aspirin in the plants in the bales. Those are less likely to get foliar disease anyway. I may do a salacylic spray in a few weeks after the plants get a little more established, but they will be fine for now.
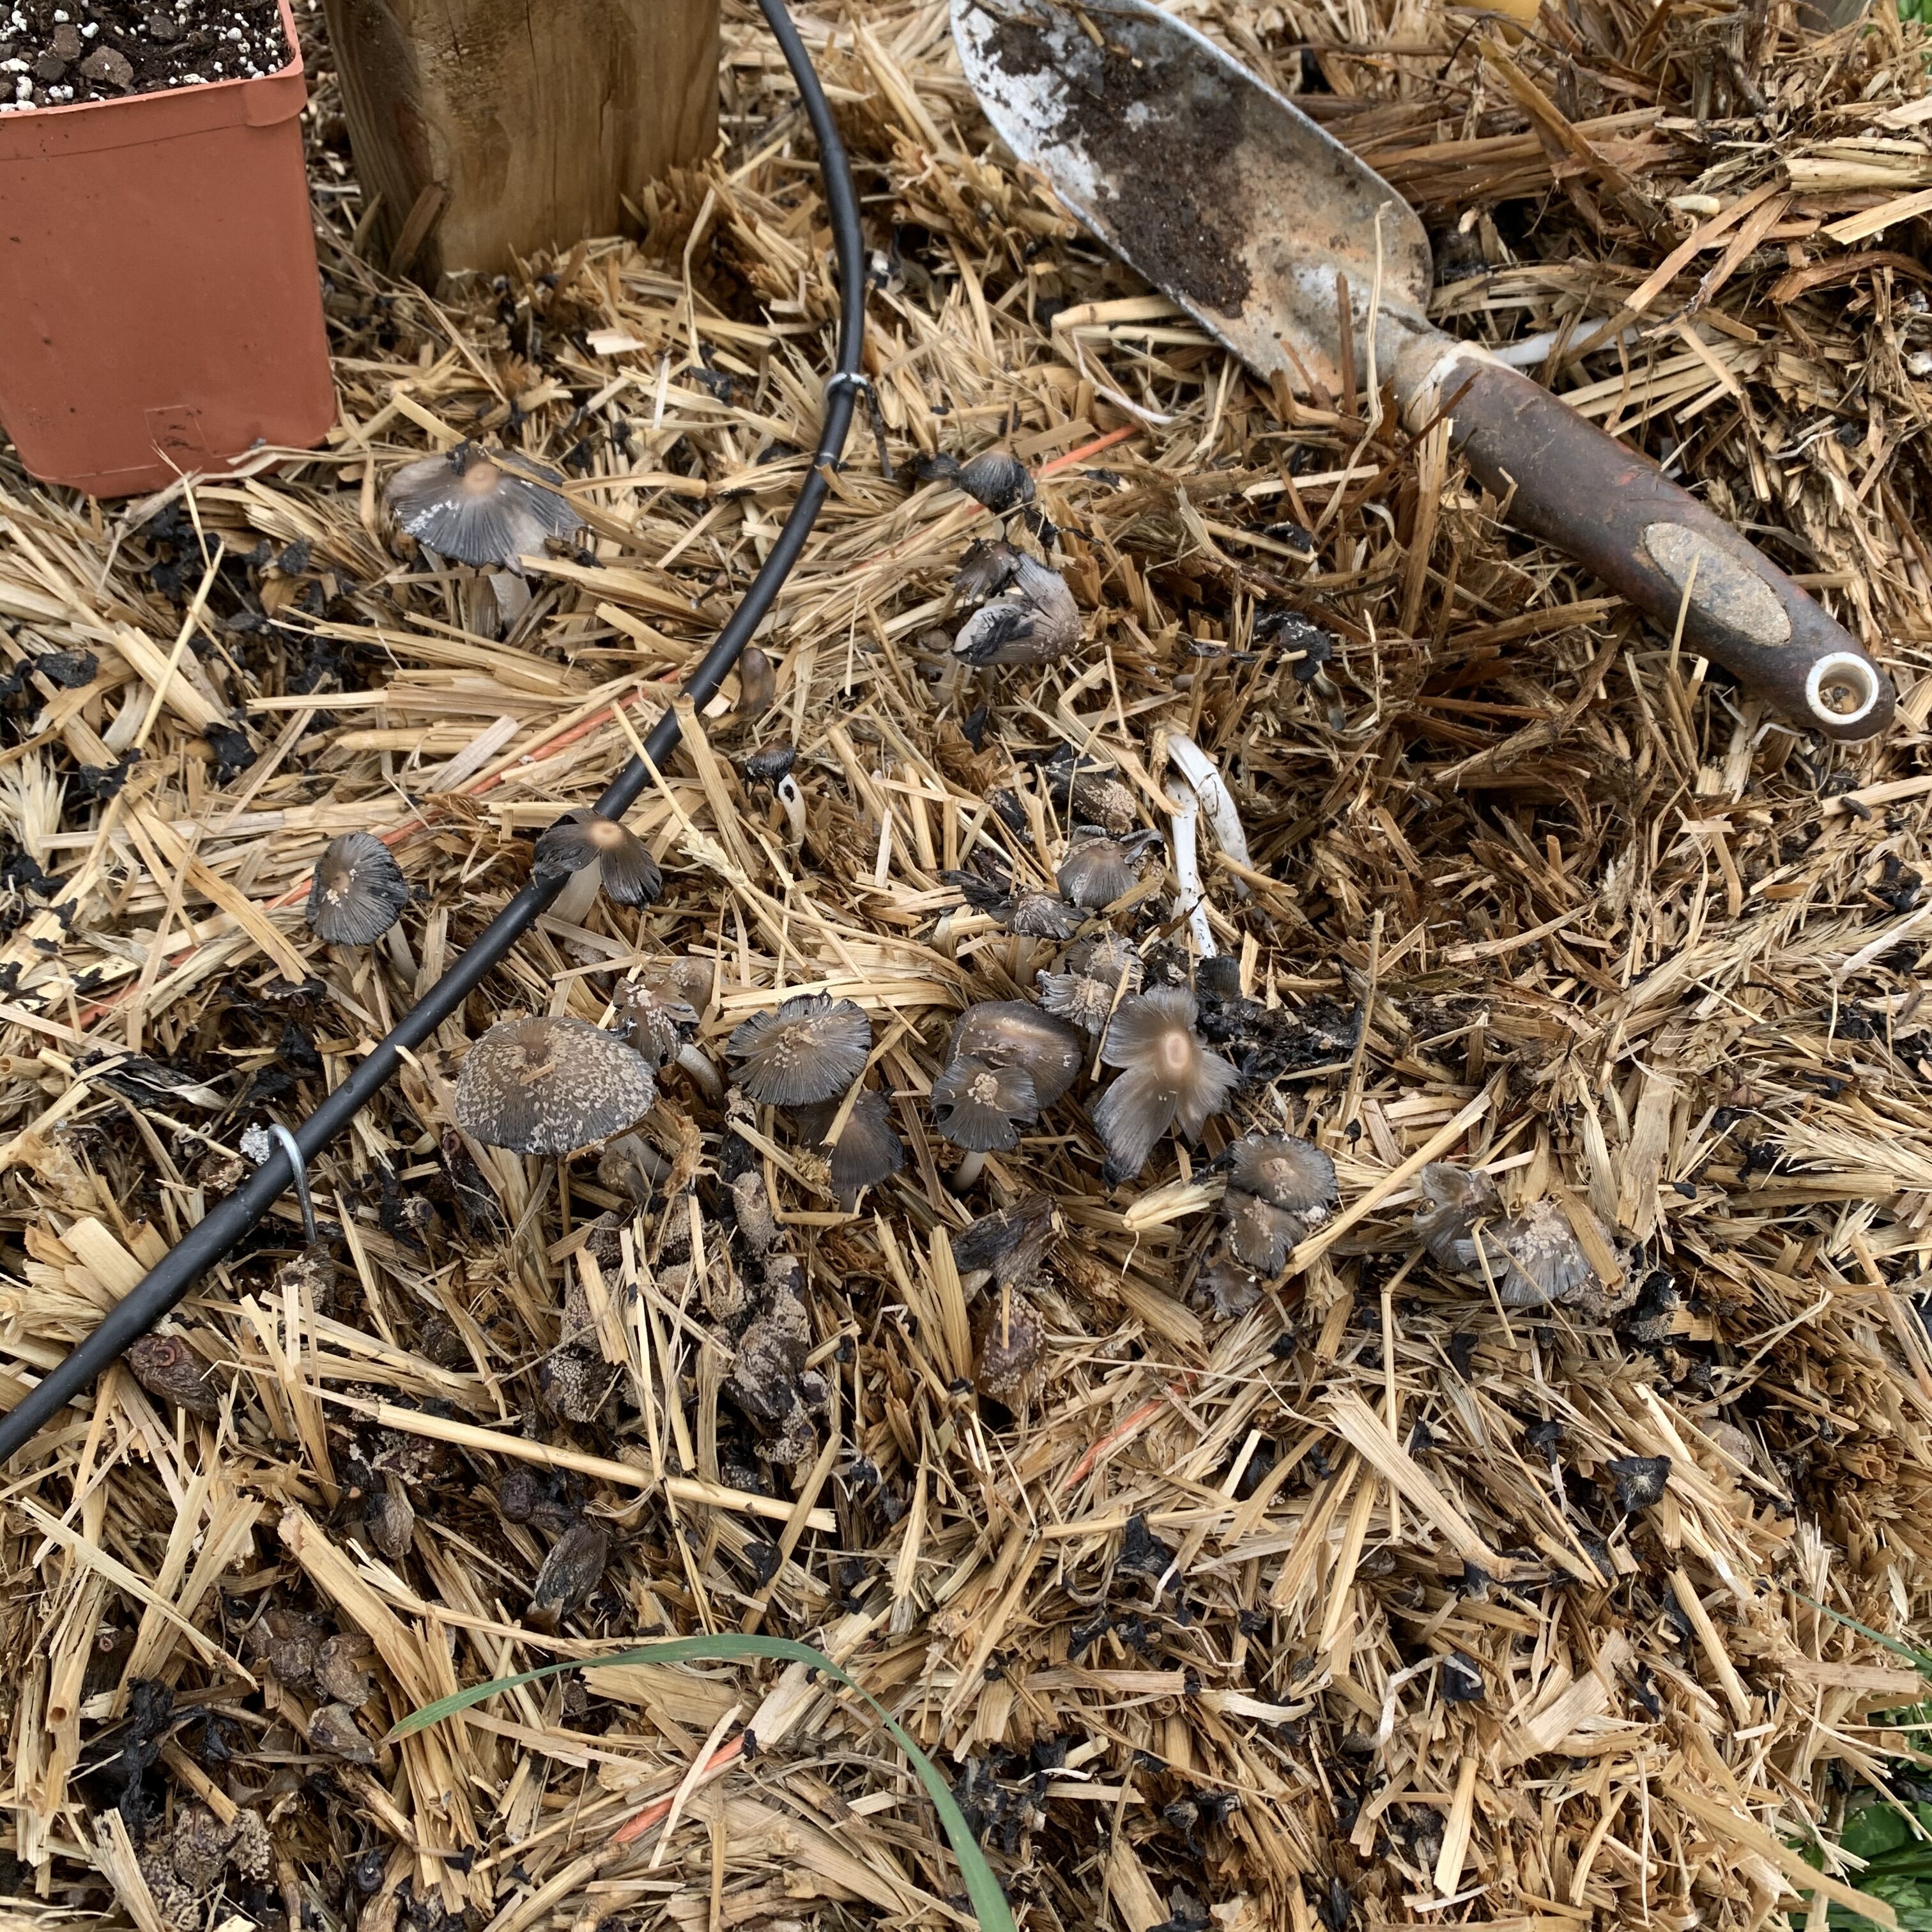
All but one of my bales were covered with mushrooms — I mean COVERED. I understand that’s a good sign, so I’m hoping they are conditioned right:
The rest of the garden…
I am pretty sure I’ve got some spider mites of my roses, and they already have black spot pretty bad. I should have been spraying them before now, but I just plain forgot because I wasn’t staying tomatoes. I will mix up some spray tomorrow and get them taken care of.
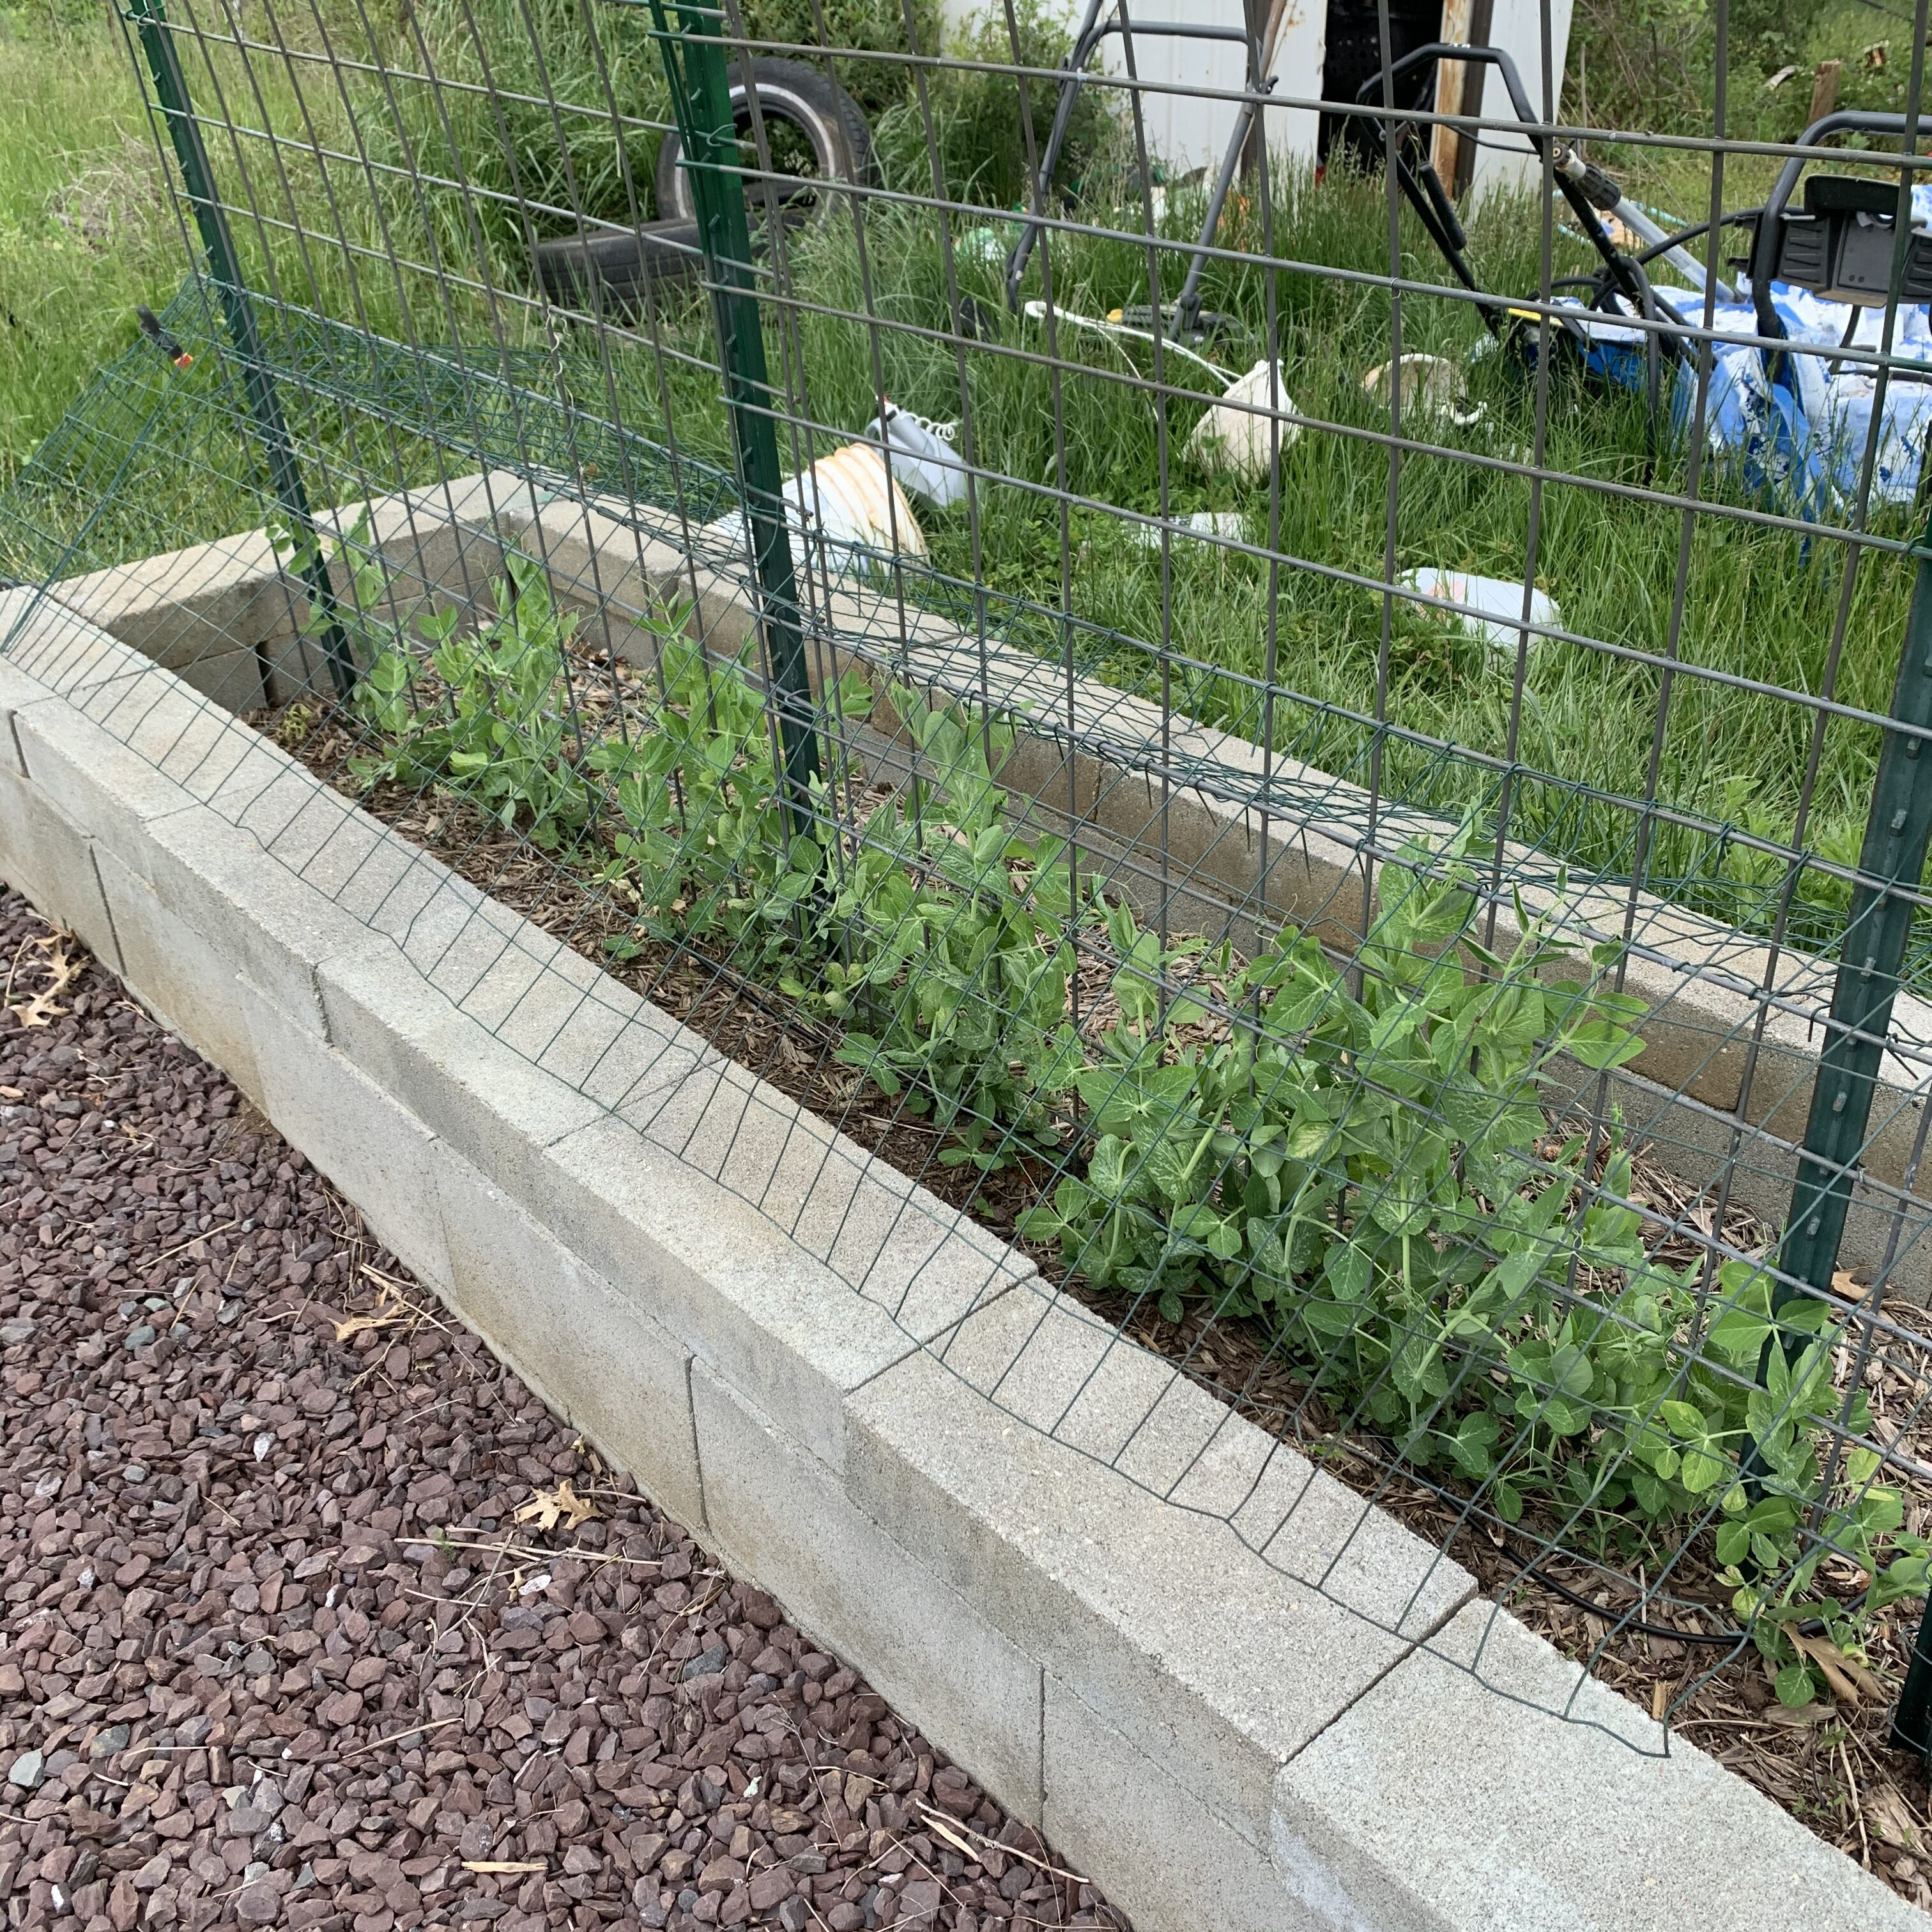
The peas look very good, but no blooms yet:
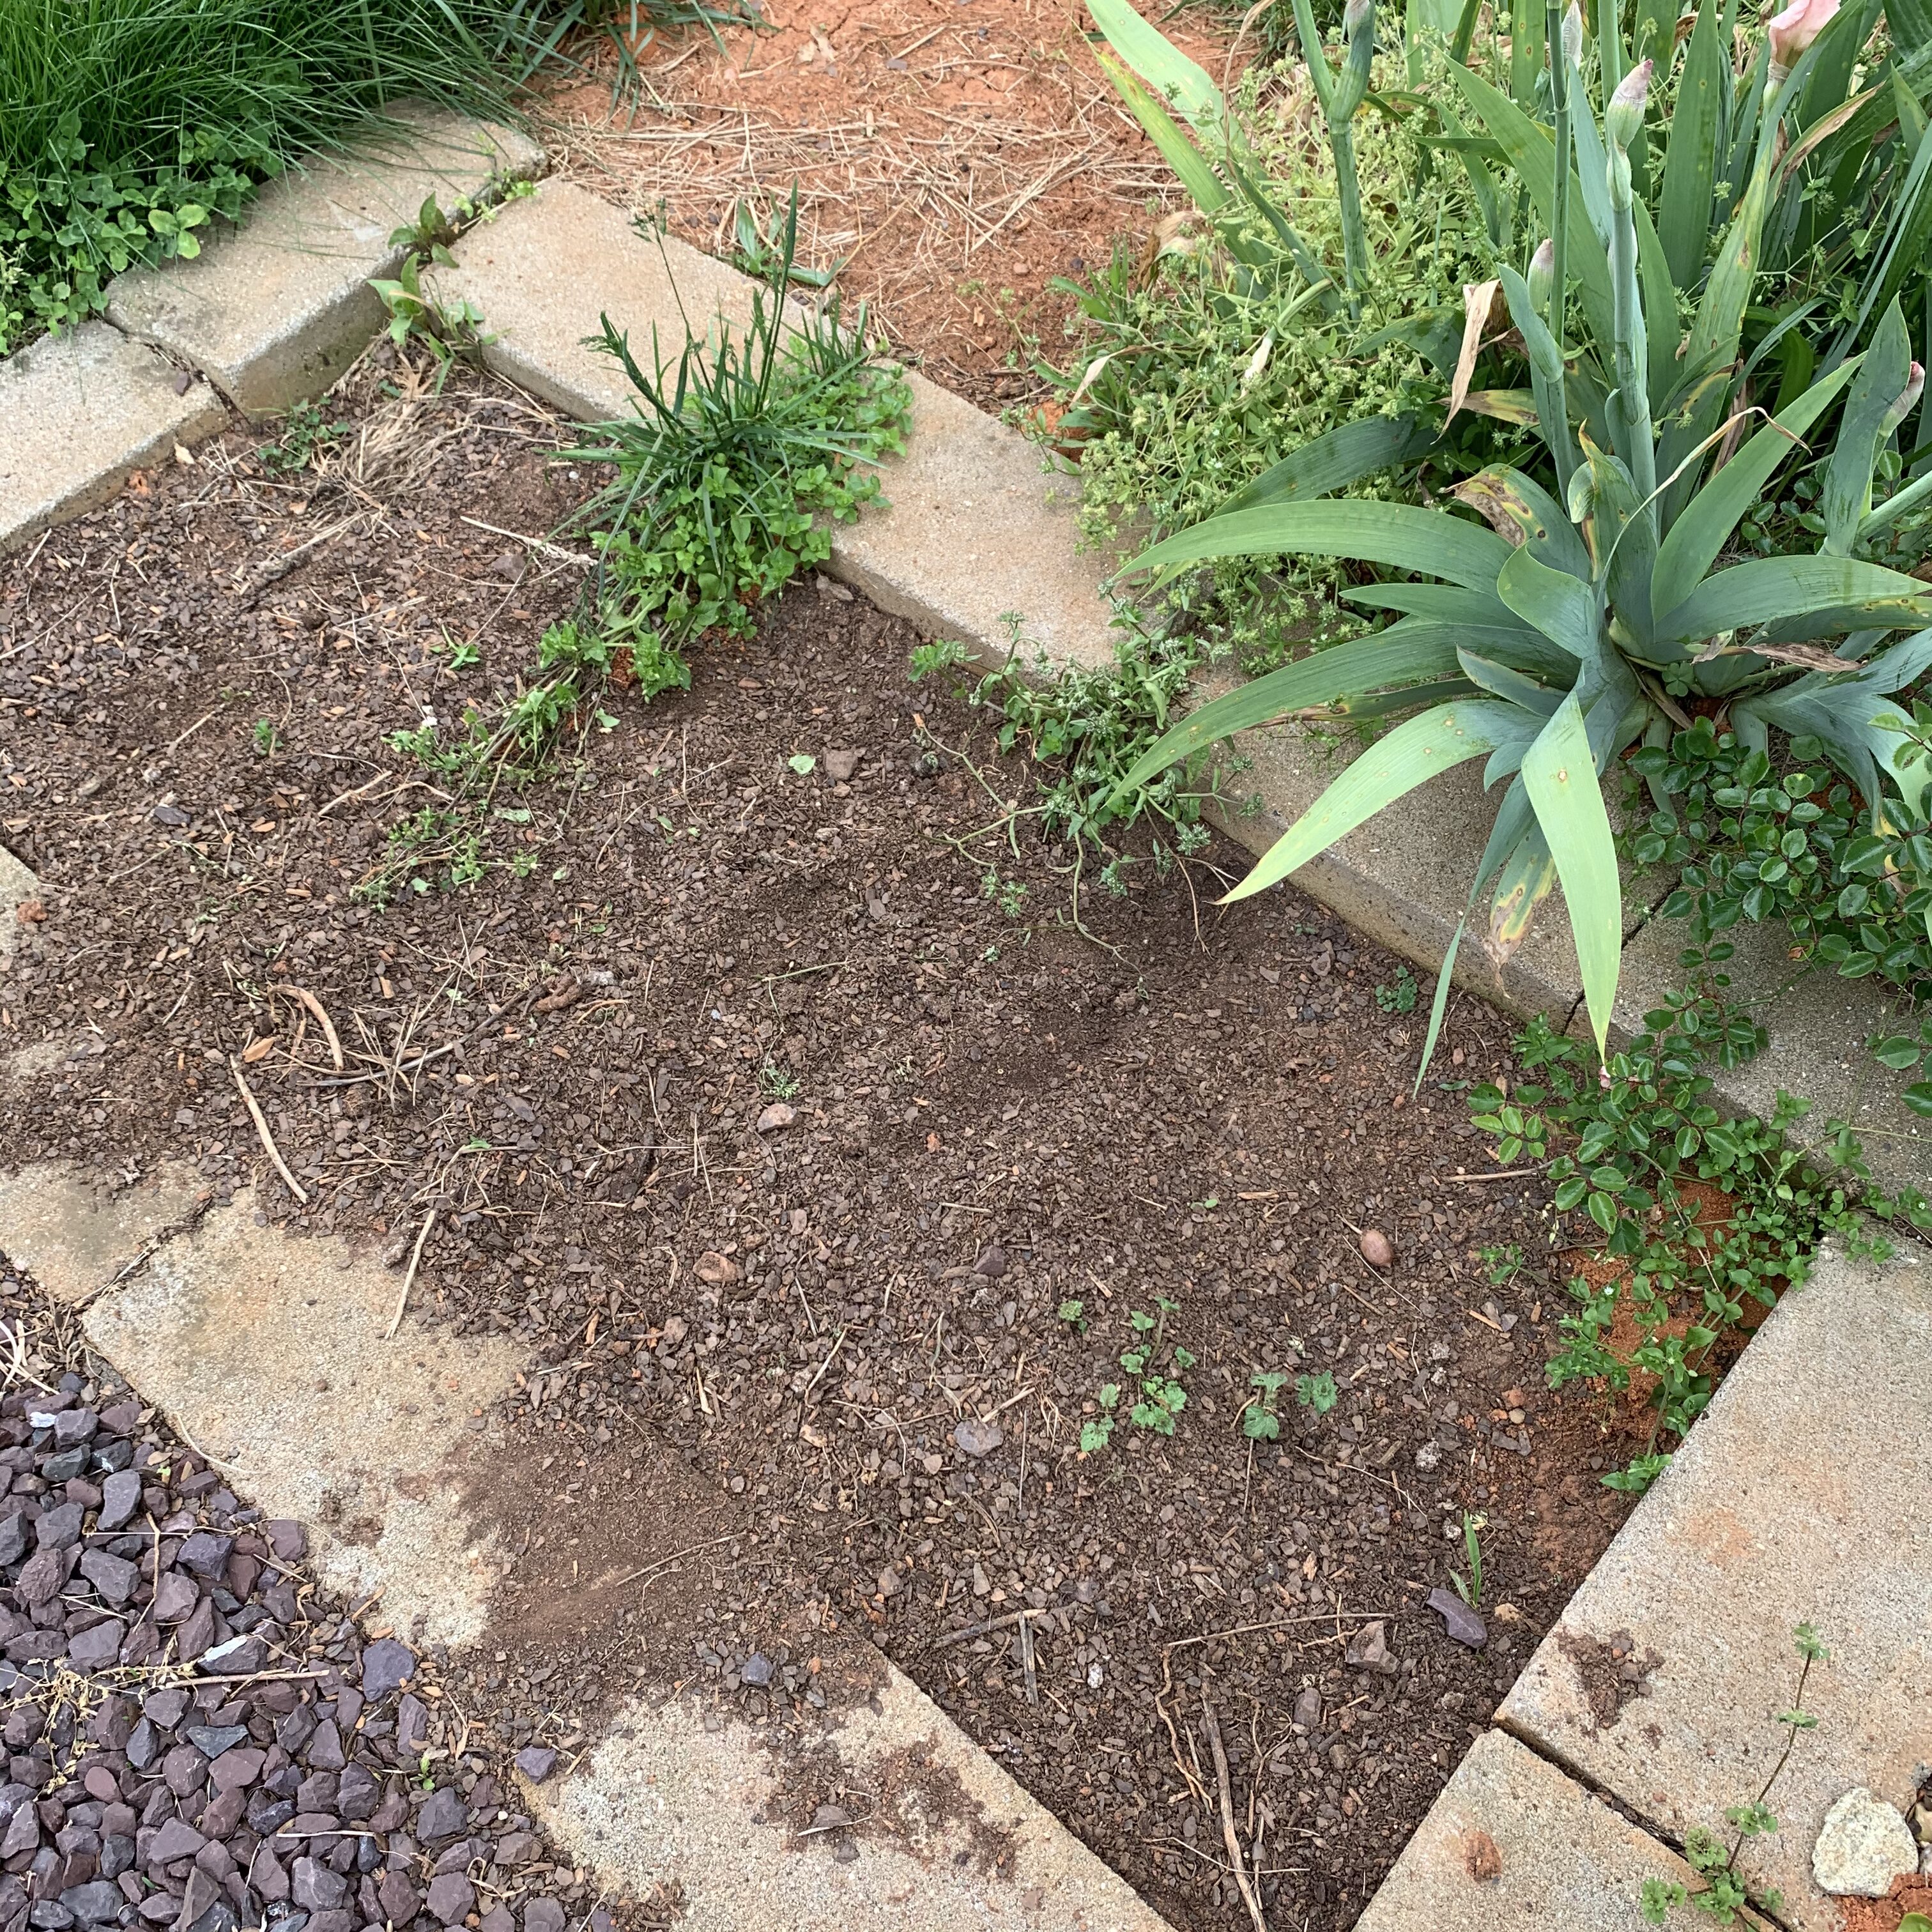
I think something has been digging up my zinnia beds…. I’m not sure why — the cat using it as a litter box, maybe?
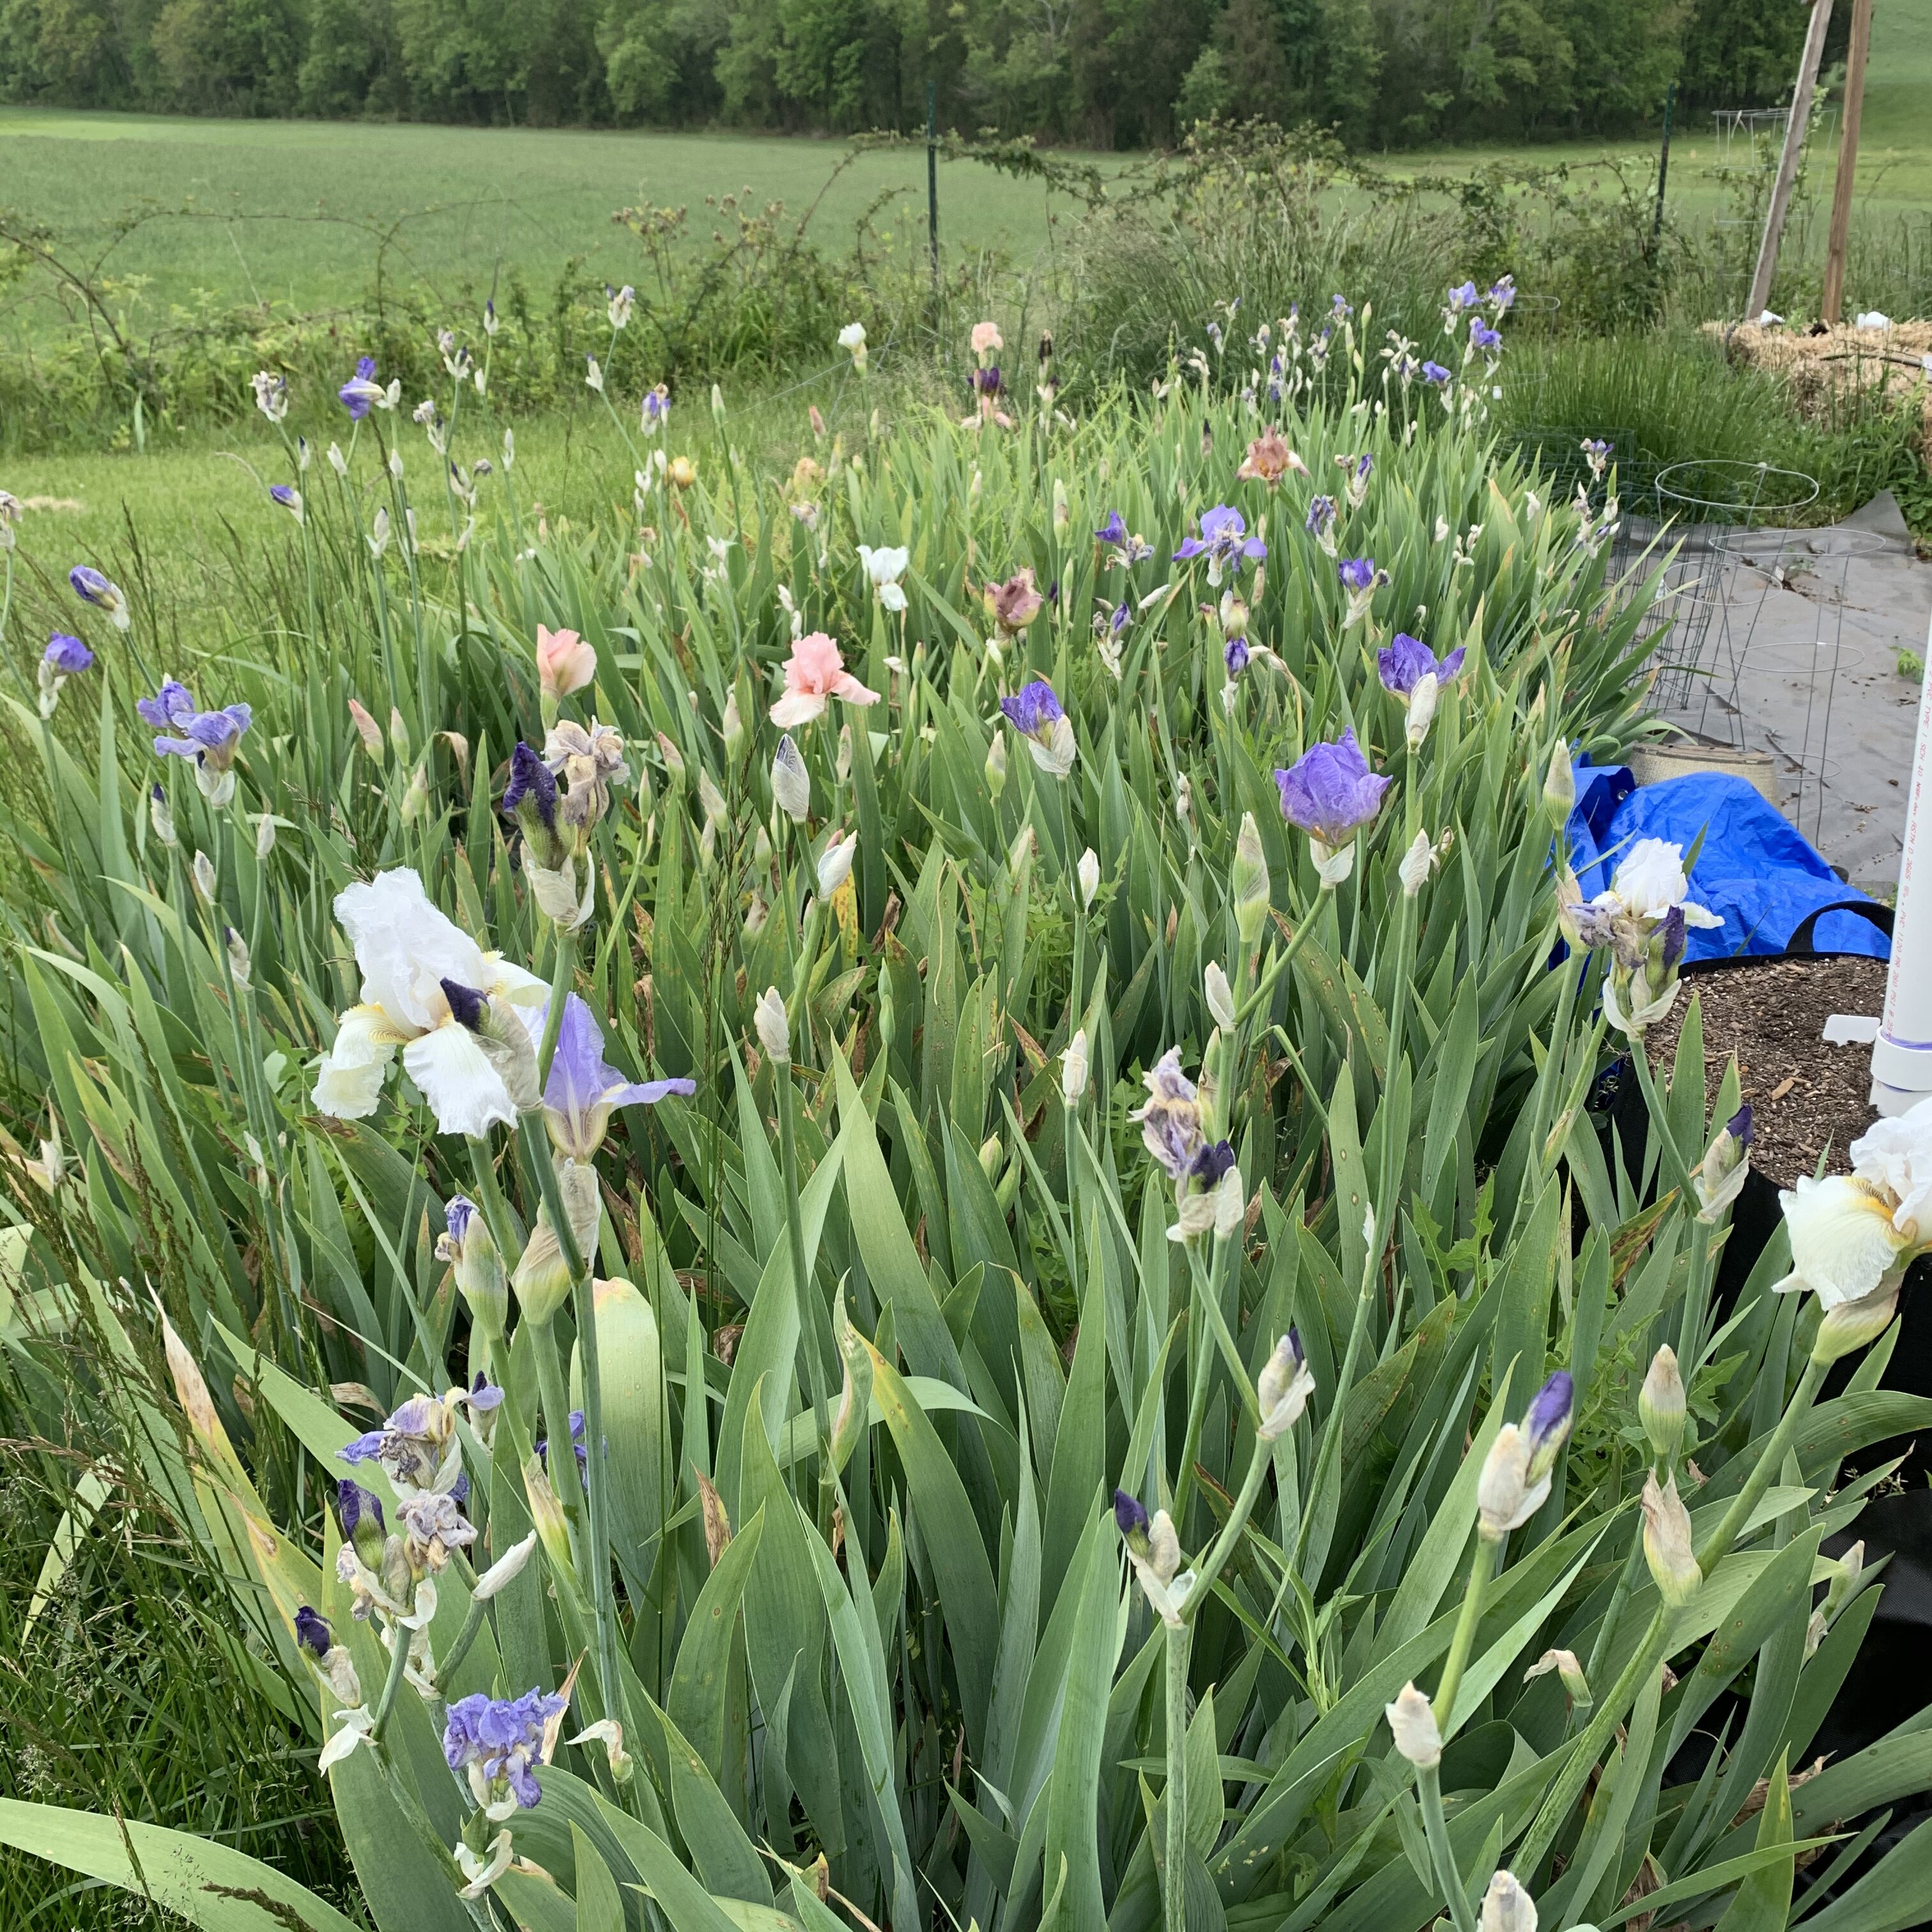
Several of the iris blooms shriveled up after the frost, but new blooms are on the way:
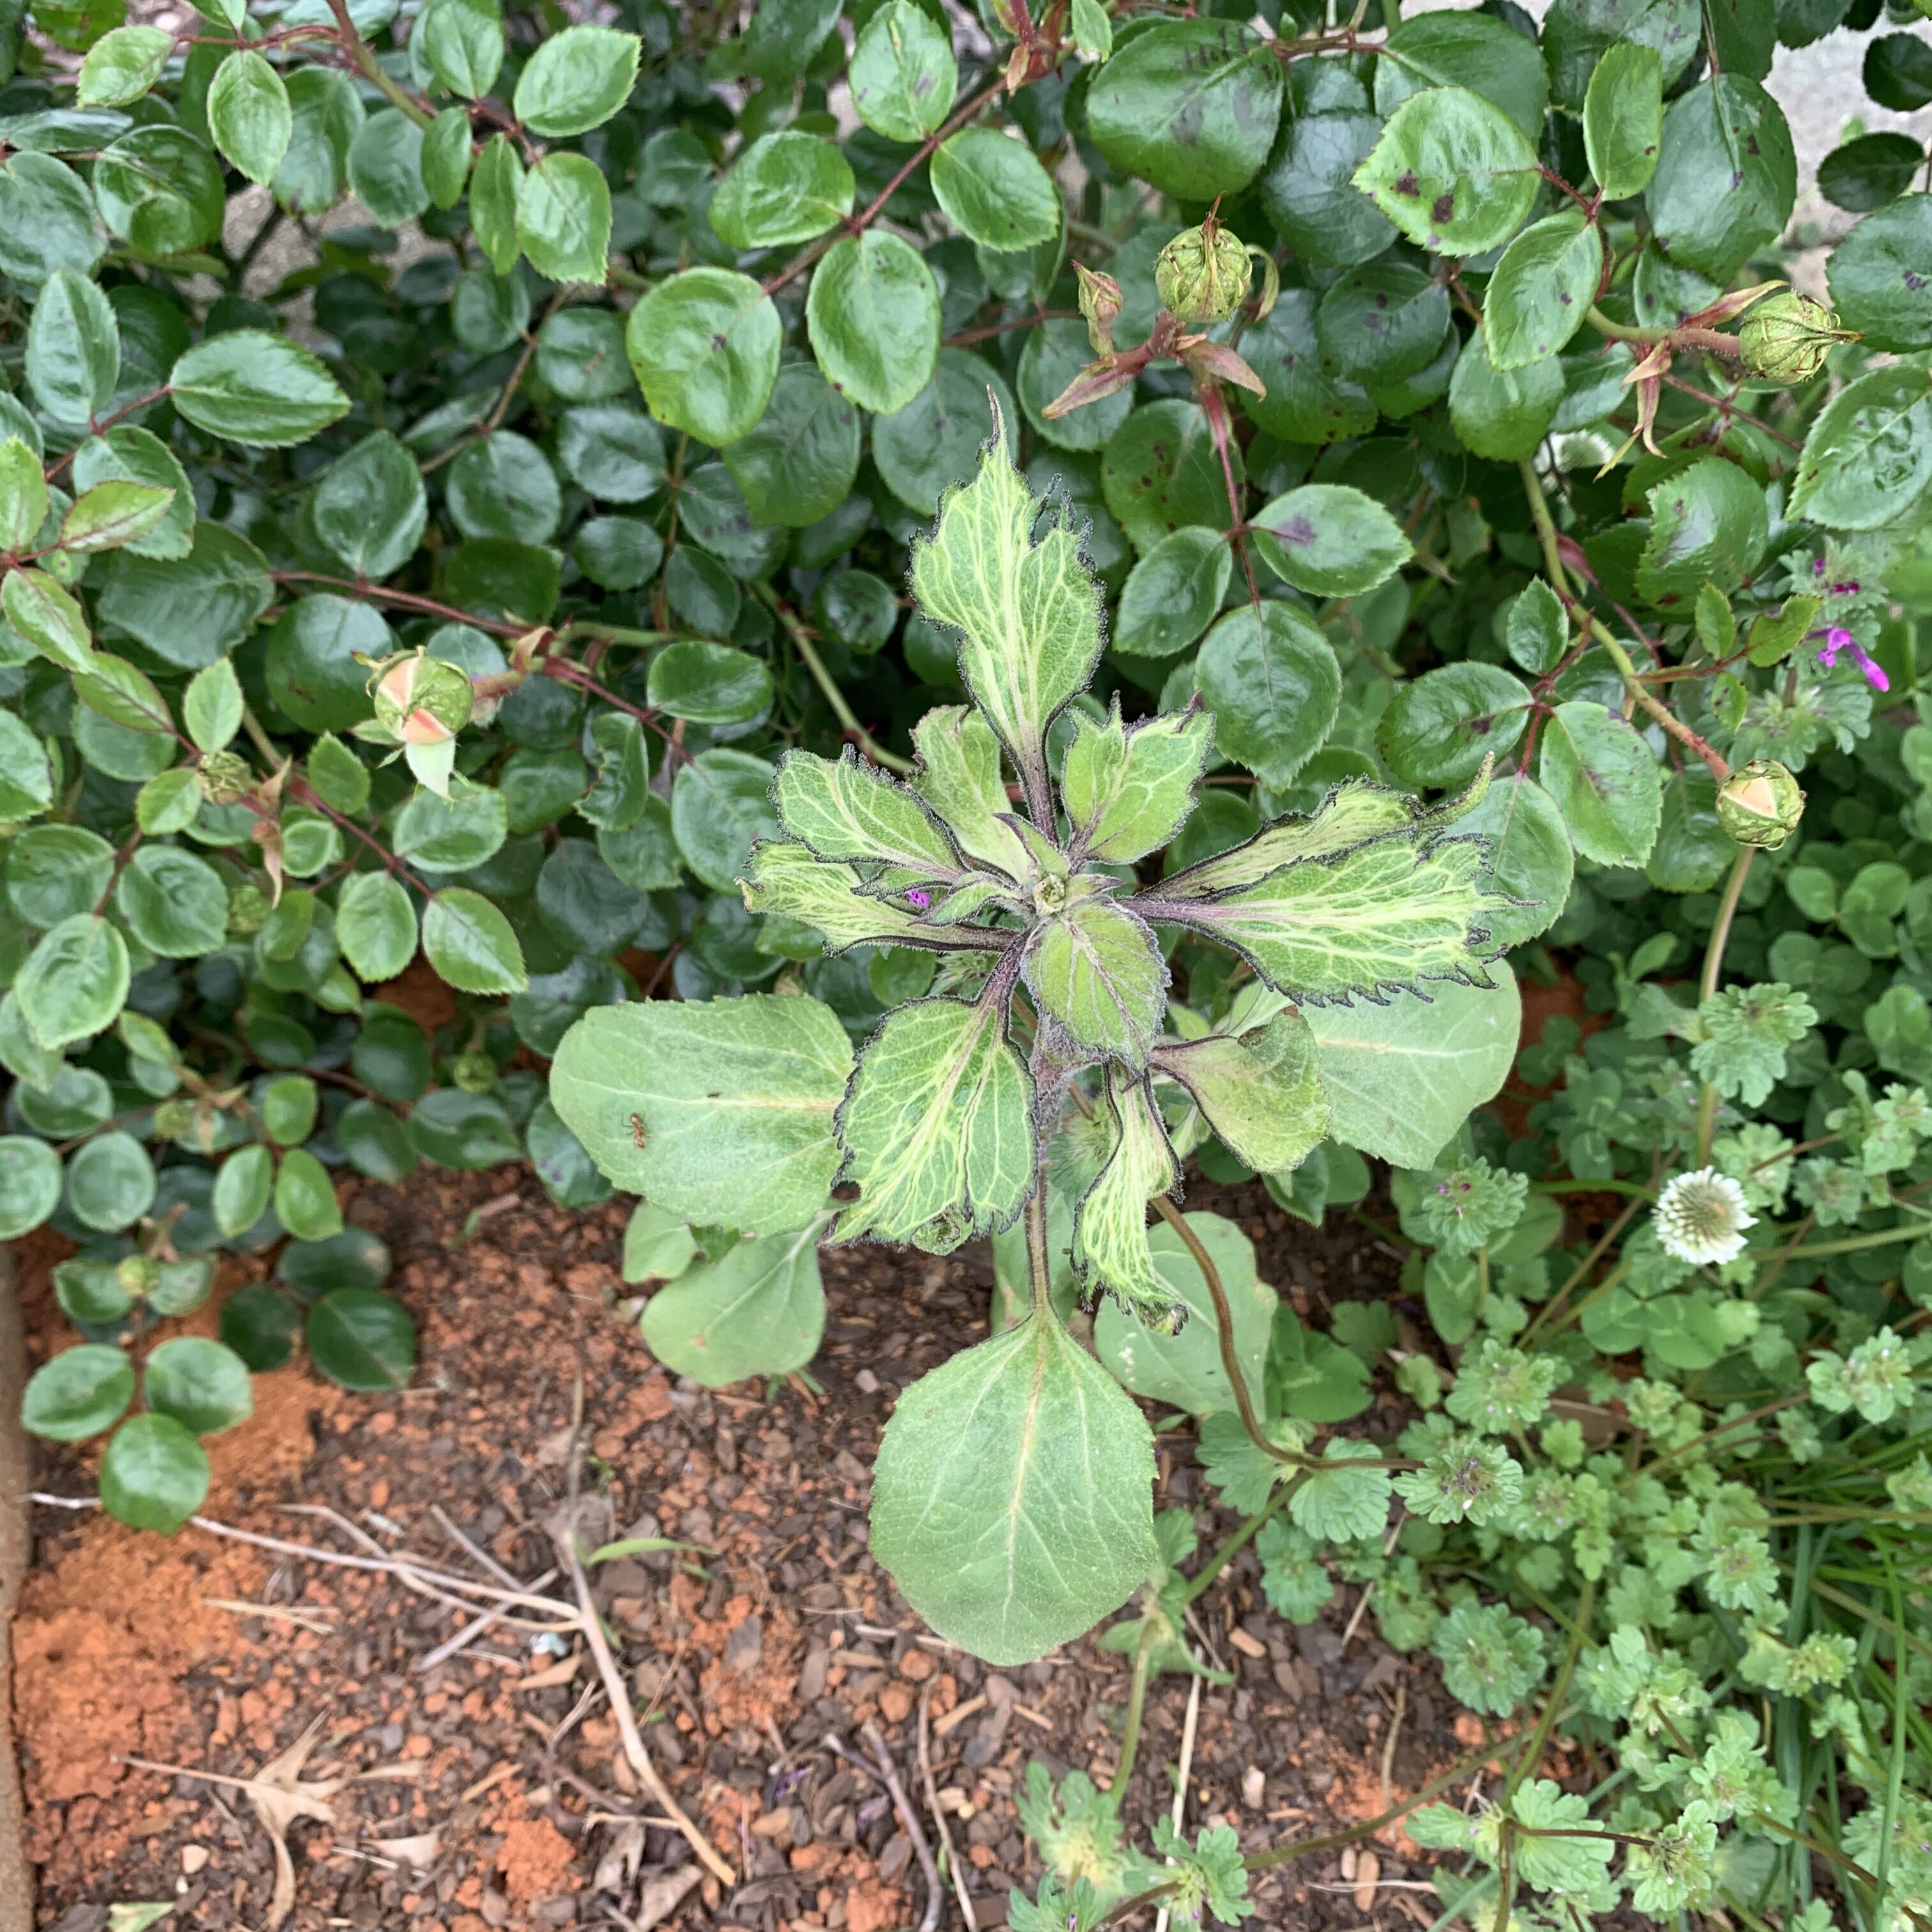
This is a weird-looking plant coming up under the rise bush:
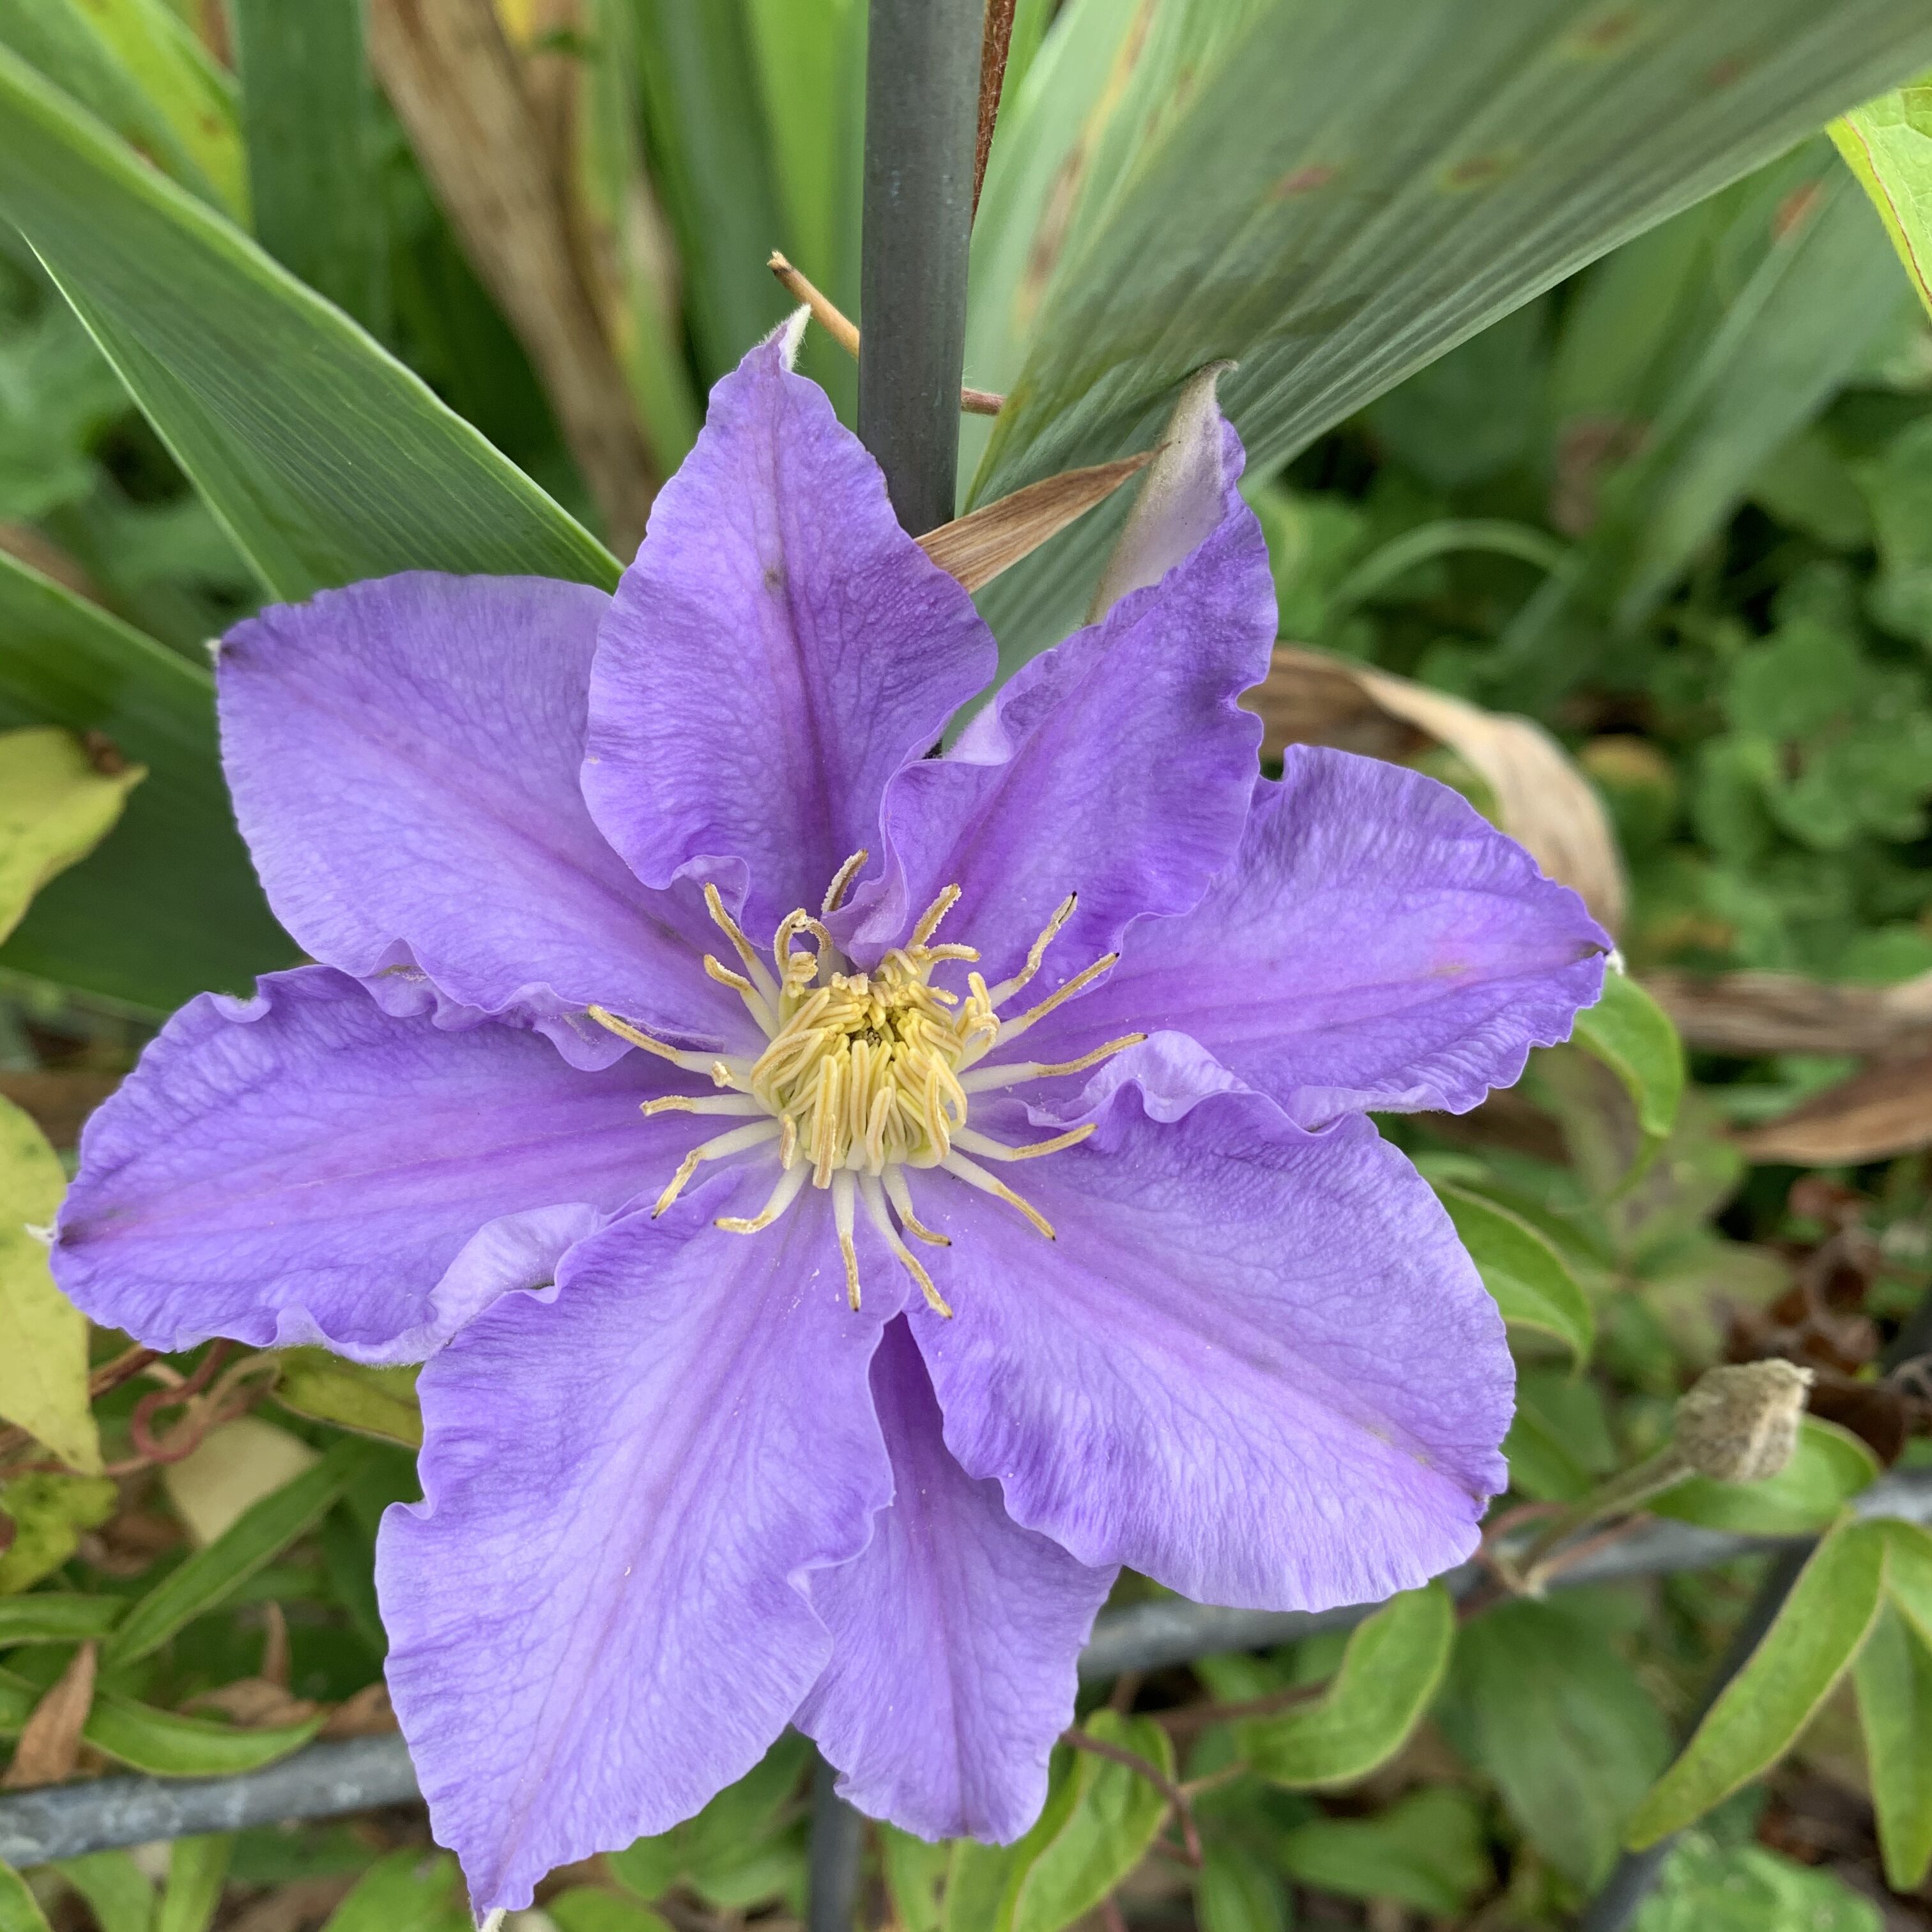
I got my first clematis blooms!
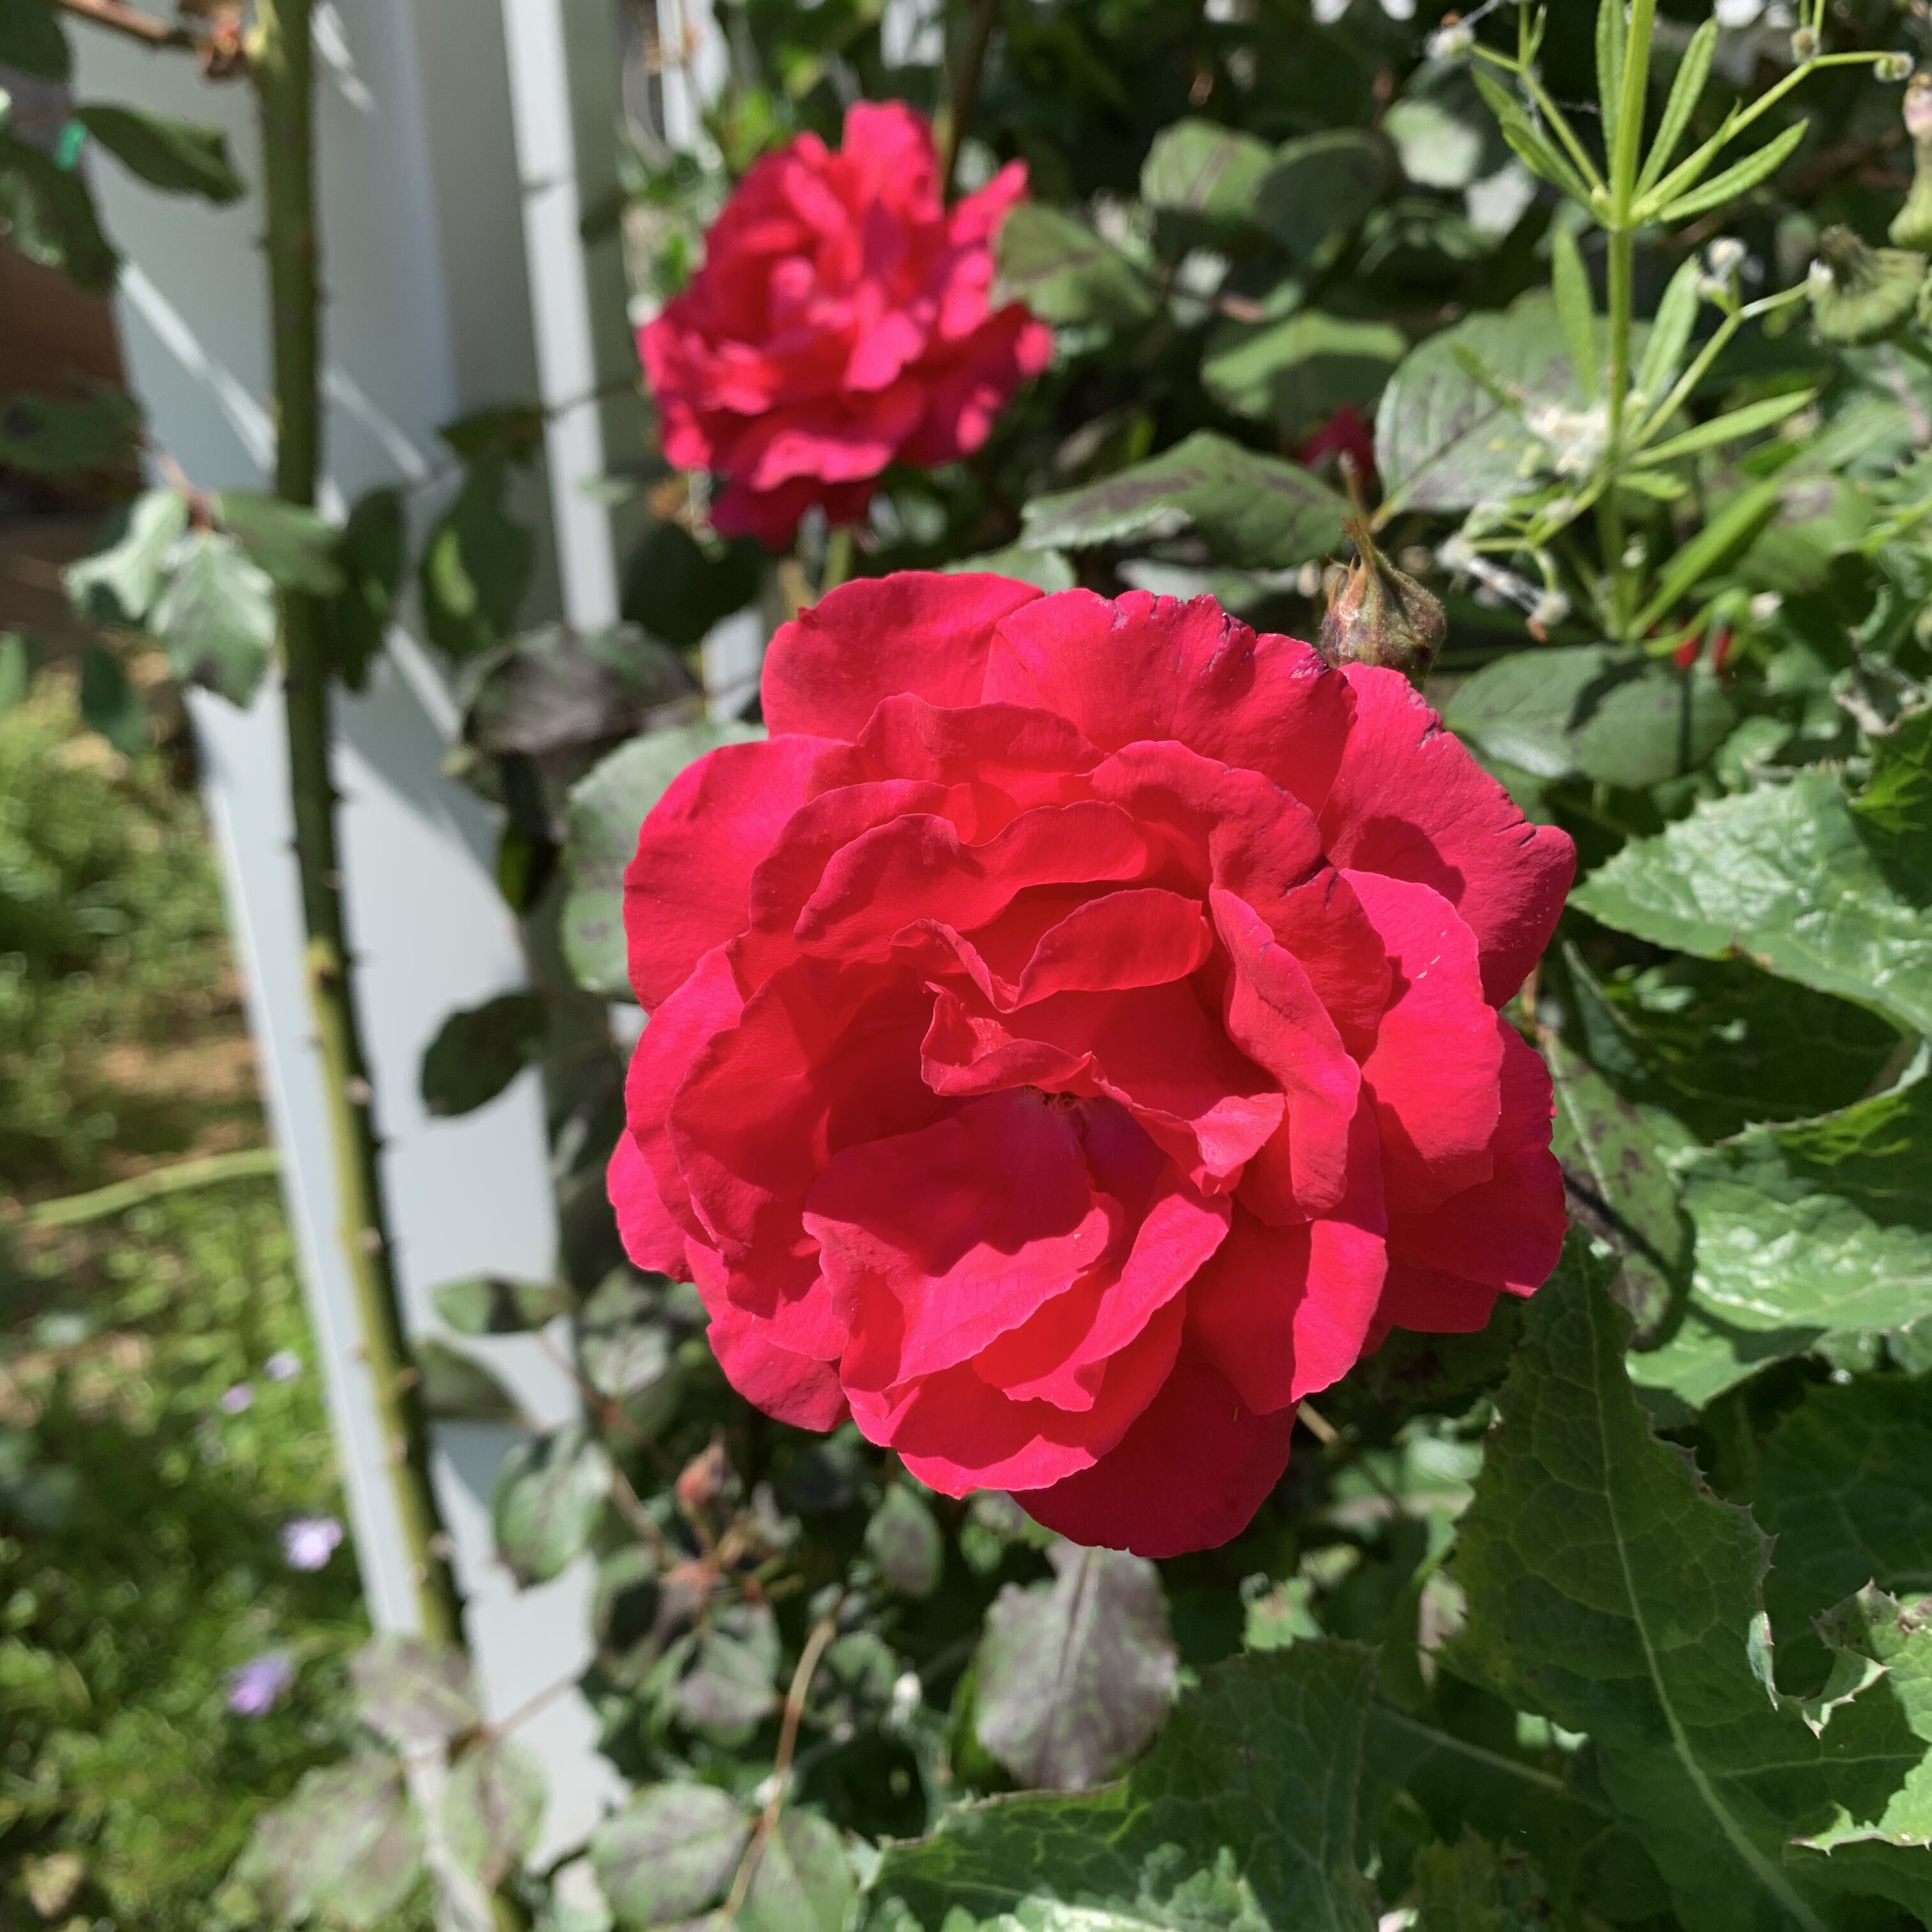
Fitzhugh rose has about 10-15 blooms now
The hubs and I went to the hardware store to grab some seeds. It’s actually overwhelming to be inside a store after having not been inside one in so long. SO MUCH STUFF TO SEE. It really IS like being in Little House on the Prairie and being so excited to go to town.
