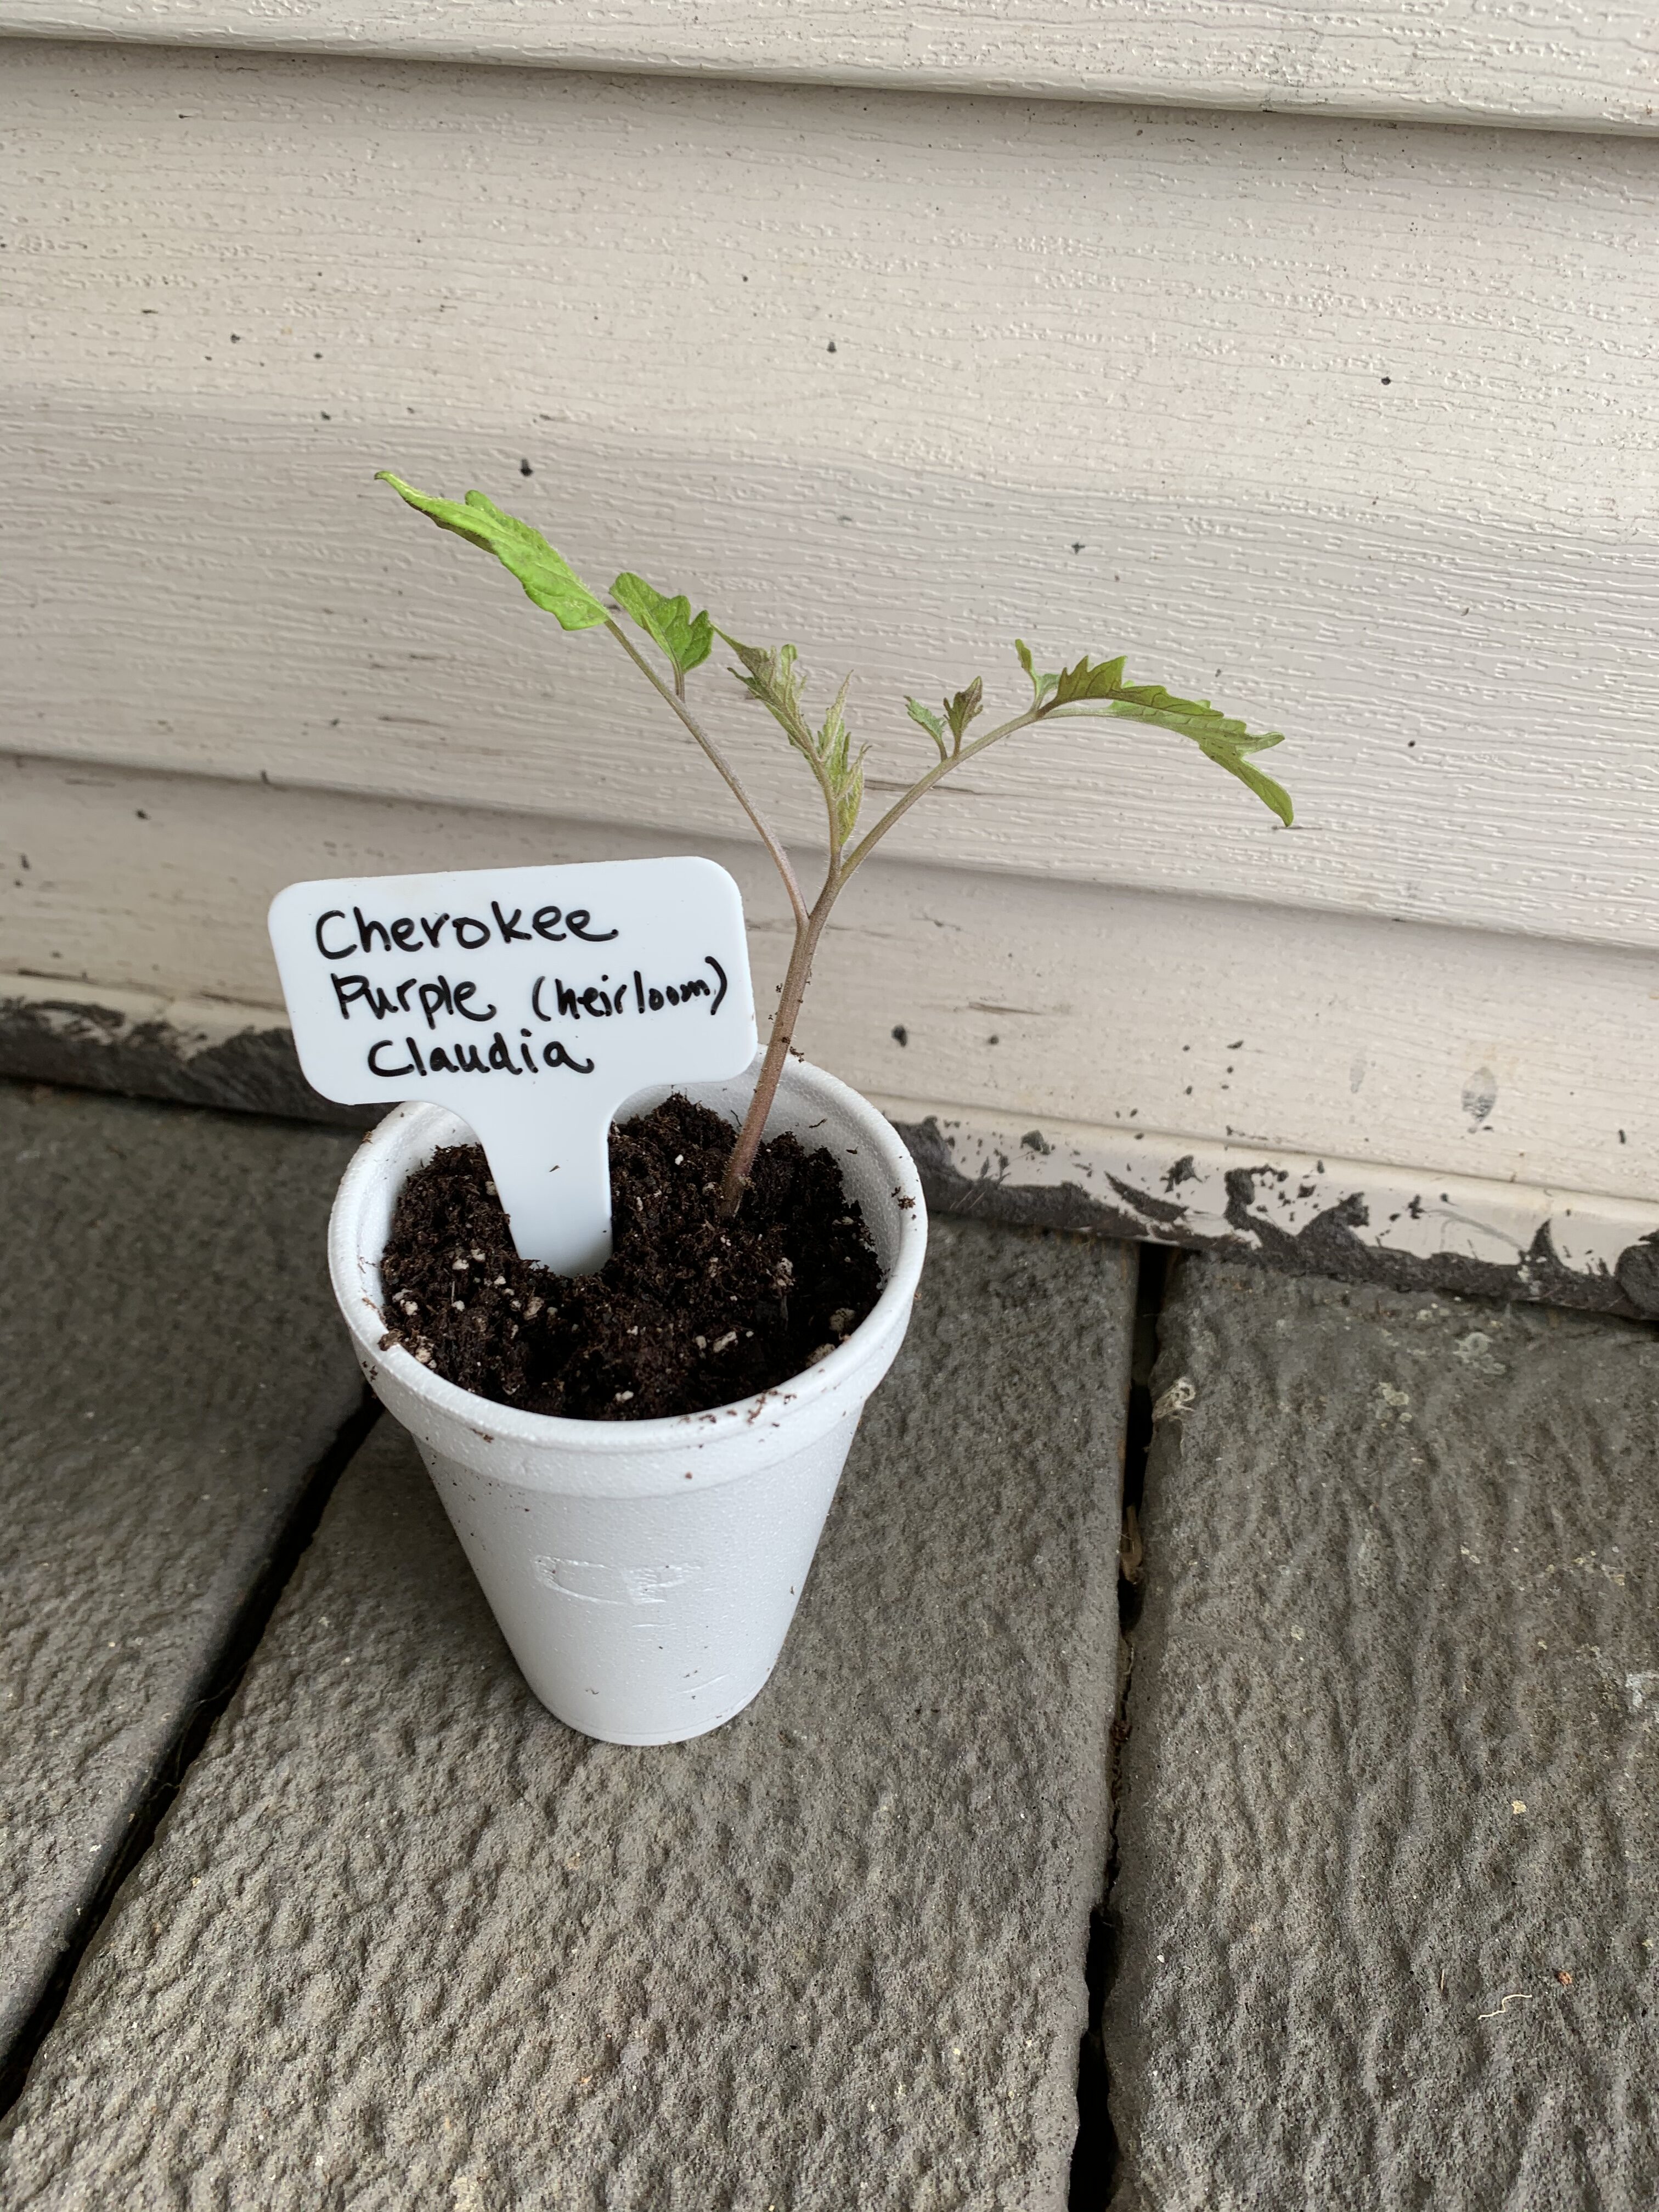
The weather was unseasonably warm yesterday, which means a thunderstorm is coming, That meant I needed to focus on getting stuff done outdoors before the rain came. Sydney reluctantly went out to the garden with me to help install the remainder of the drip line. I didn’t get any great pictures, but you get the idea. We put in tubing at the base of the bean trellis on either side, plus added 3 foot rows since I’ll have this in tomatoes.
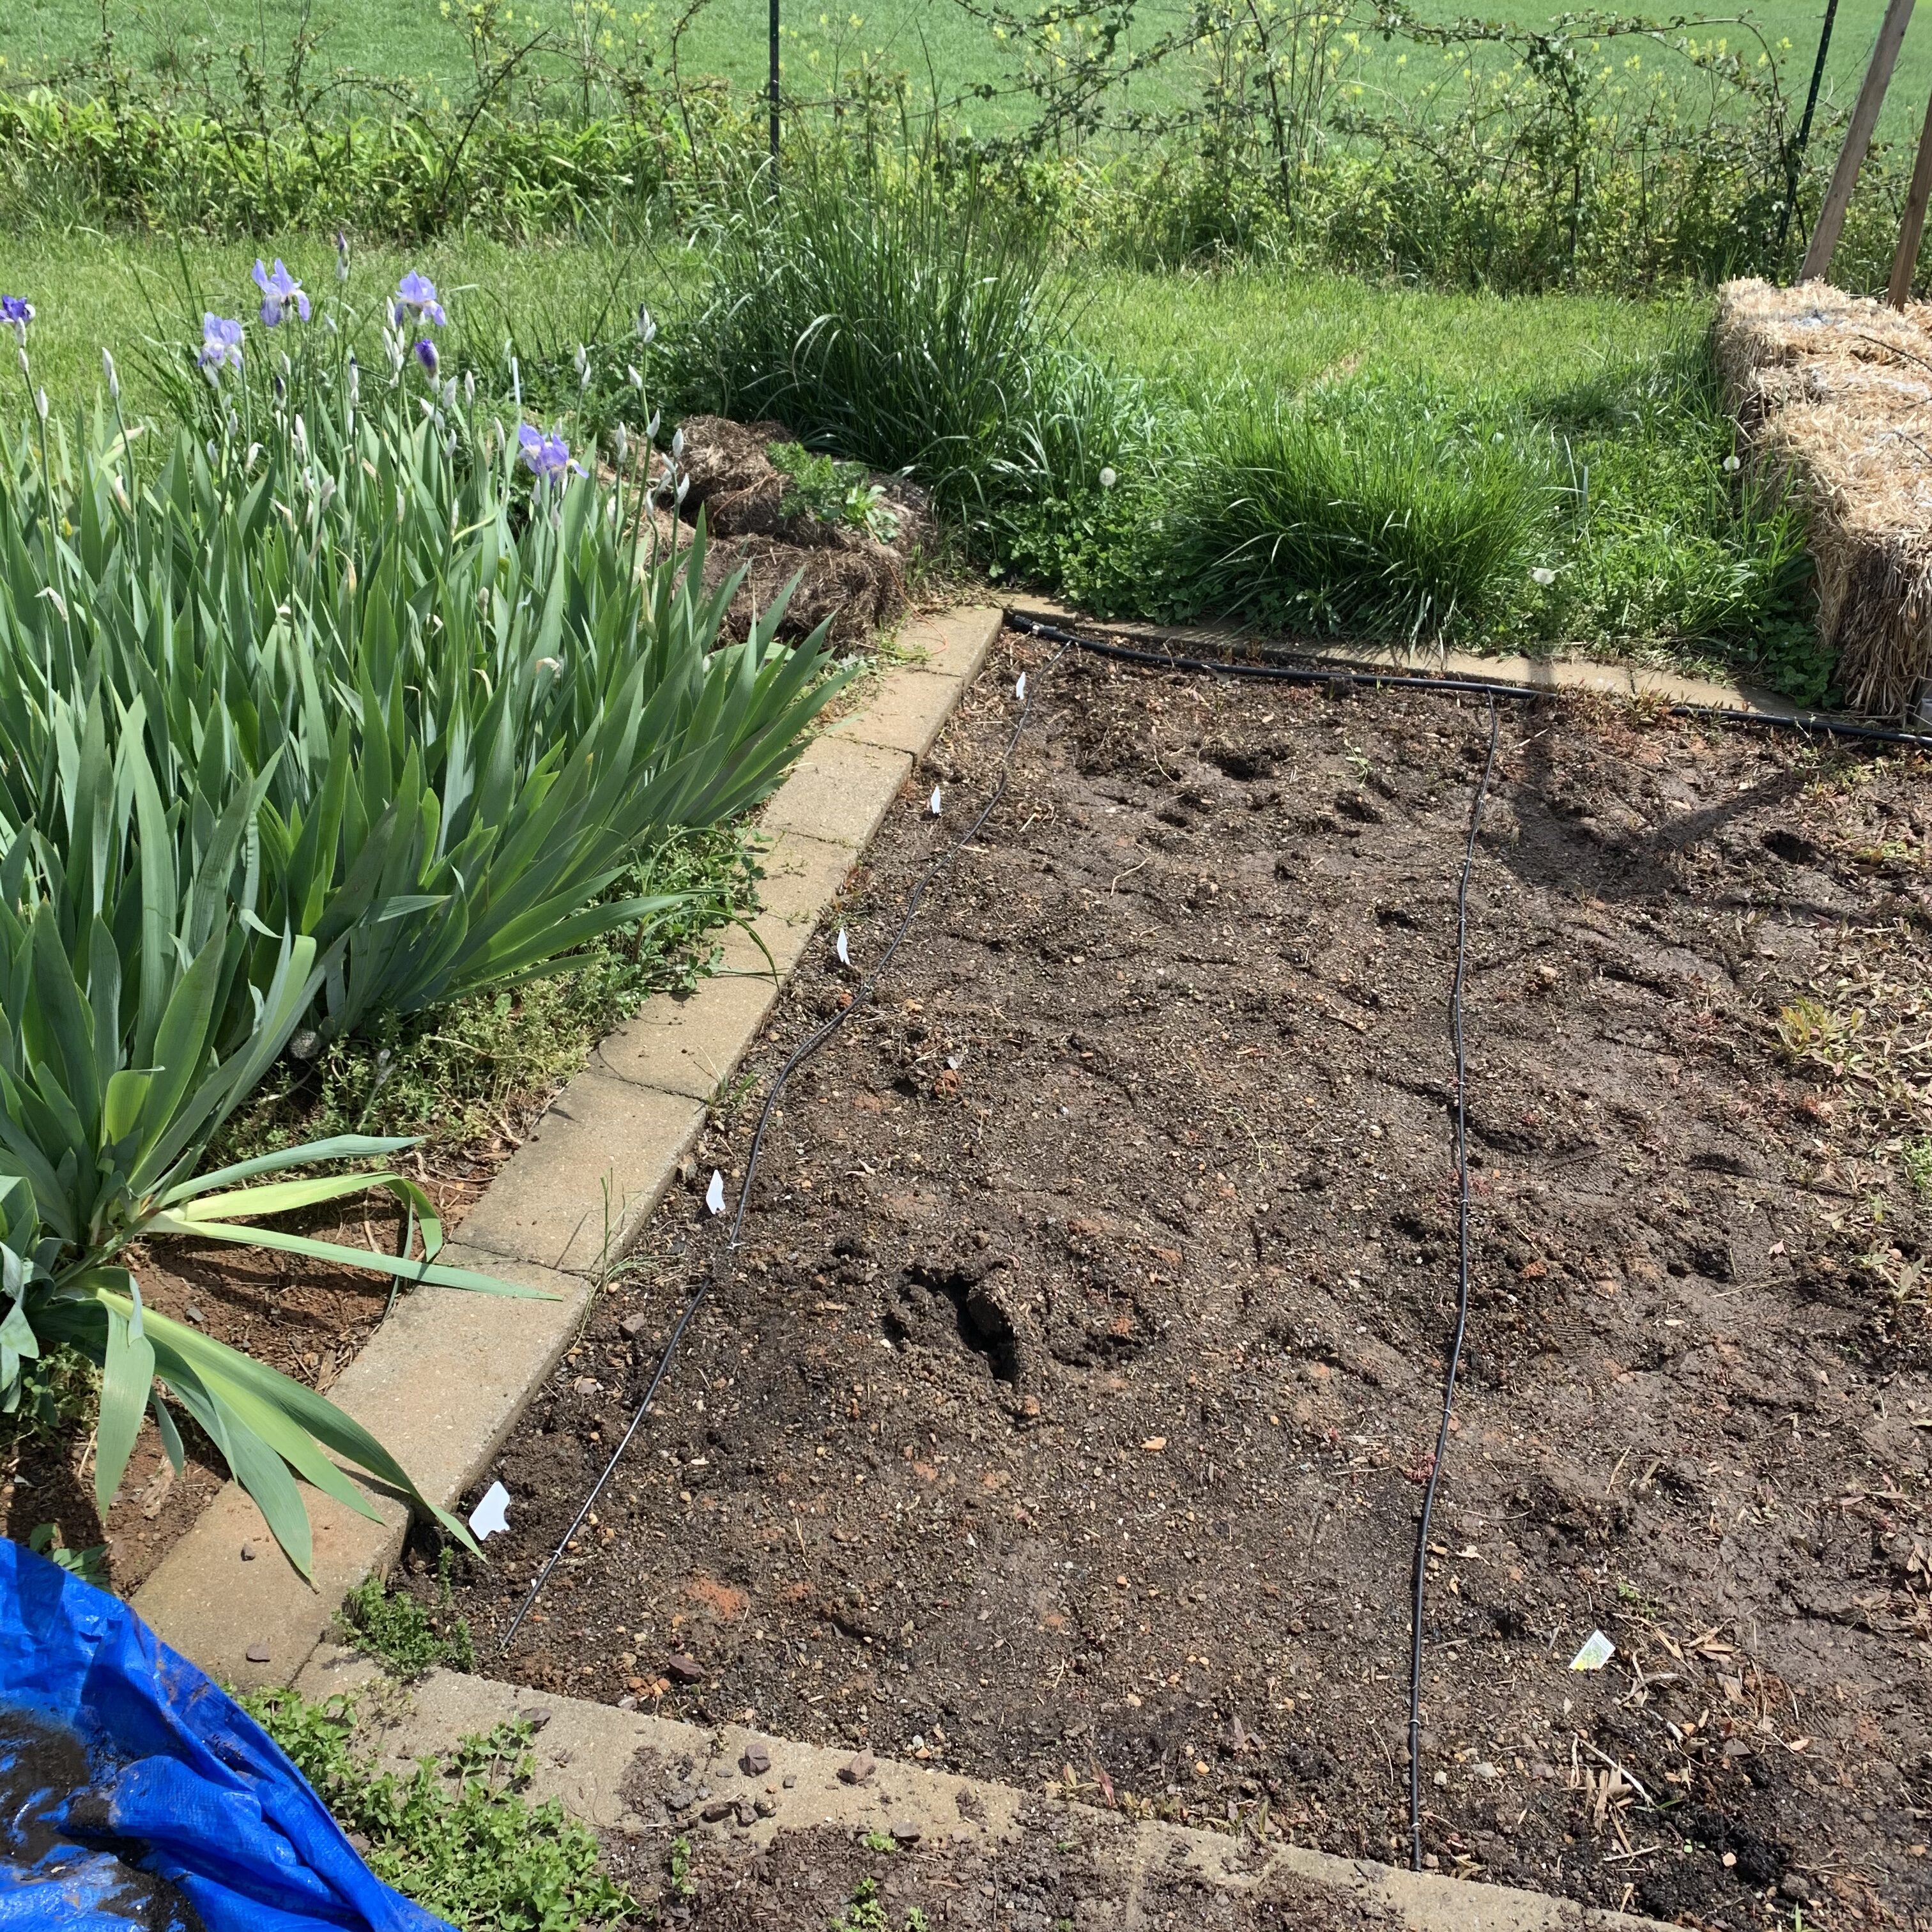
3 foot spacing for rows, planted some tomatillos 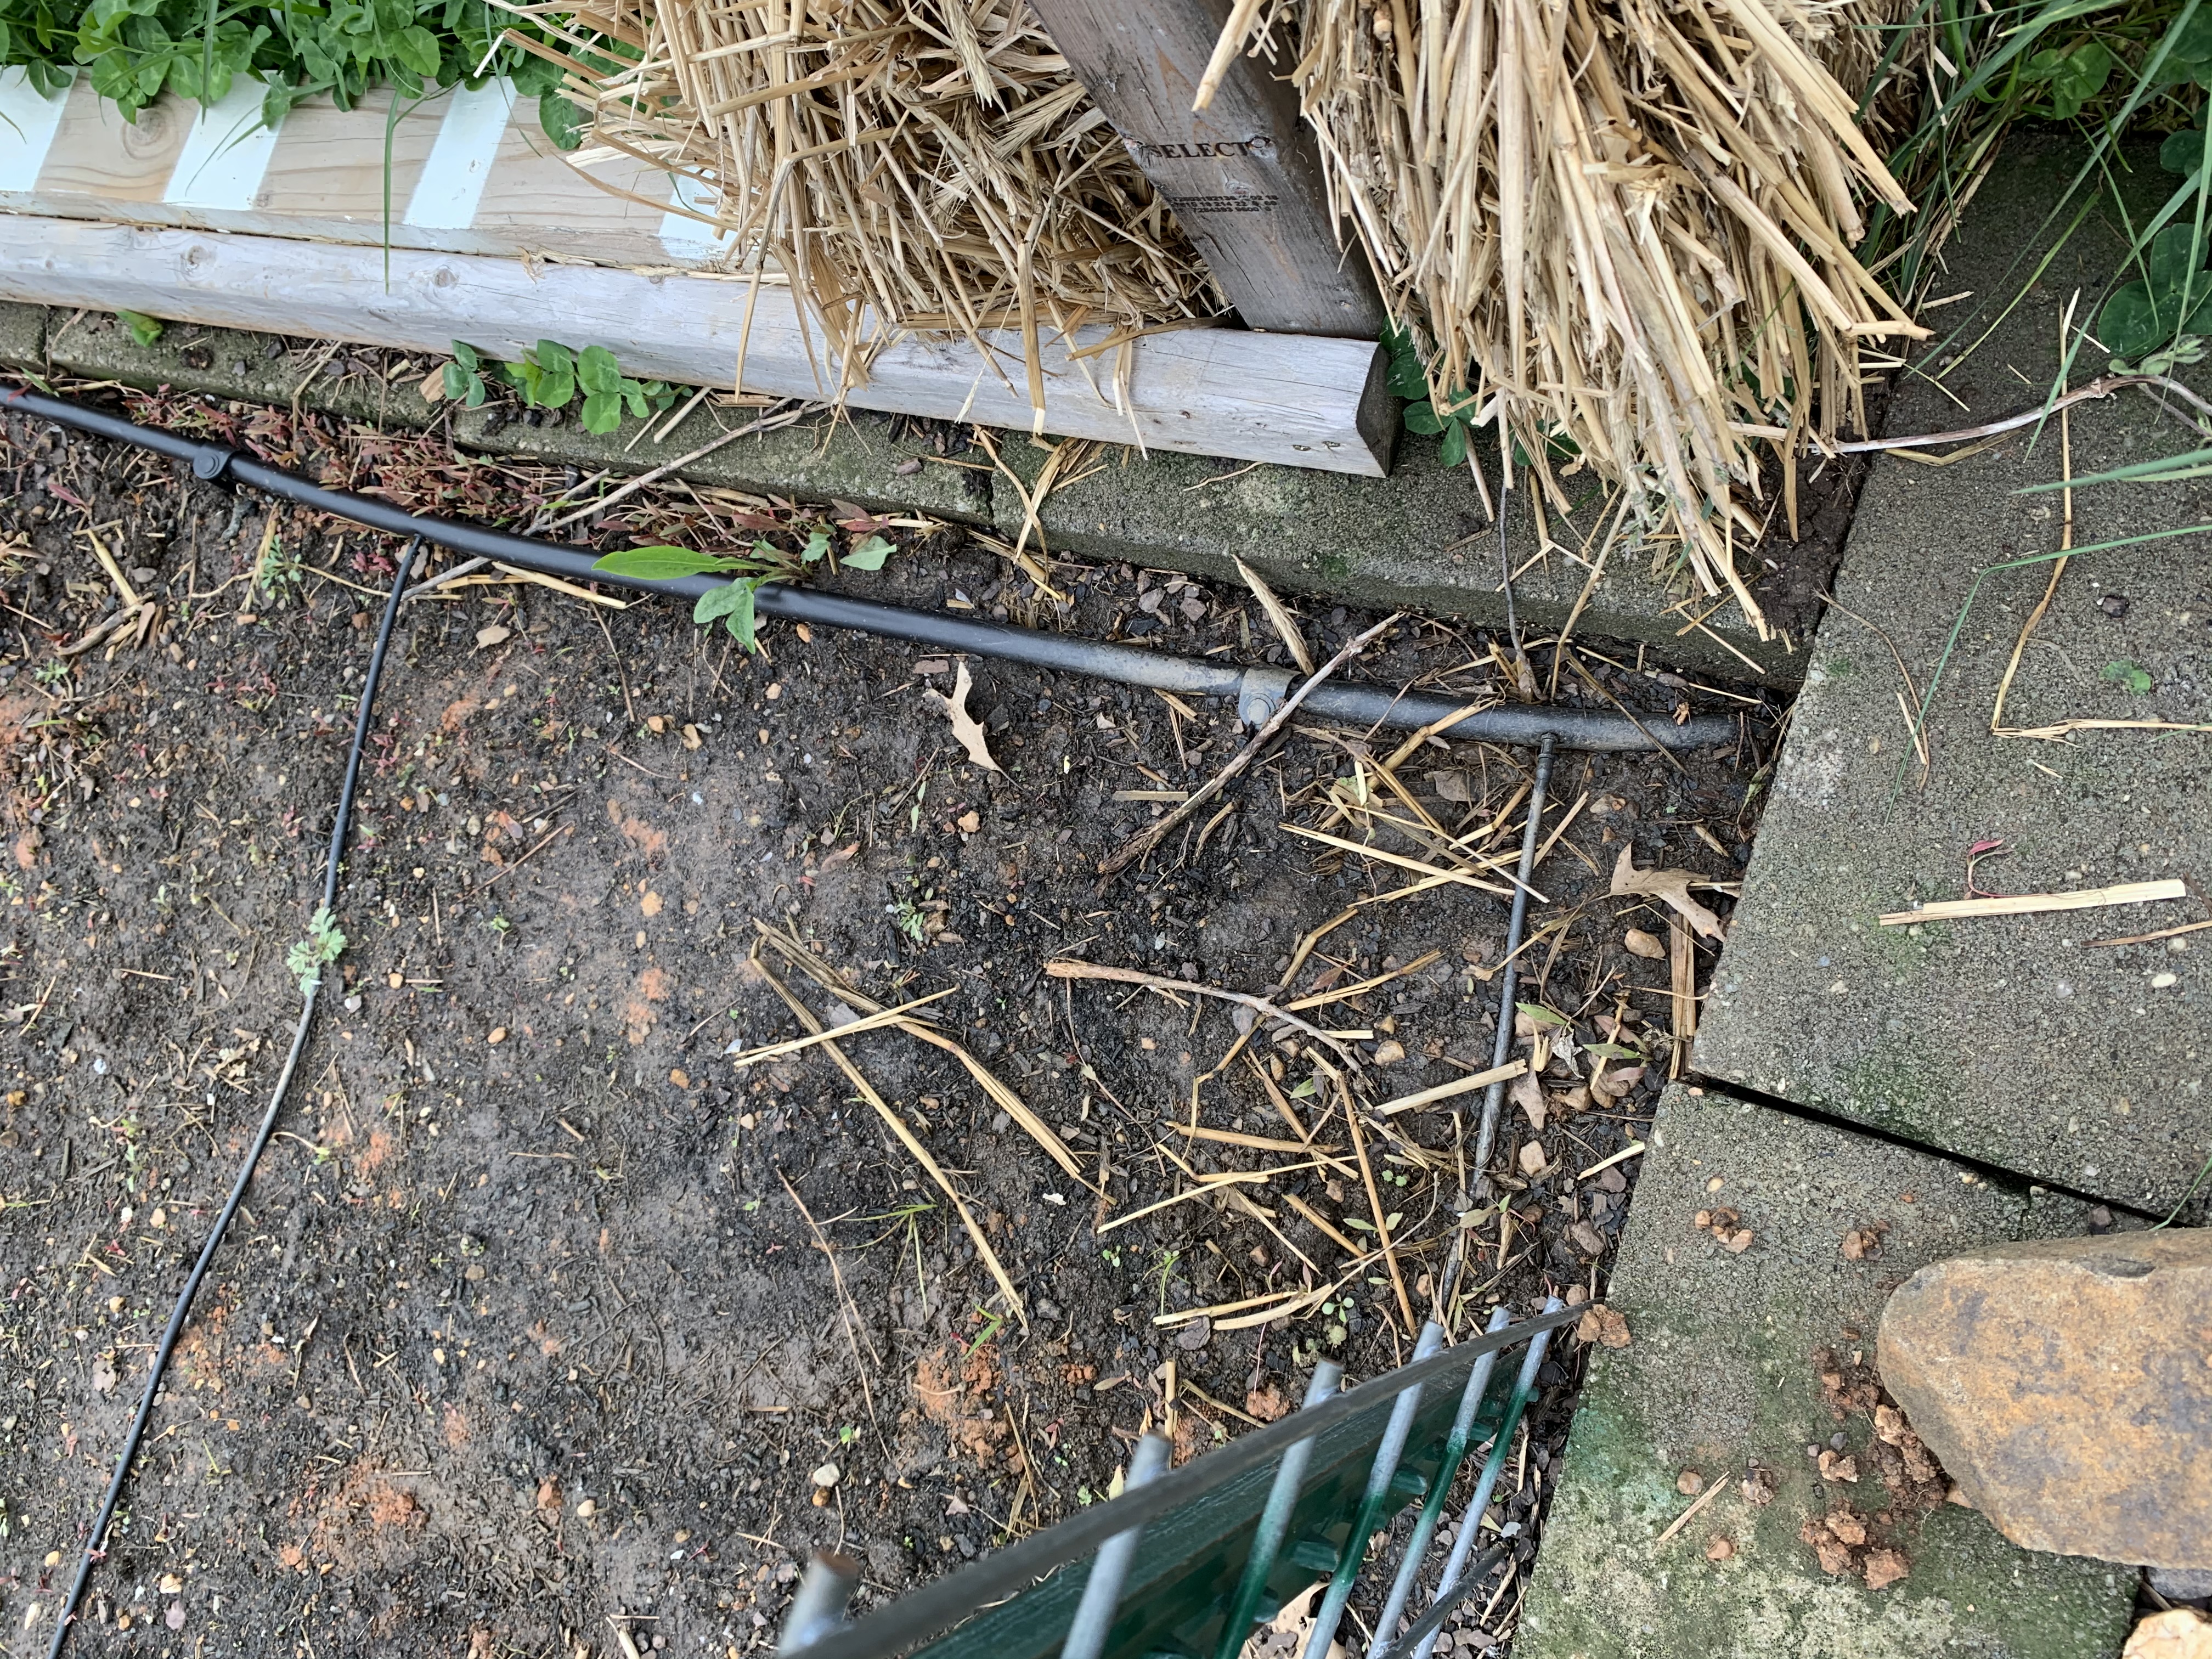
Joint before swapping for a t-connector to add drip line to the straw bales 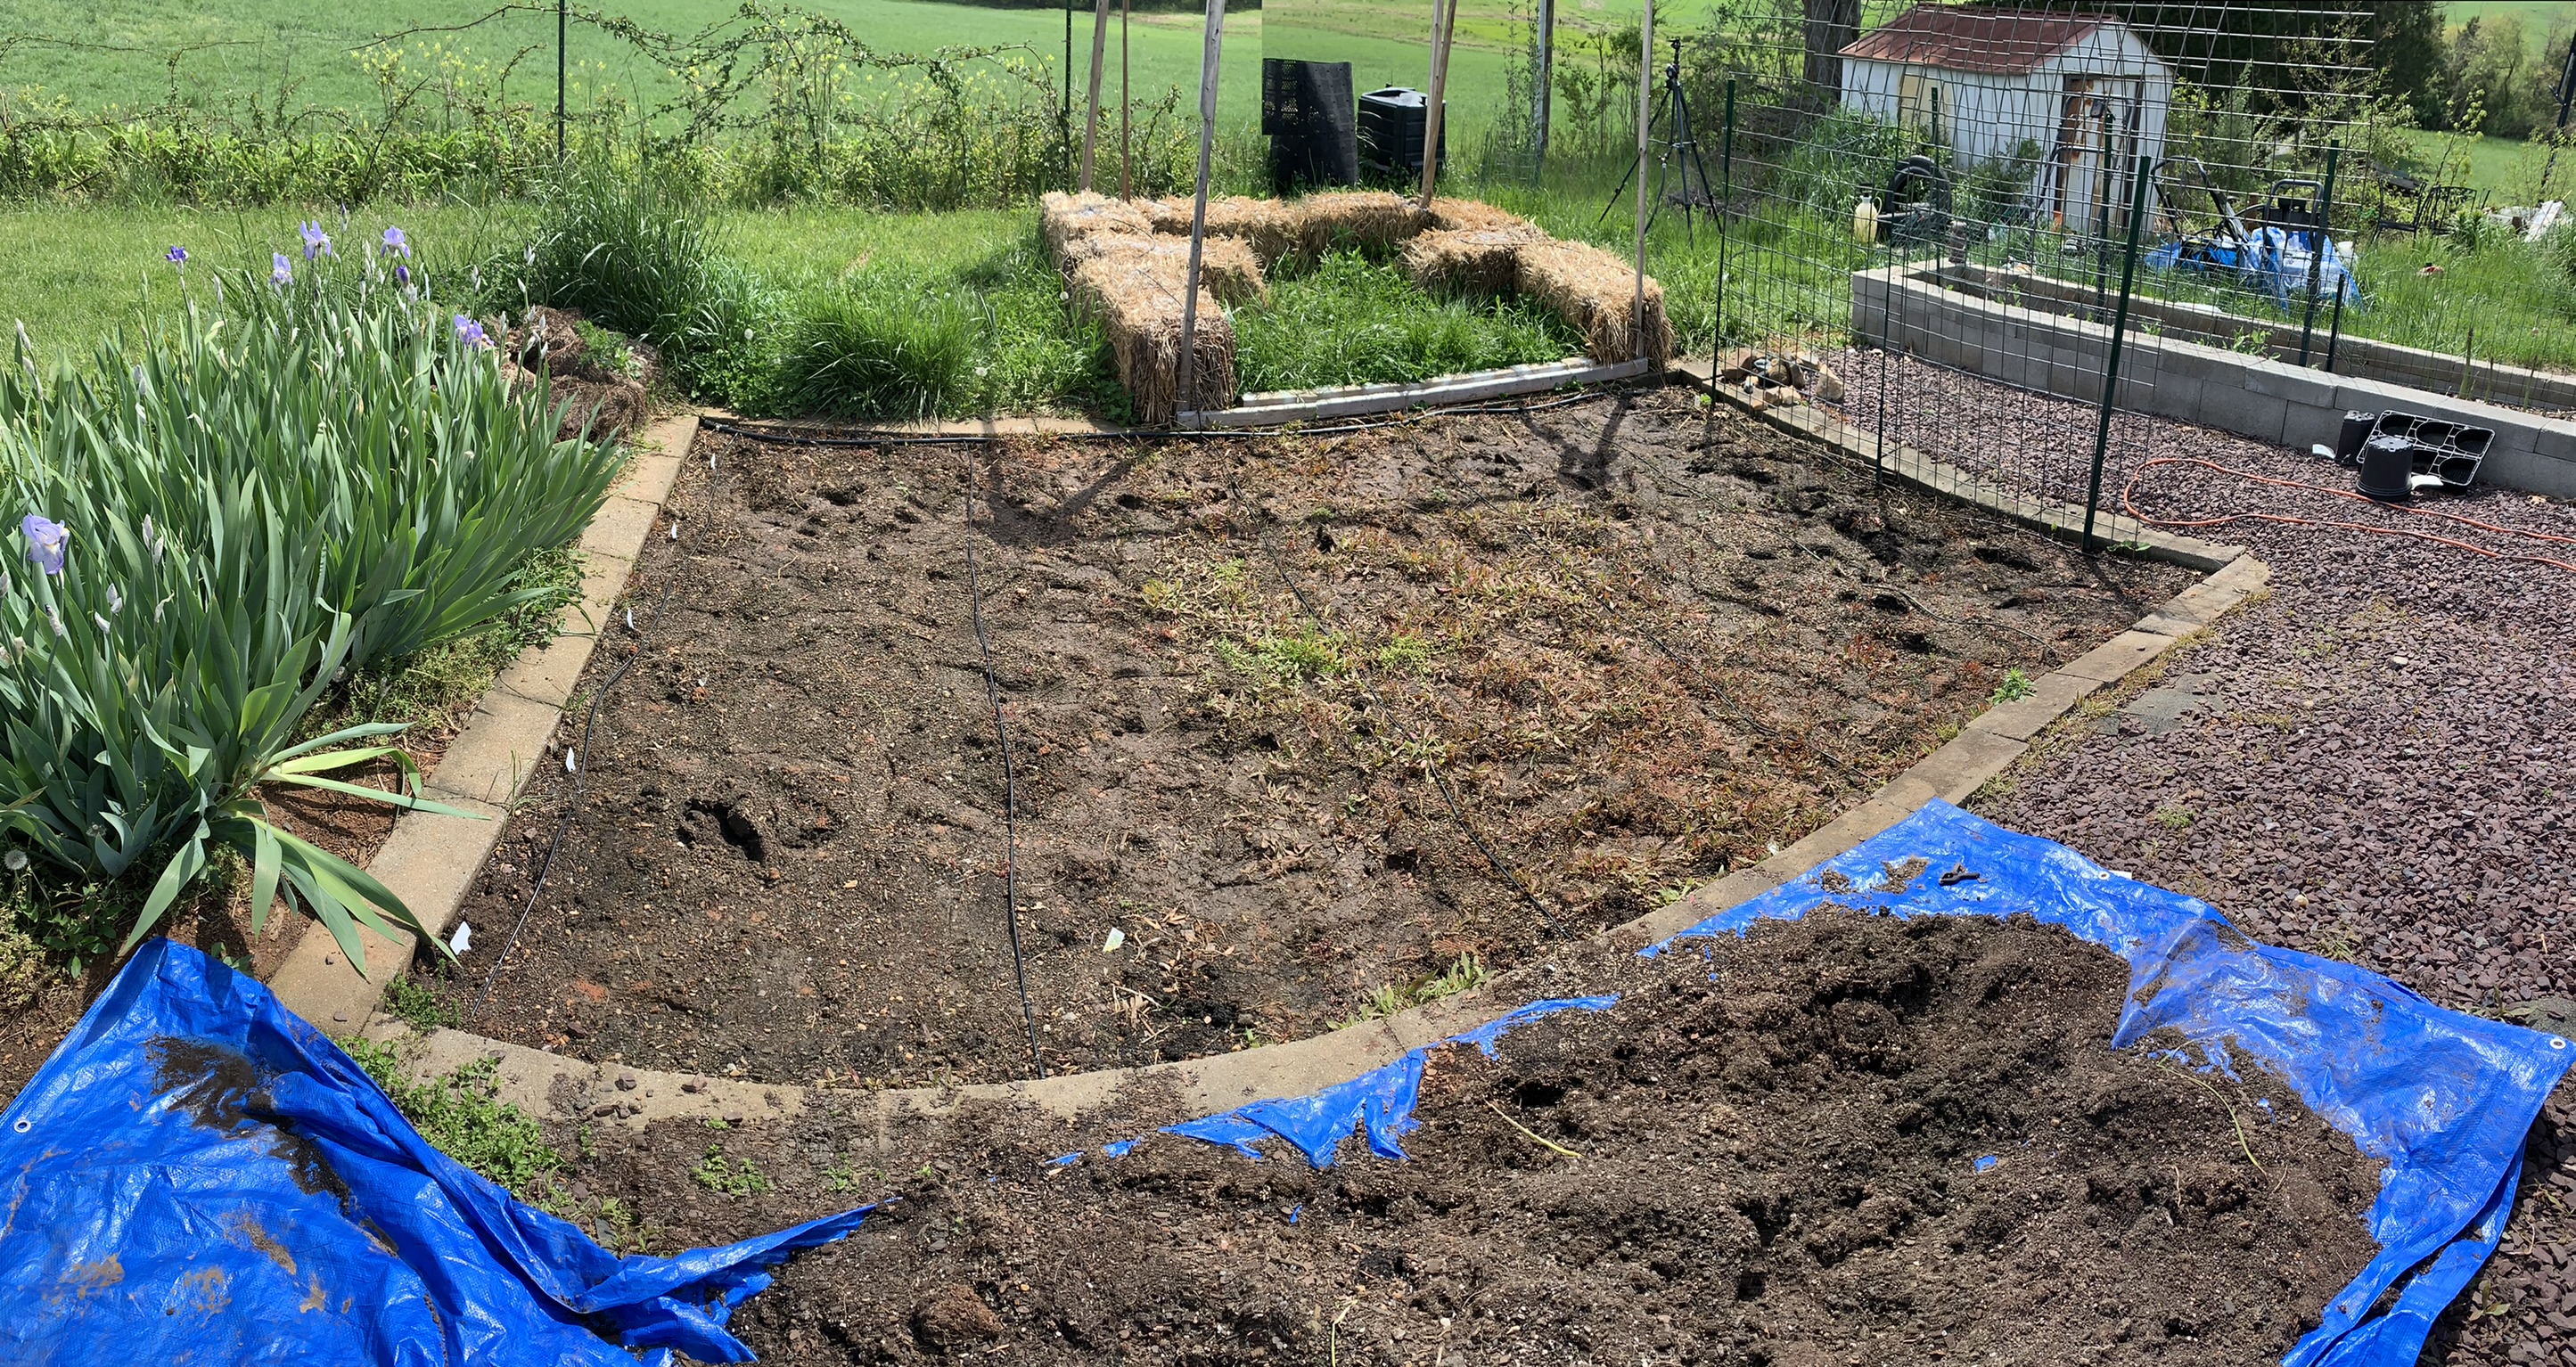
3 foot spacing, lines on straw bales
1/4” tubing has a limit of 30 feet per run. The length around the straw bales is 22 feet, plus I needed a little extra to get from the mainline up to the bales. We debated, and decided to replace two of the pass through connectors from the mainline to 1/4” drip line nearest the bales with t-connectors so that we could add irrigation to the straw bales. This way, we didn’t have to punch and patch an extra hole in the mainline. Sydney cut two 13 foot sections of drip line, which, when added to the 9 feet of line already at those joints, made for a total run of 22 feet on those two sections. These 13 foot pieces run from the t-connector at the mainline up to the straw bales and around to the center rear of the bales where they almost meet.
I had thought I’d dig under the concrete blocks to run a line up to the beans in the raised bed part of the bean trellis; however, When we uncovered the blocks we found Jared had filled those lowest cinder blocks with pea gravel, and I didn’t want to disturb them. I ended up stubbing in the line and running the 1/4” tubing up the outside of the wall and in between the gaps of the brick. It left a little bit of a gap (1/4” to be exact), but now basically all of that line is accessible. I then used an elbow joint to connect 1/4” drip line to the 1/4” tubing and we wove it through the base of the trellis, pinning it down as we went. Once the peas are done I can put that drip line under the mulch which may give it some protection from sun damage, but for now it’s just sitting on top of the mulch.
In all we have 90 feet of 1/4” drip line running off of a 1/2” mainline that is about 50 feet in length.
The next zones will be harder to do because they will be running through the gravel and into the concrete beds. I’m going to have Jared help me with those for sure. It is less important to water the shrubs than getting the vegetables watered, as far as I’m concerned, so we can wait until better weather to put in the remaining two zones.
Sharing the plants
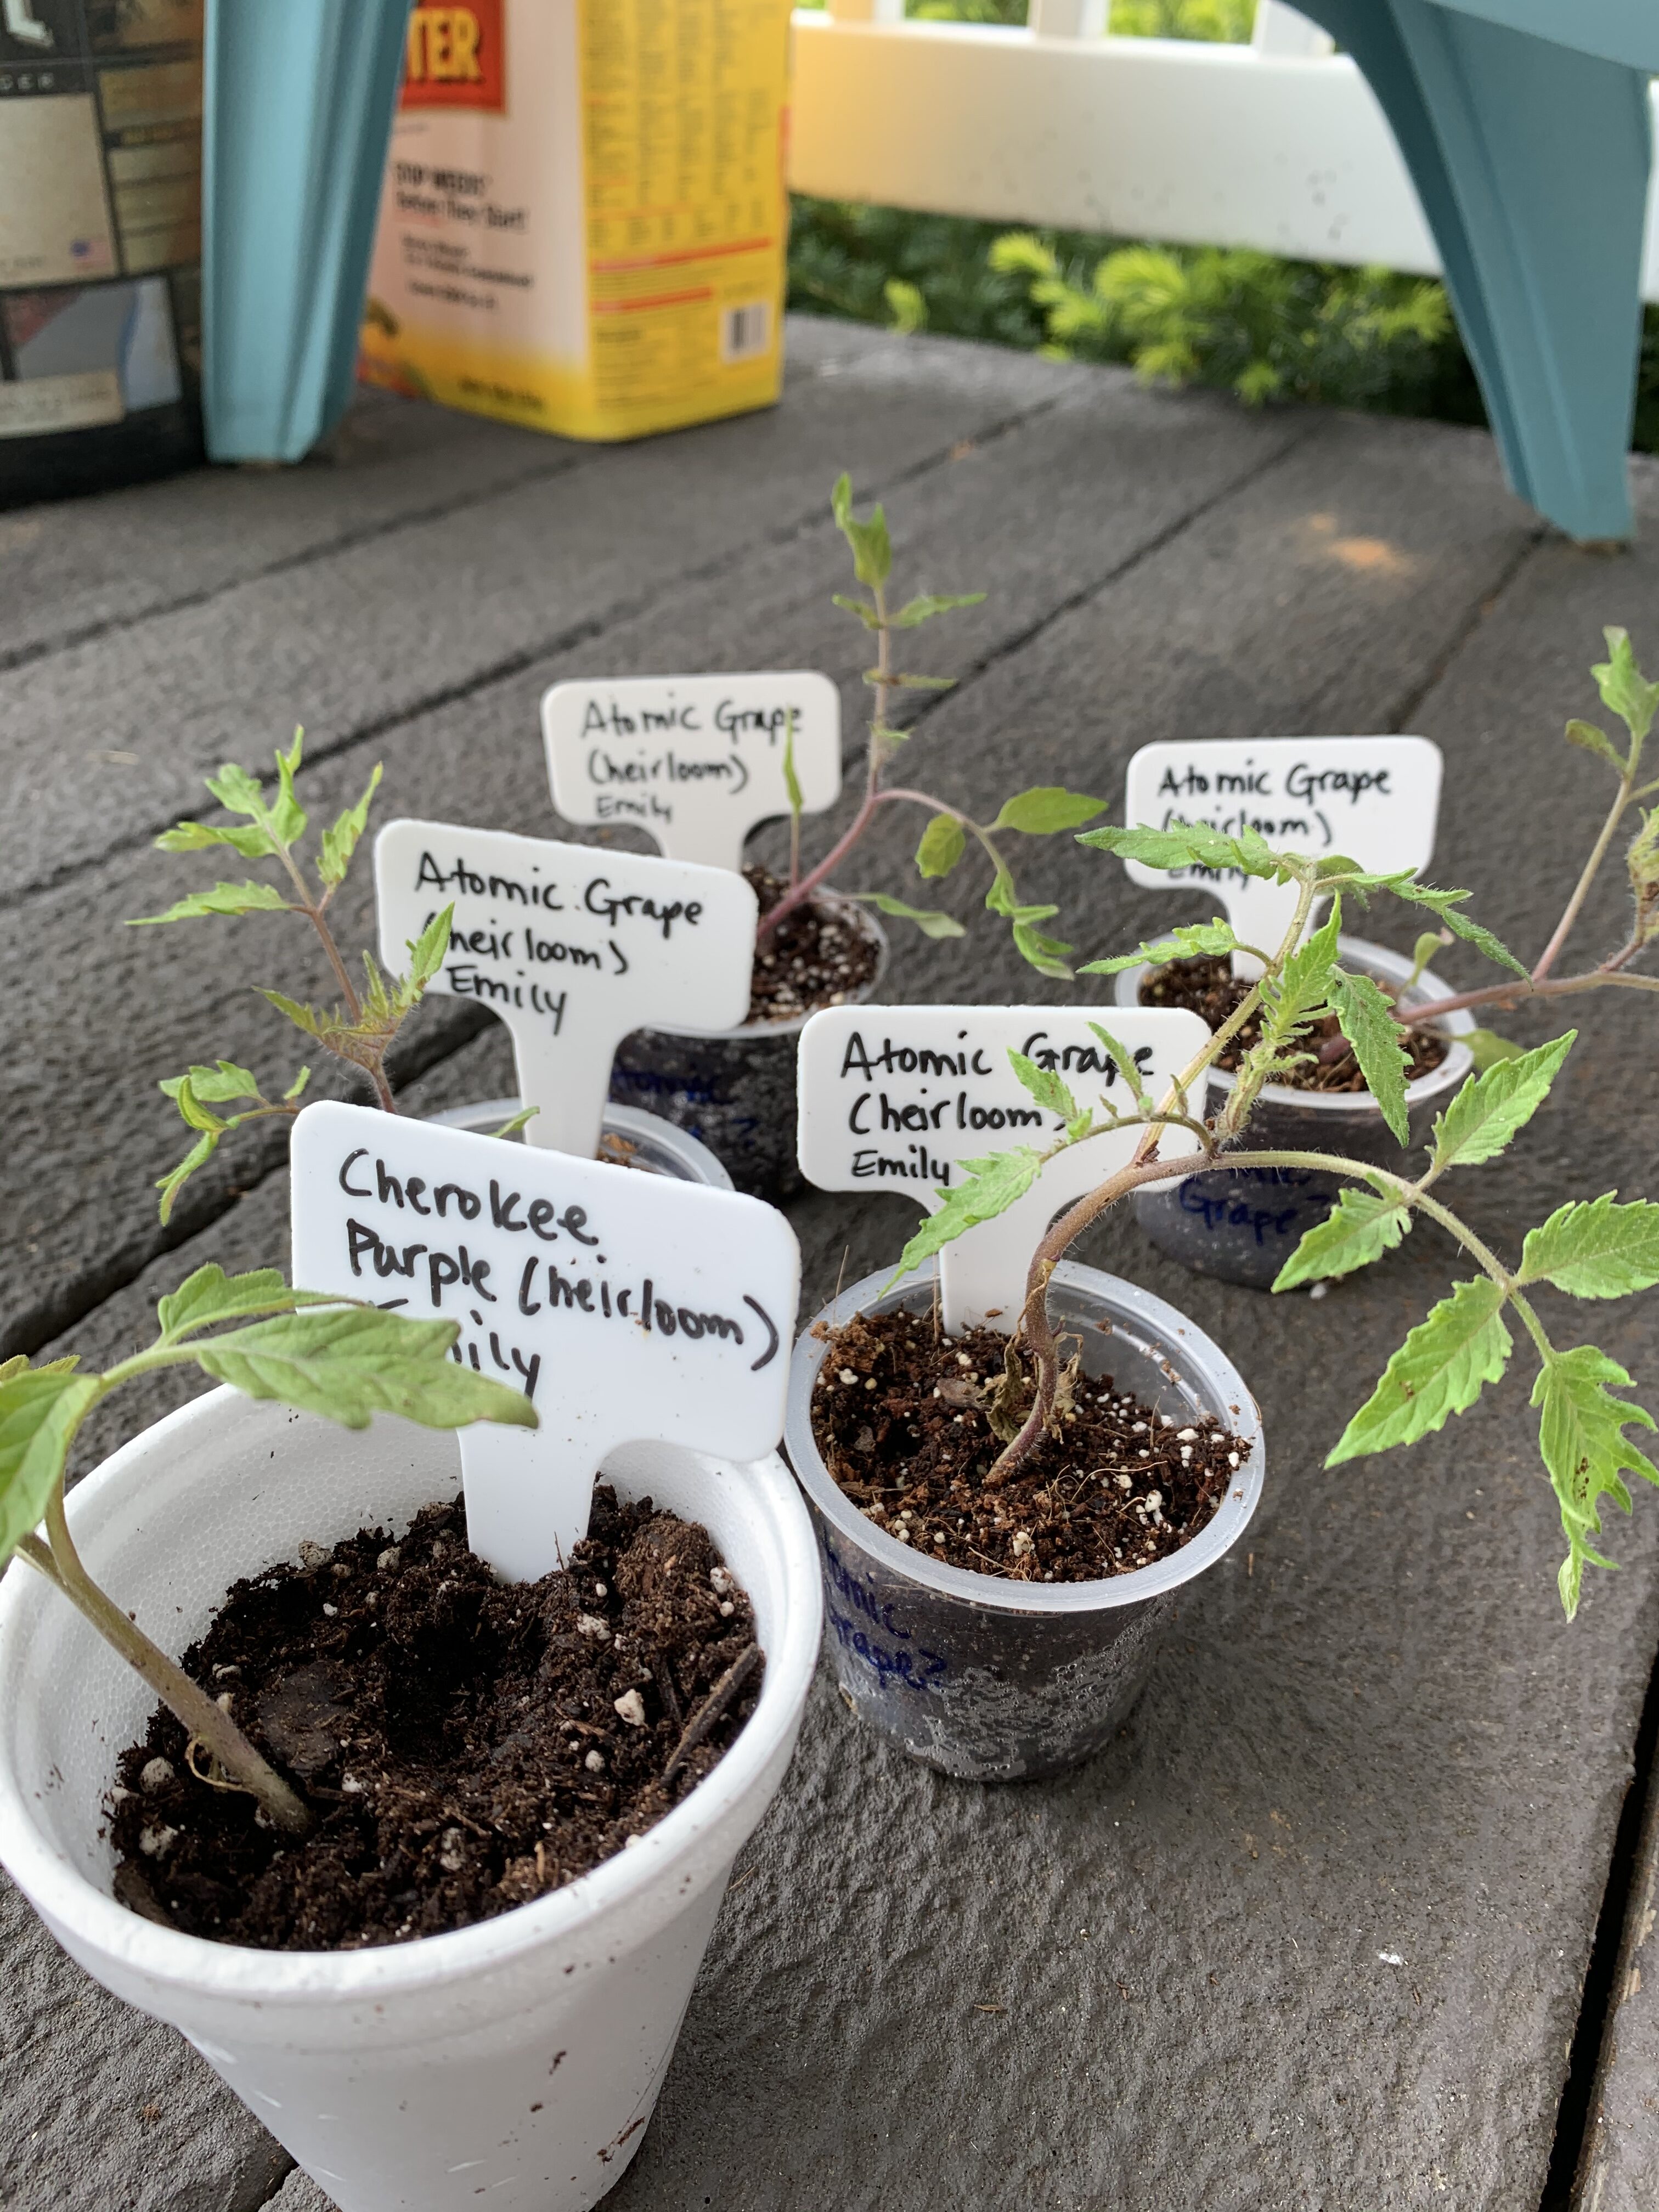
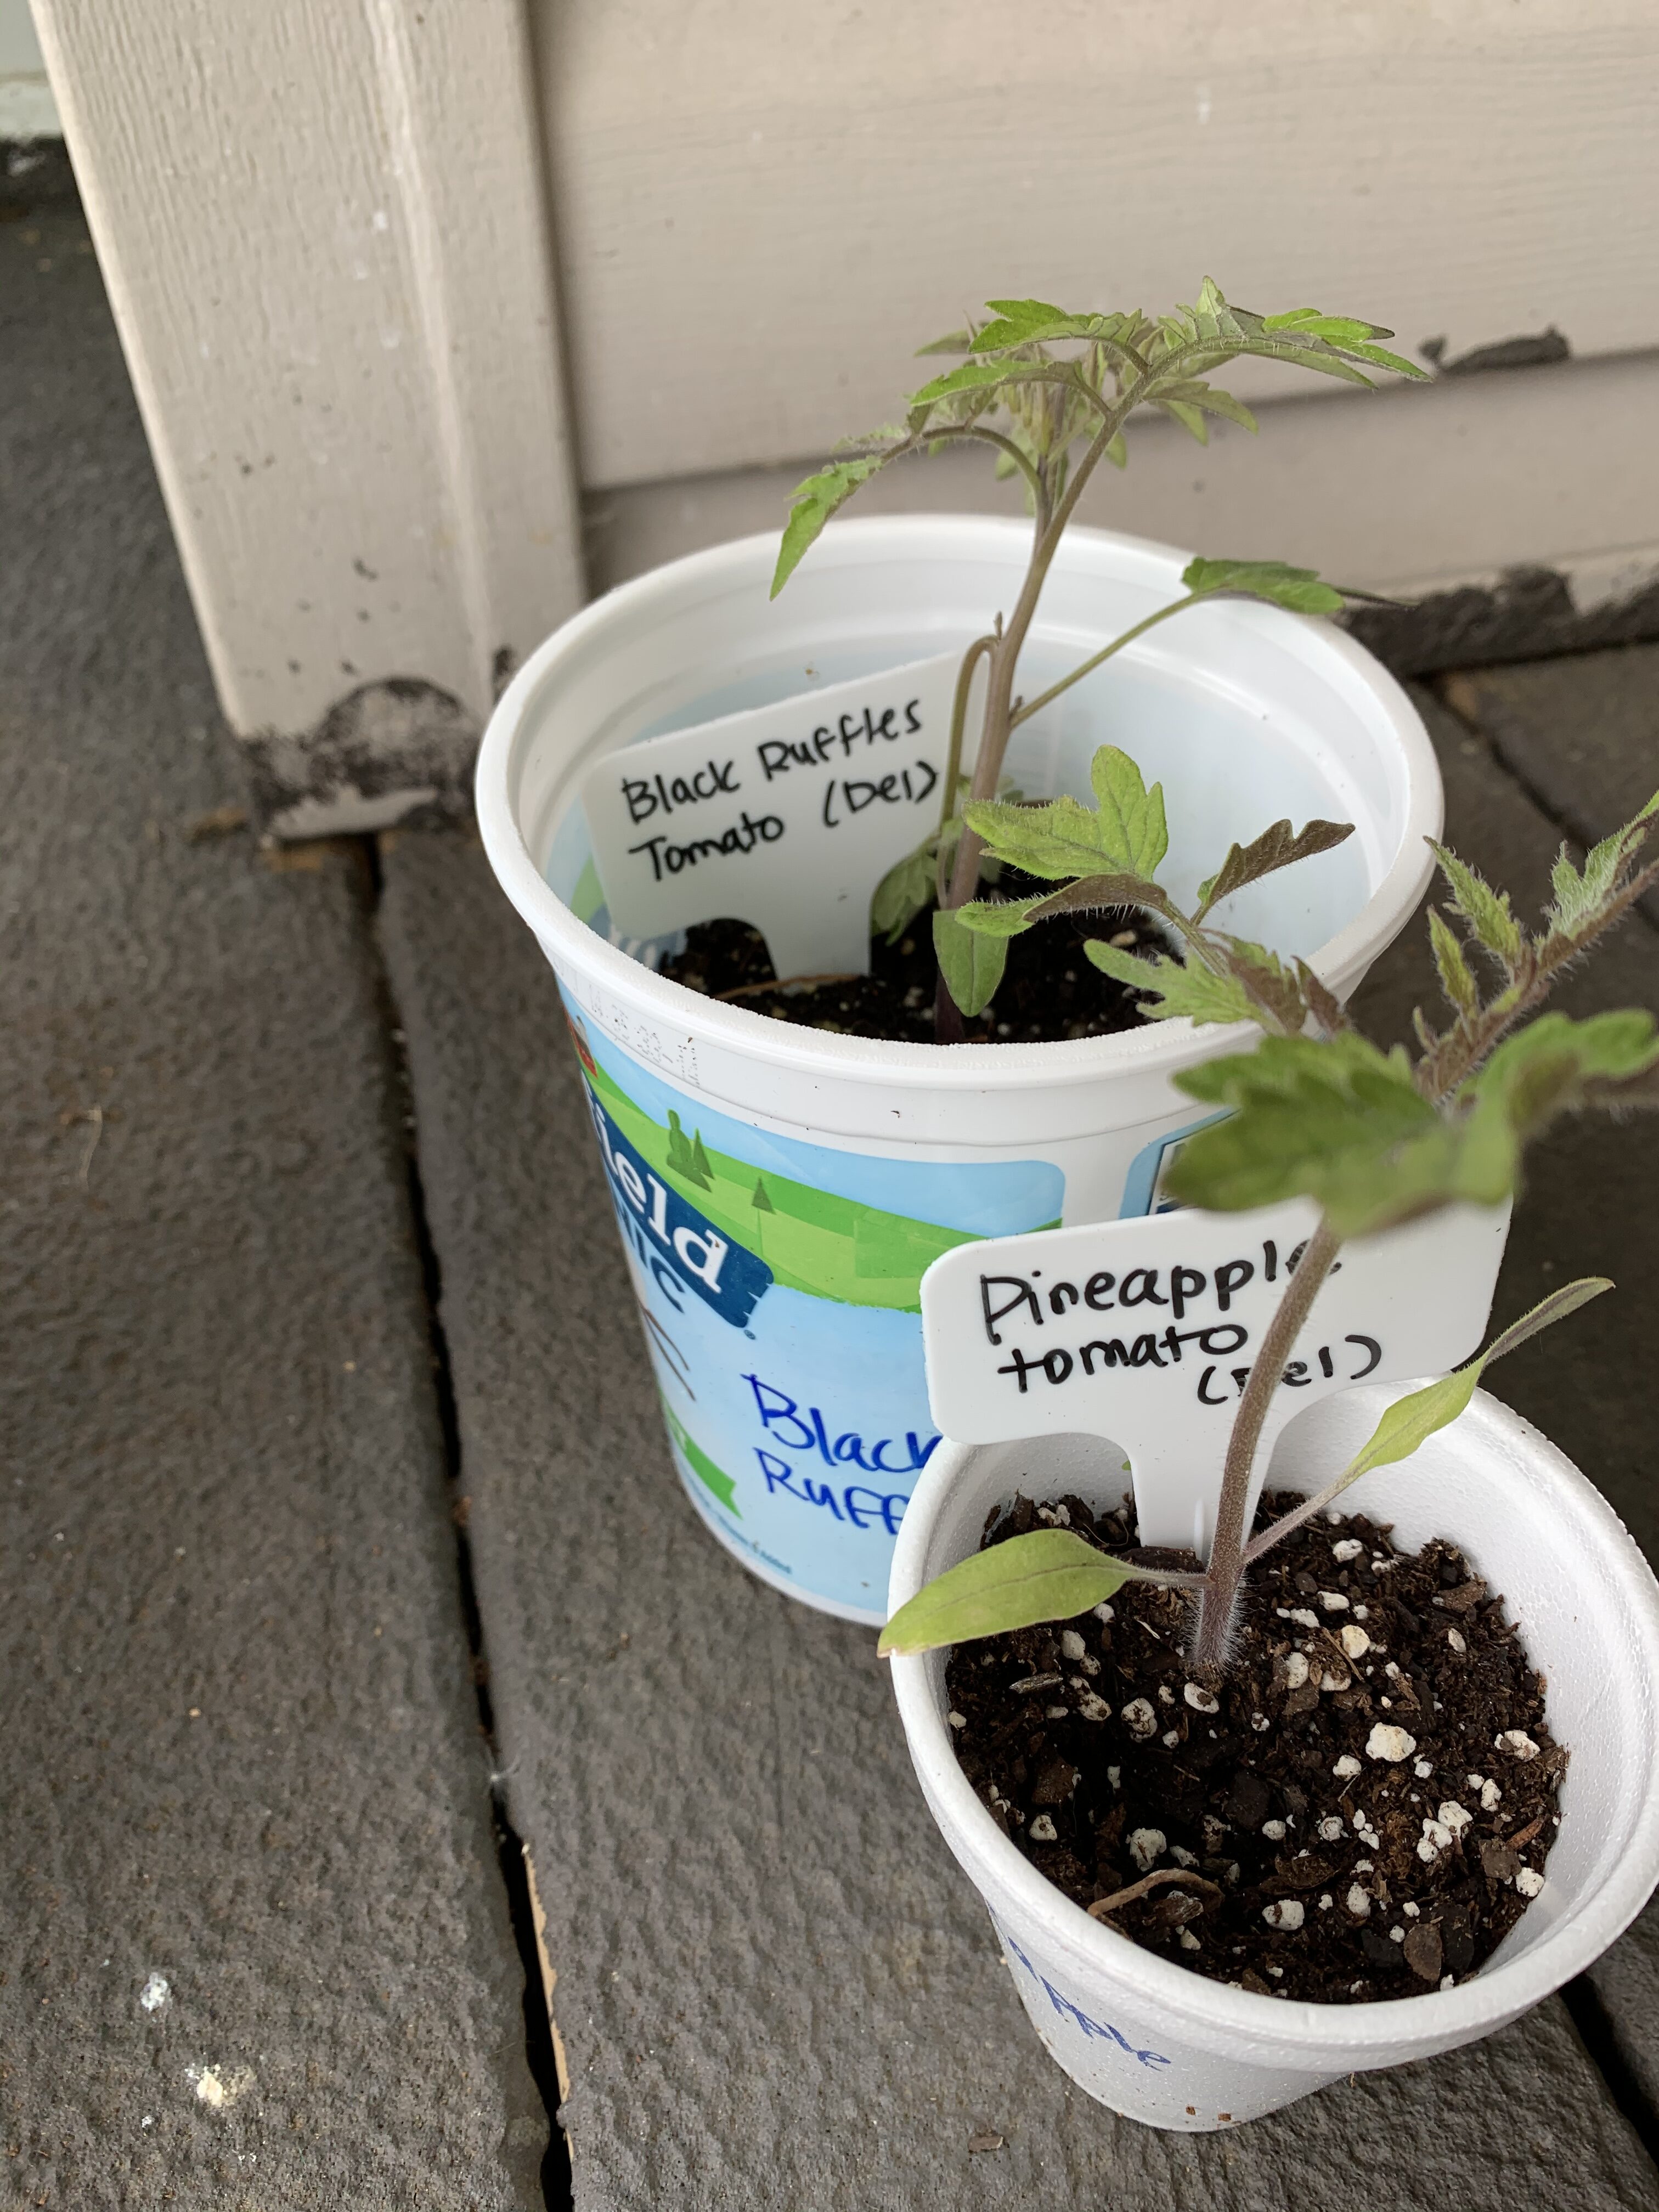
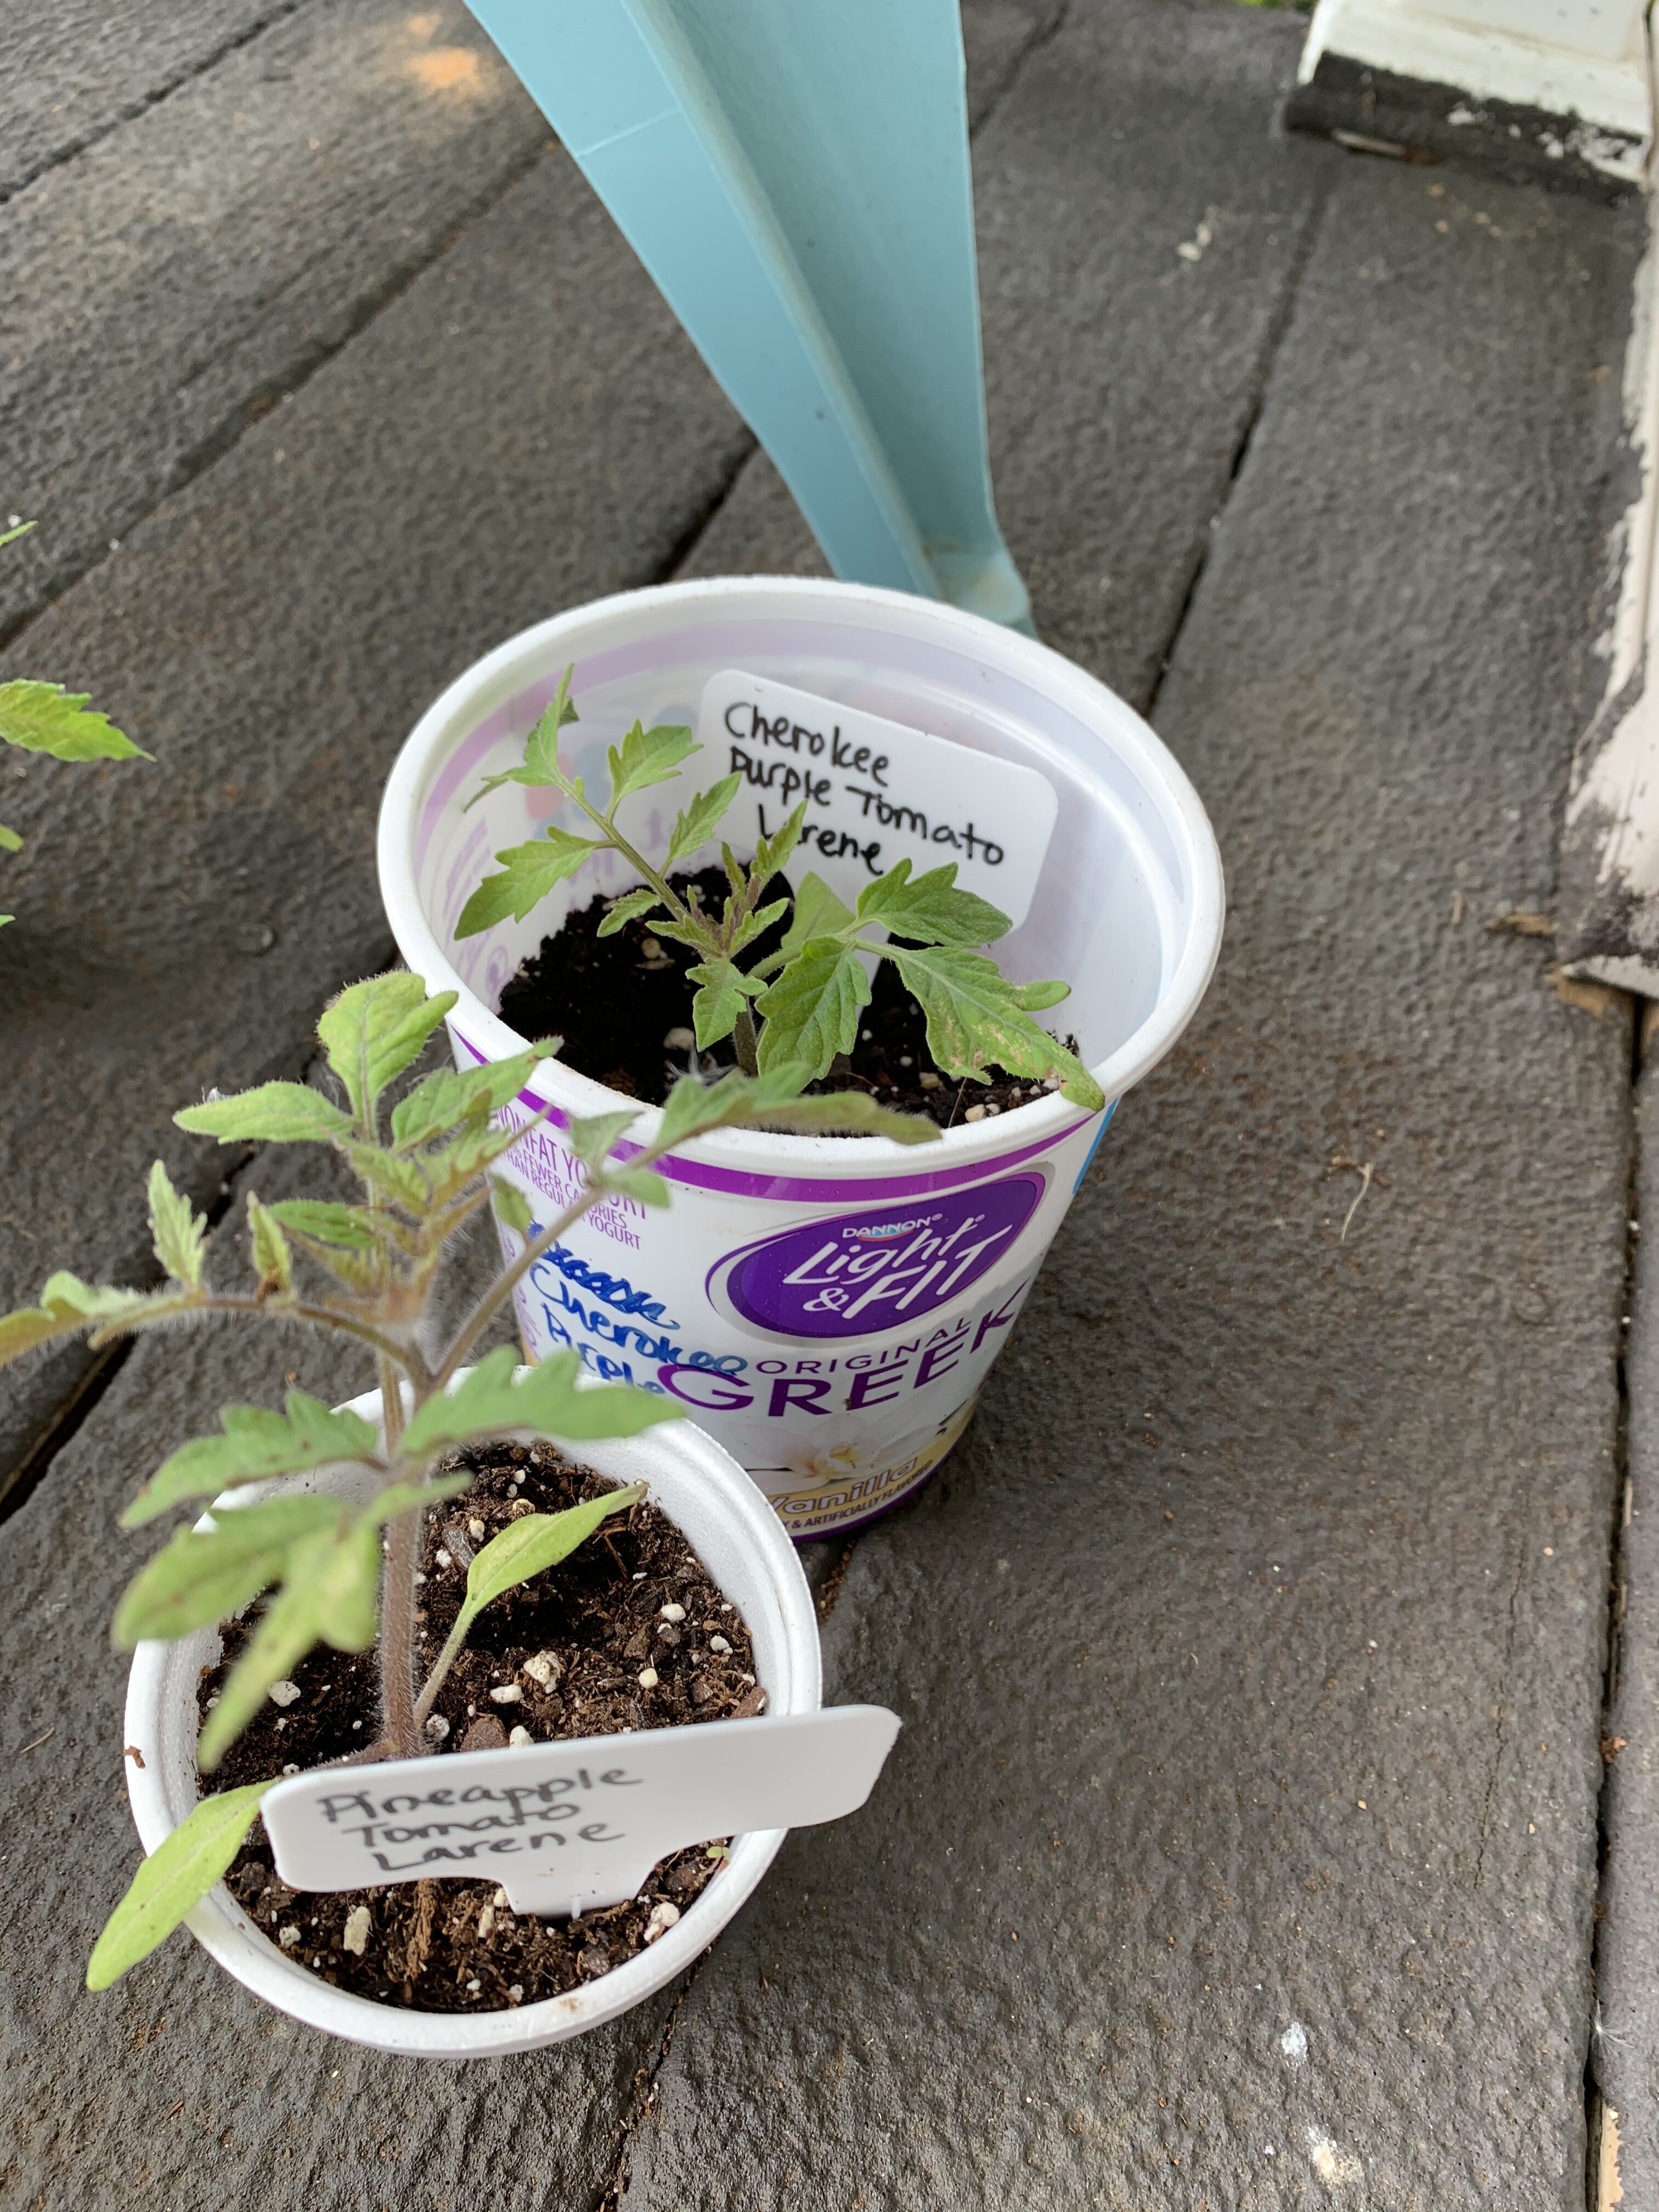
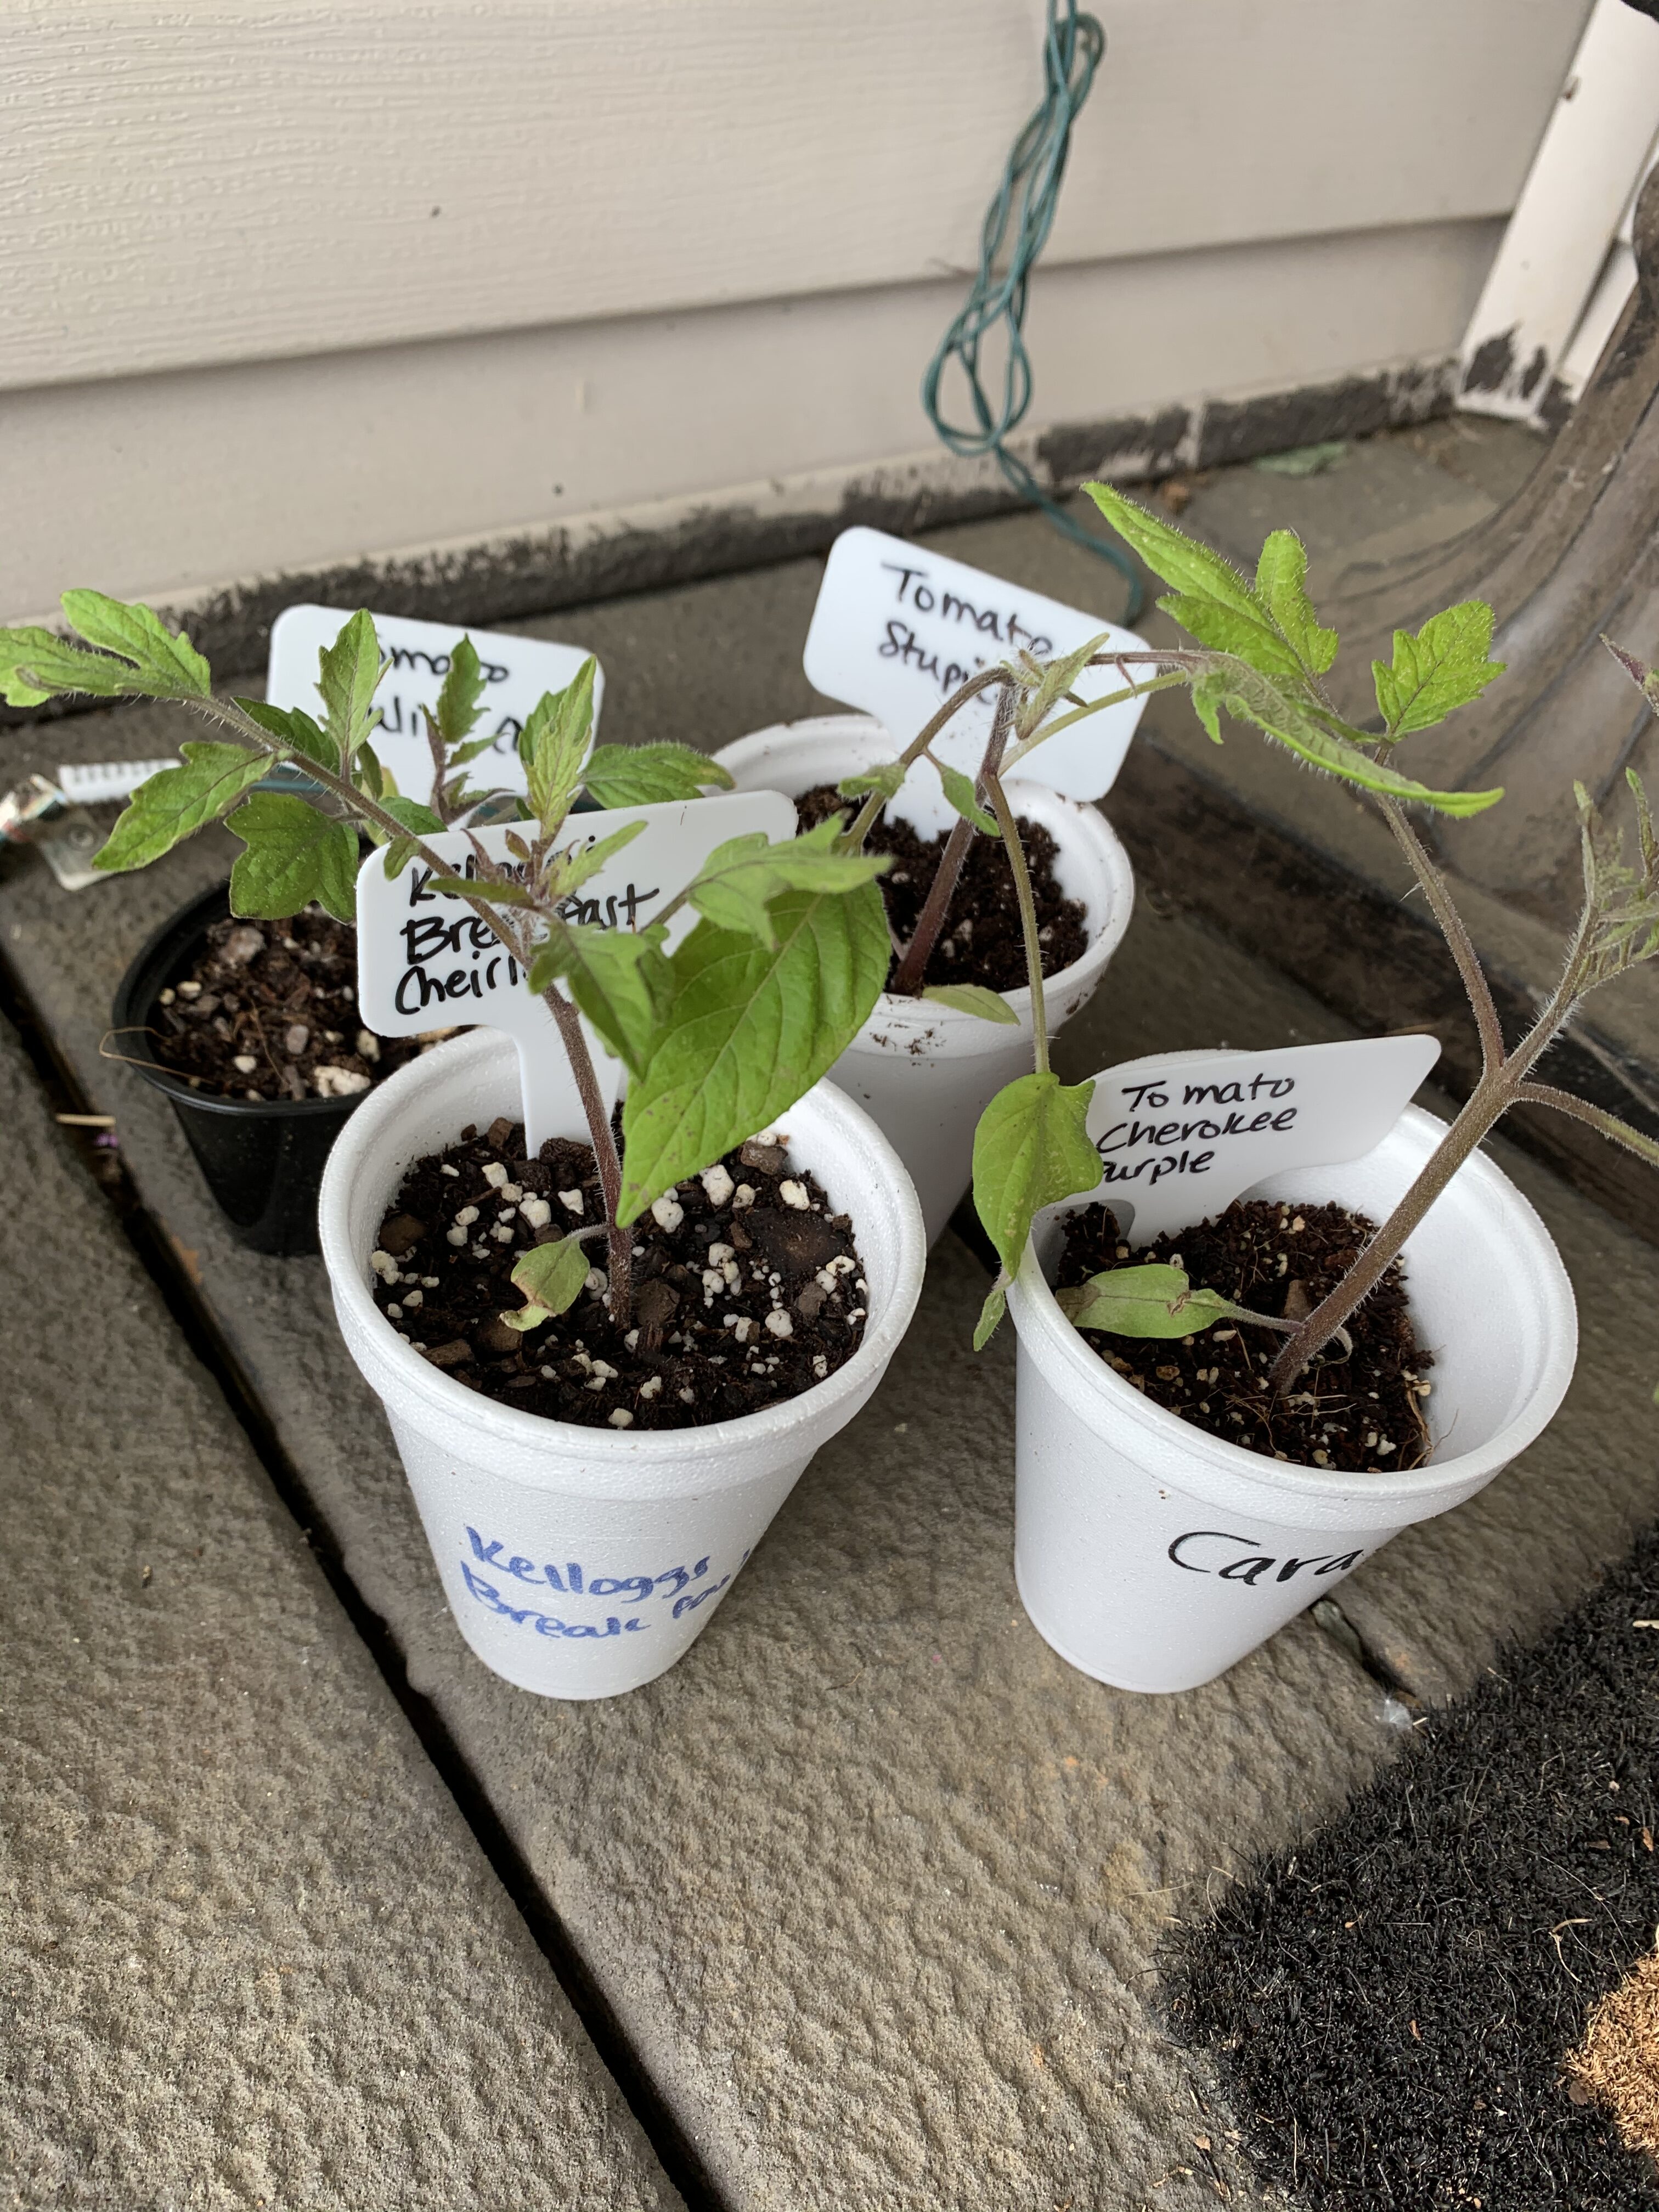
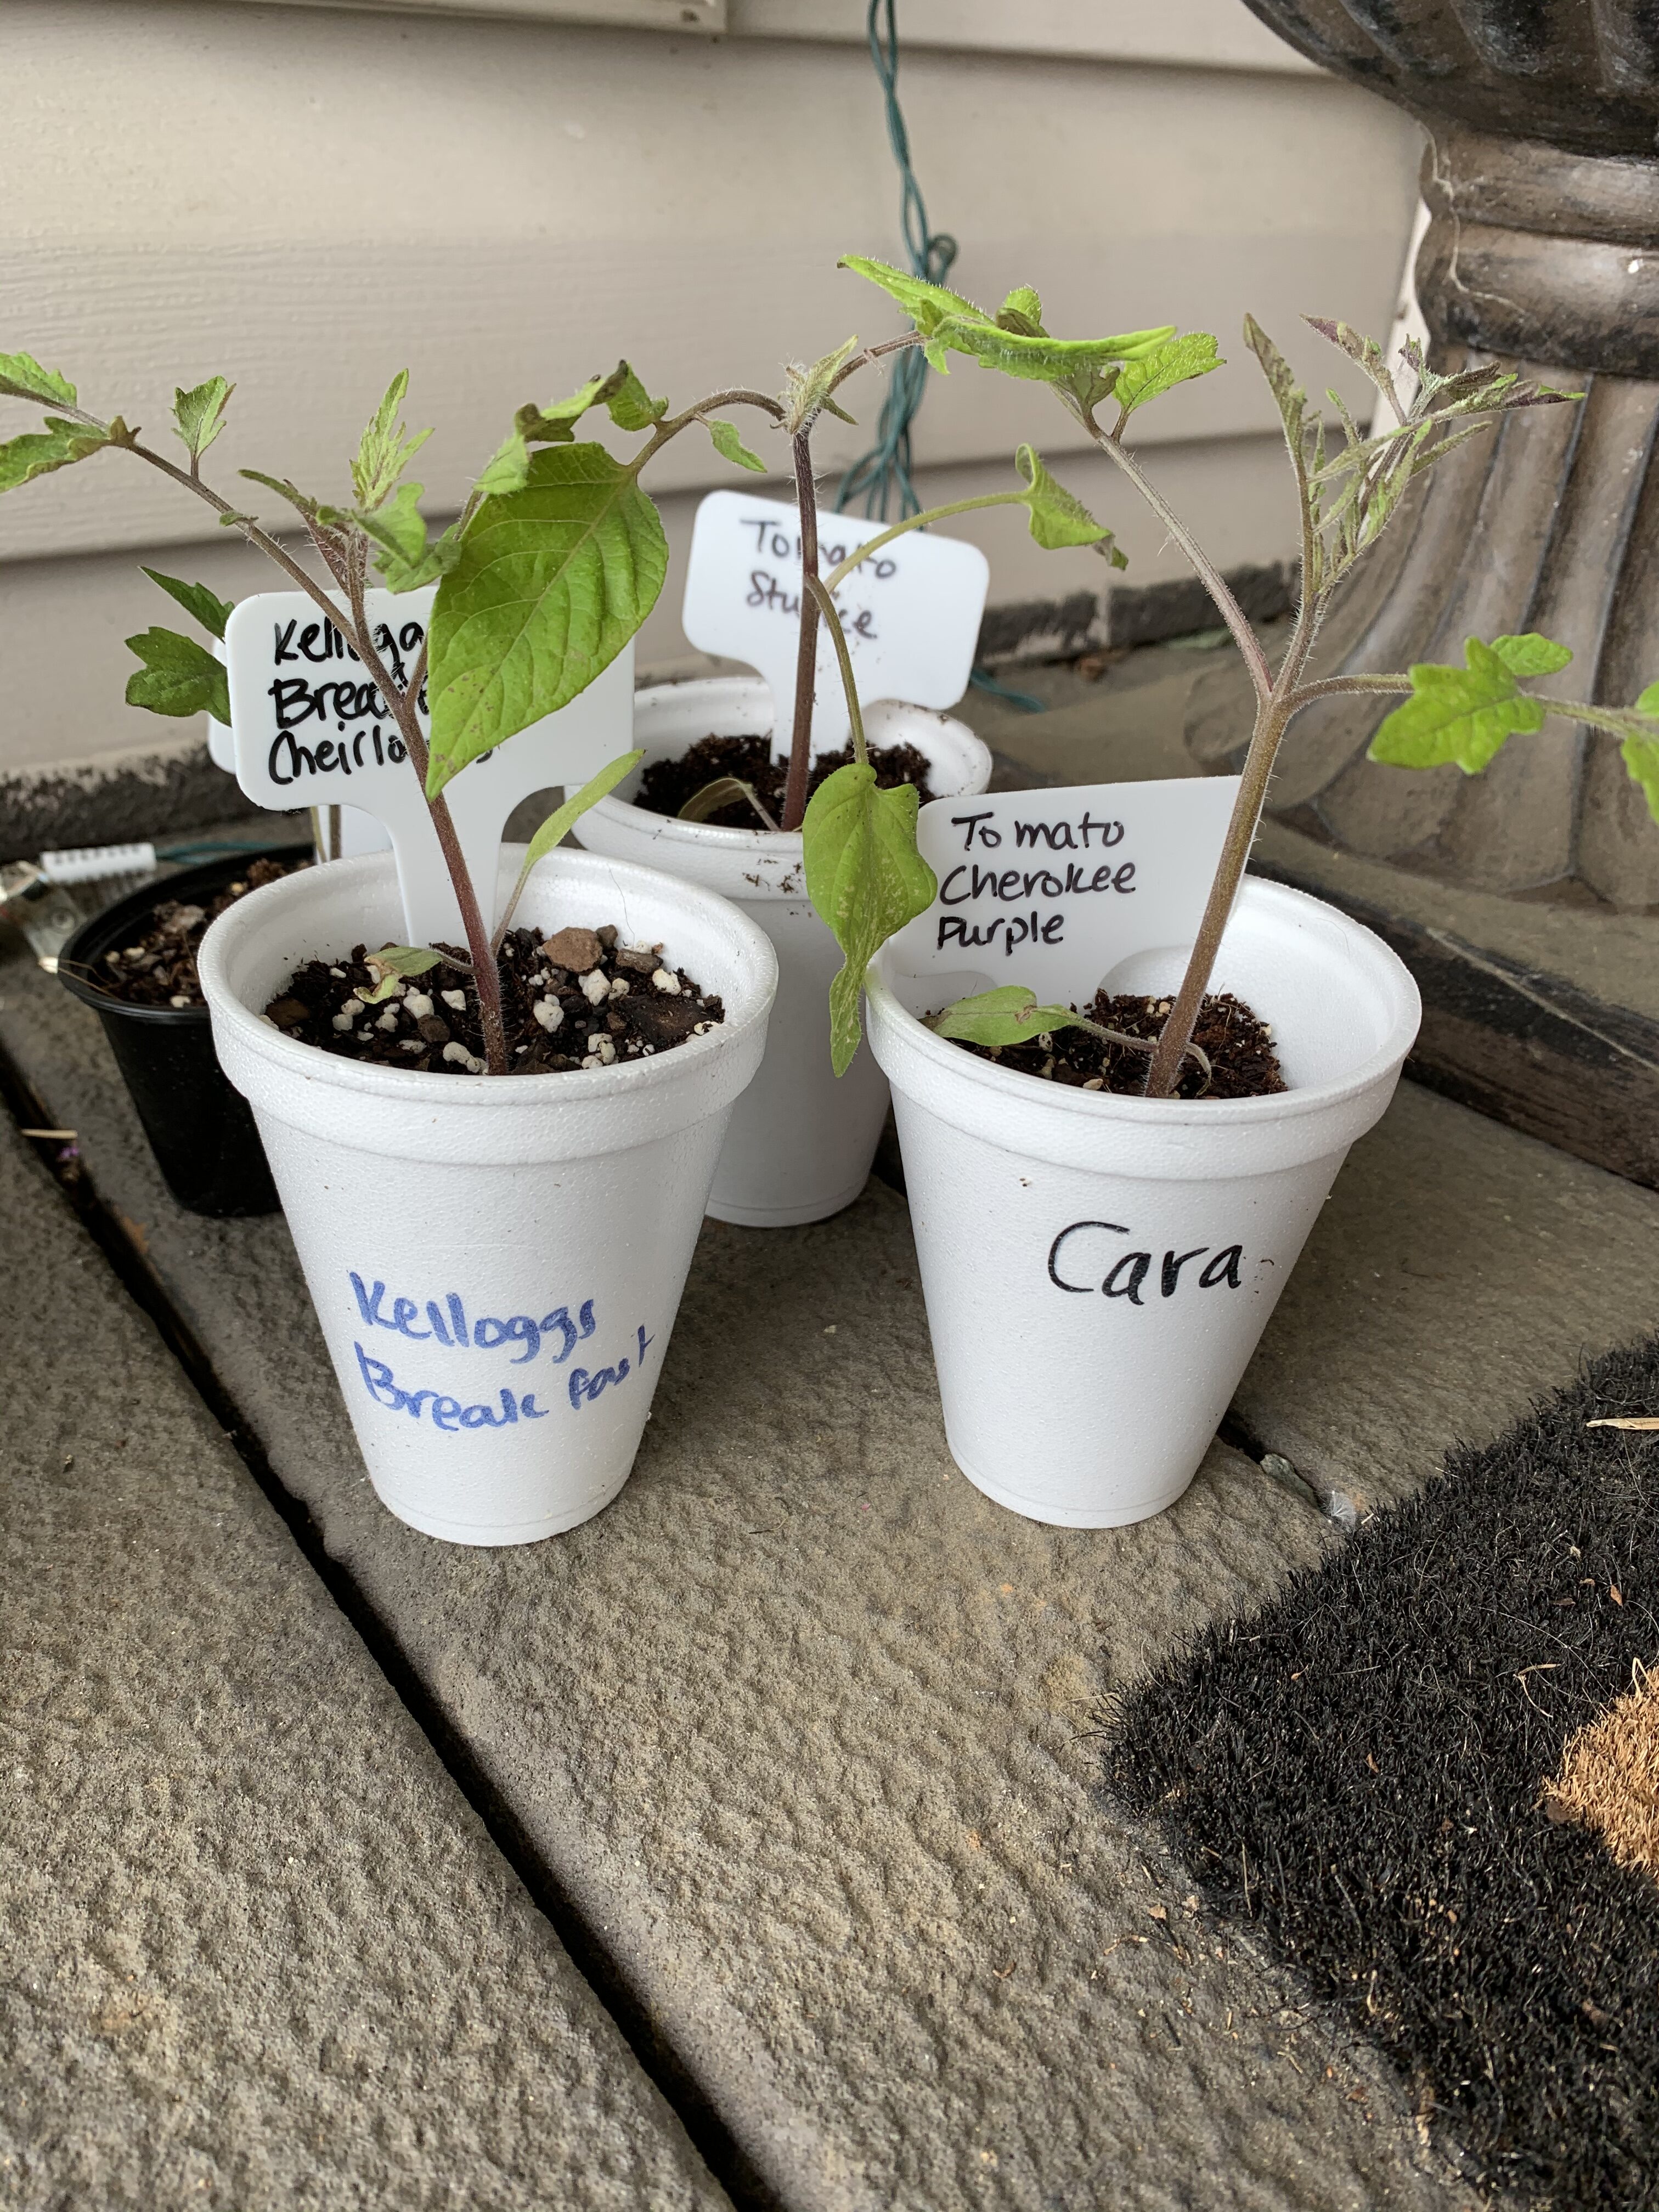
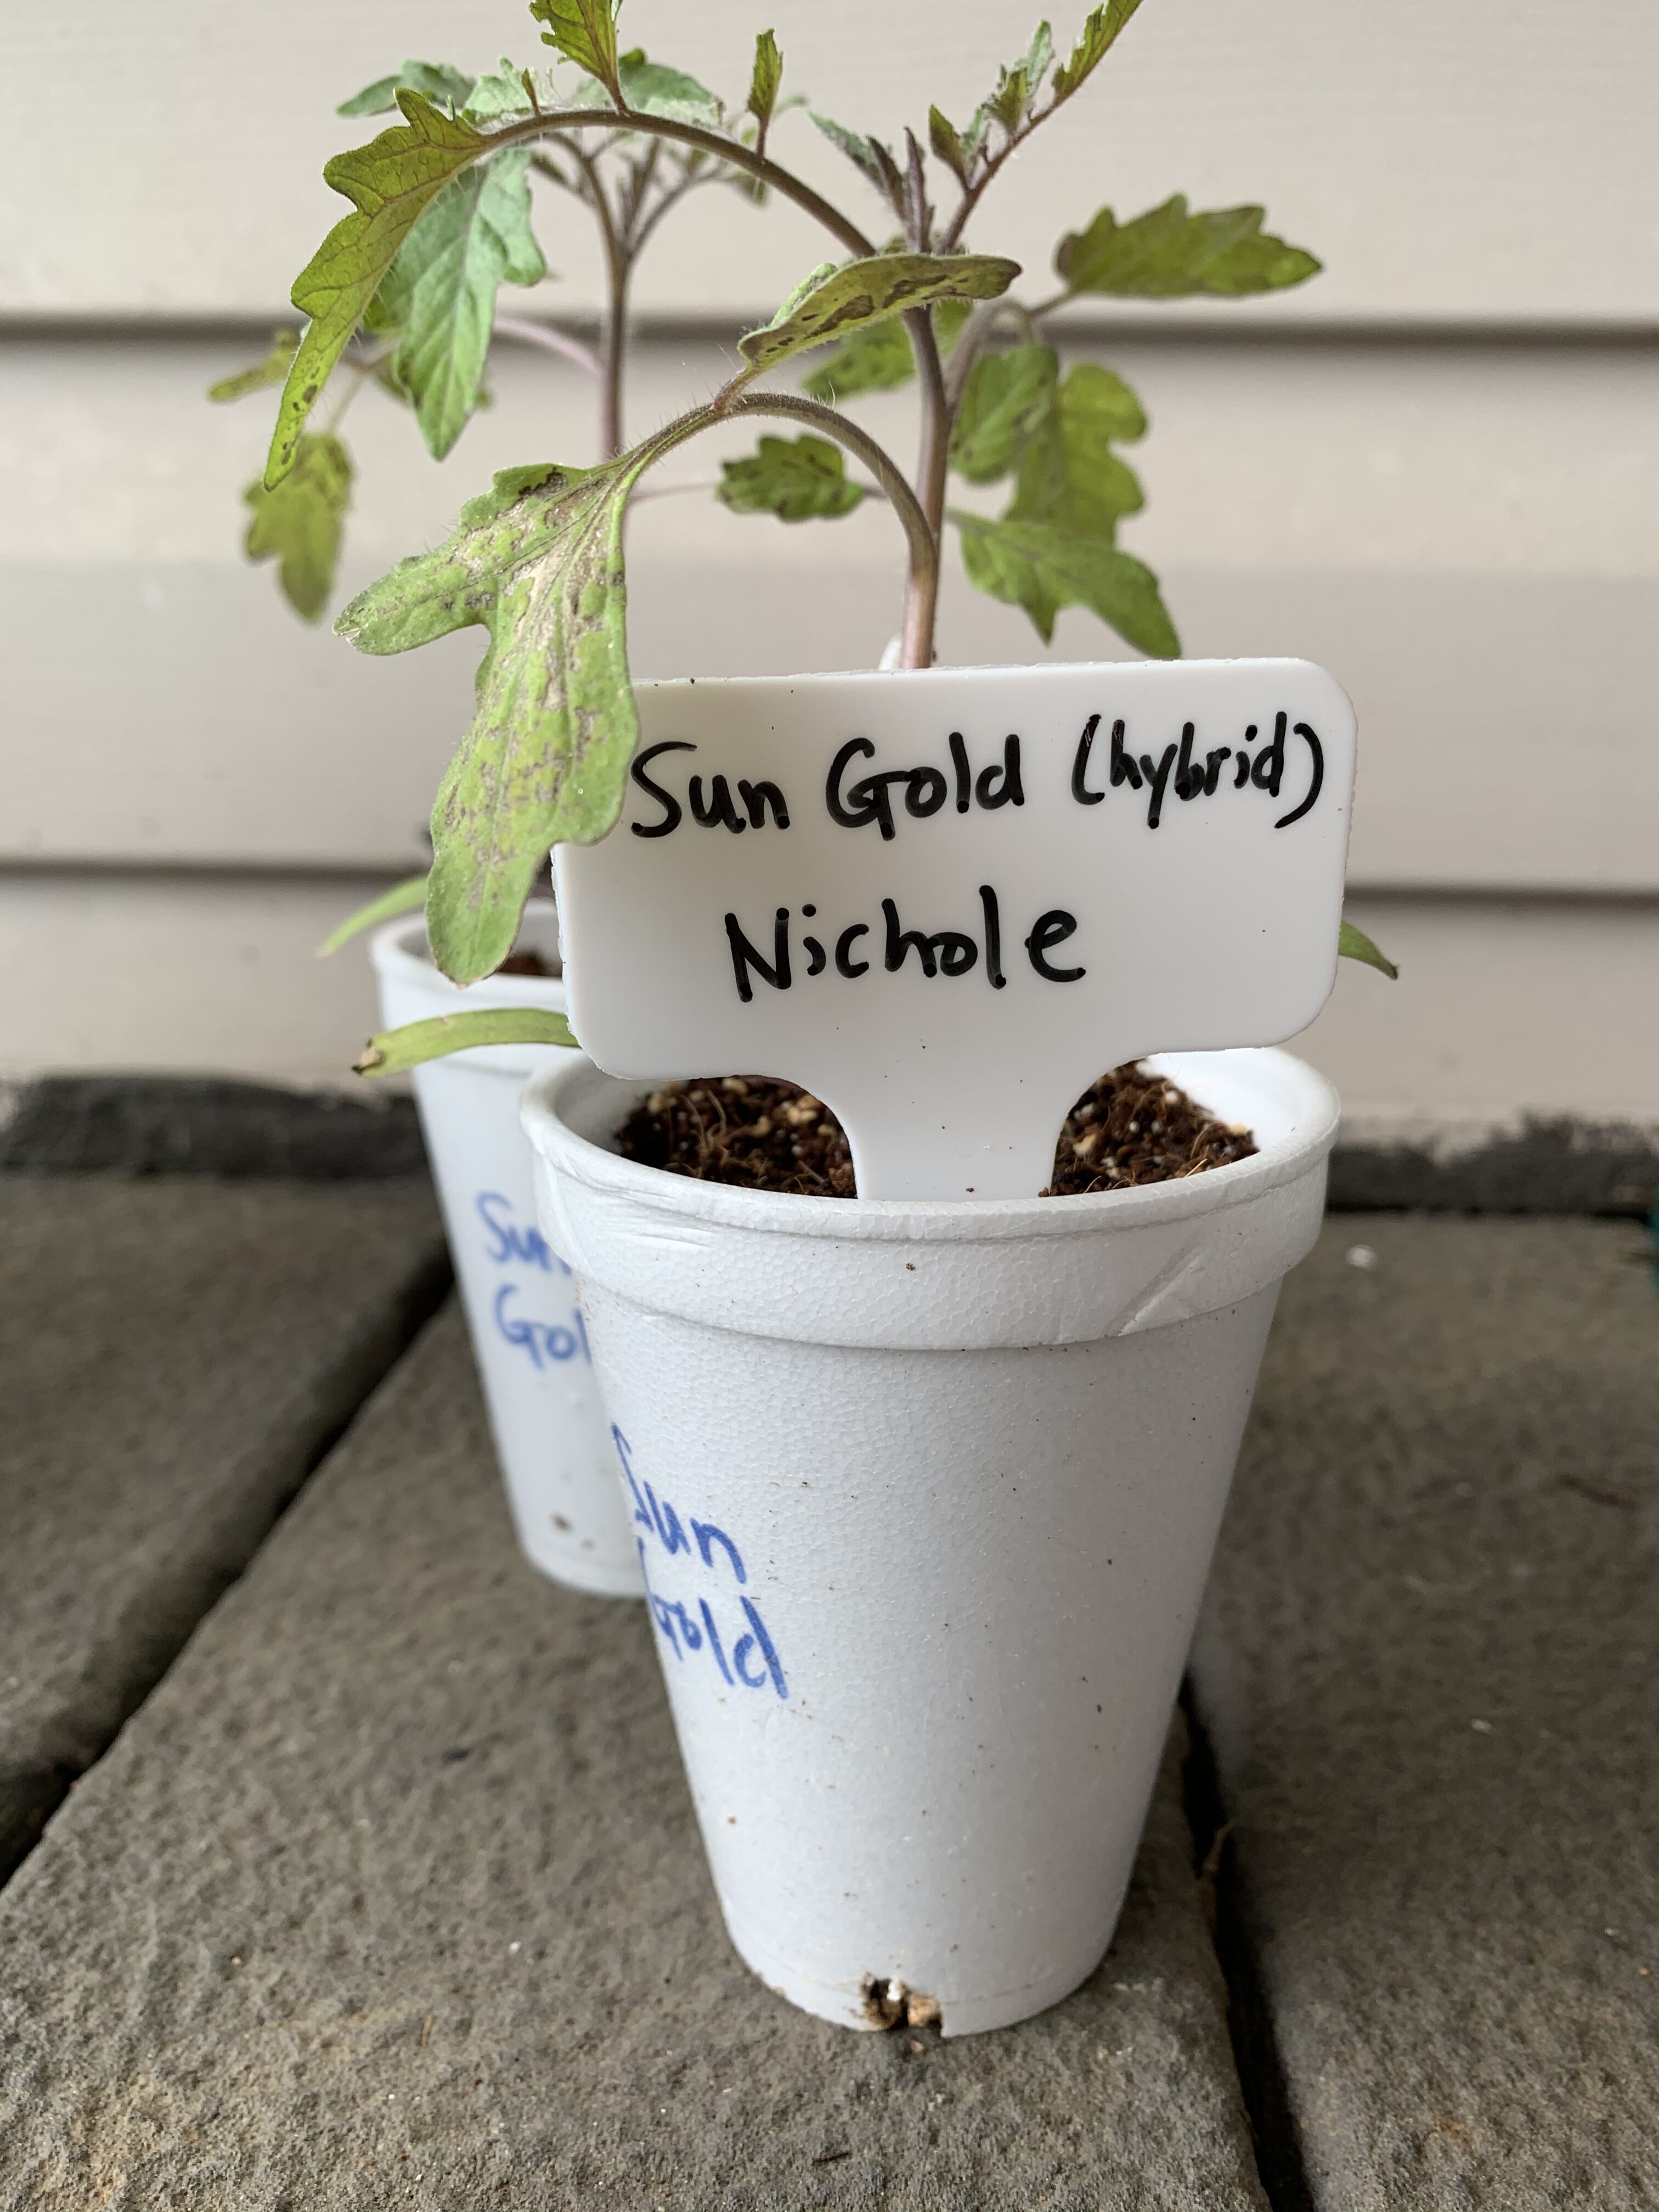
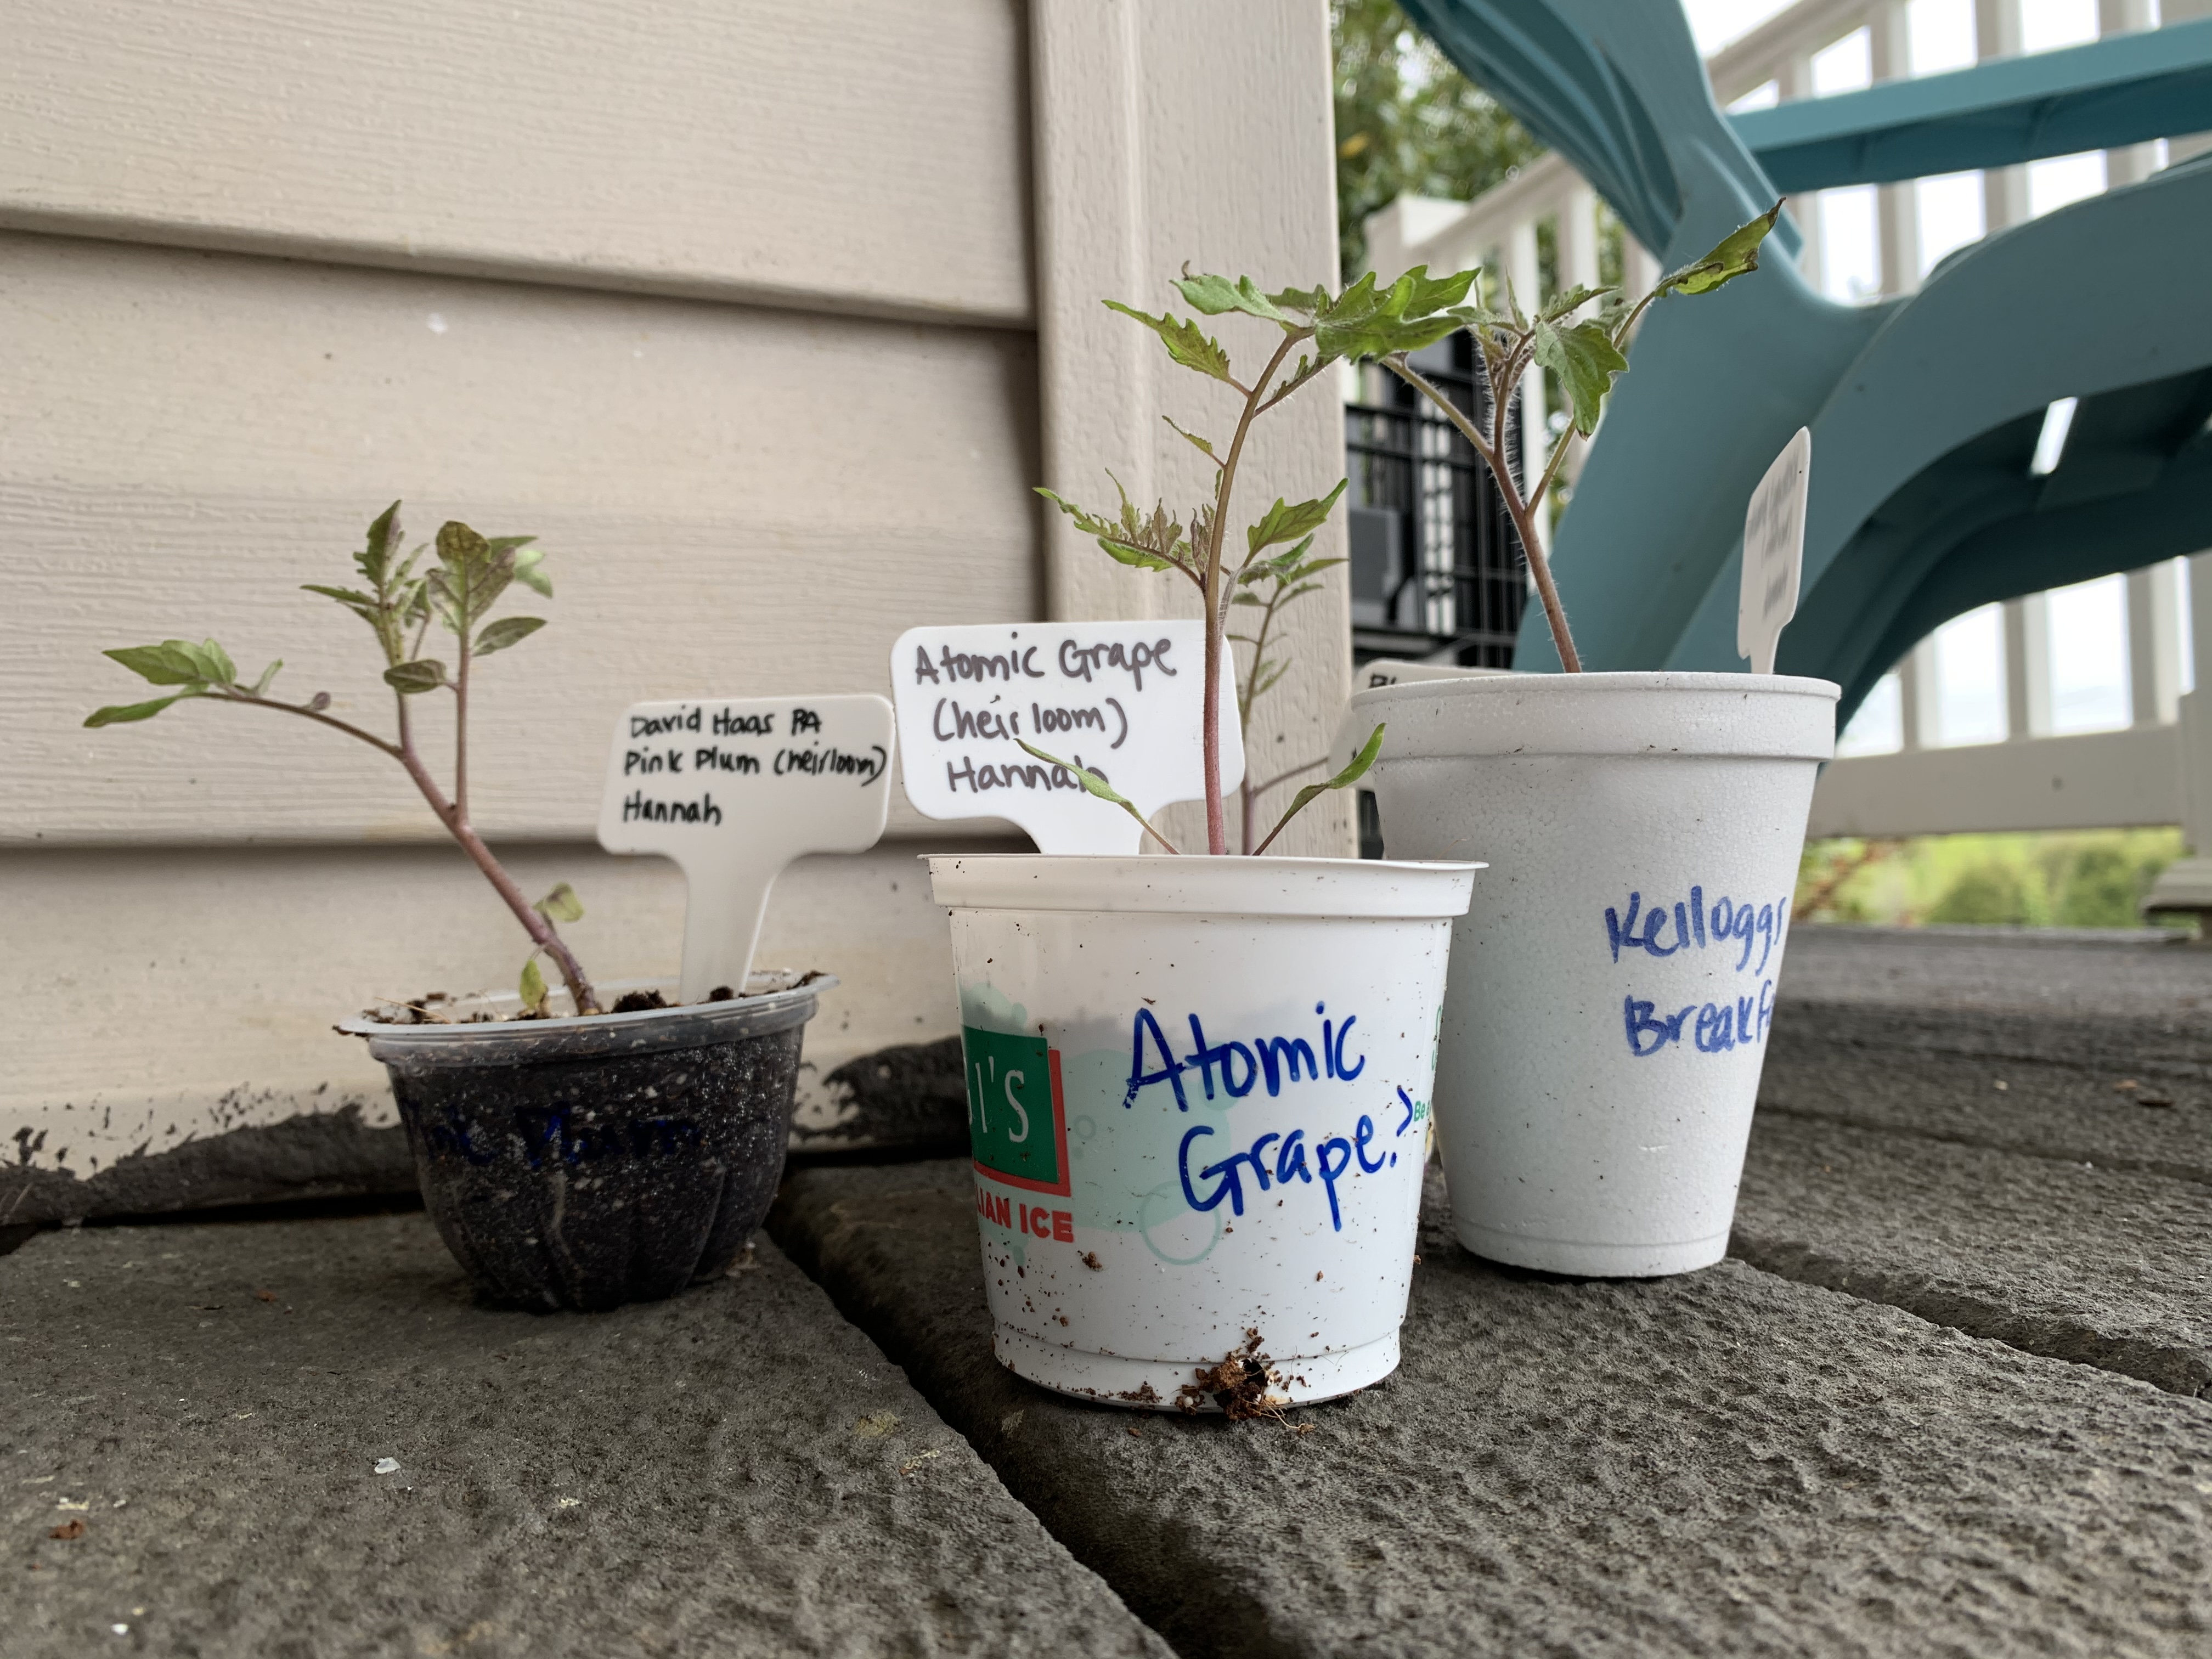
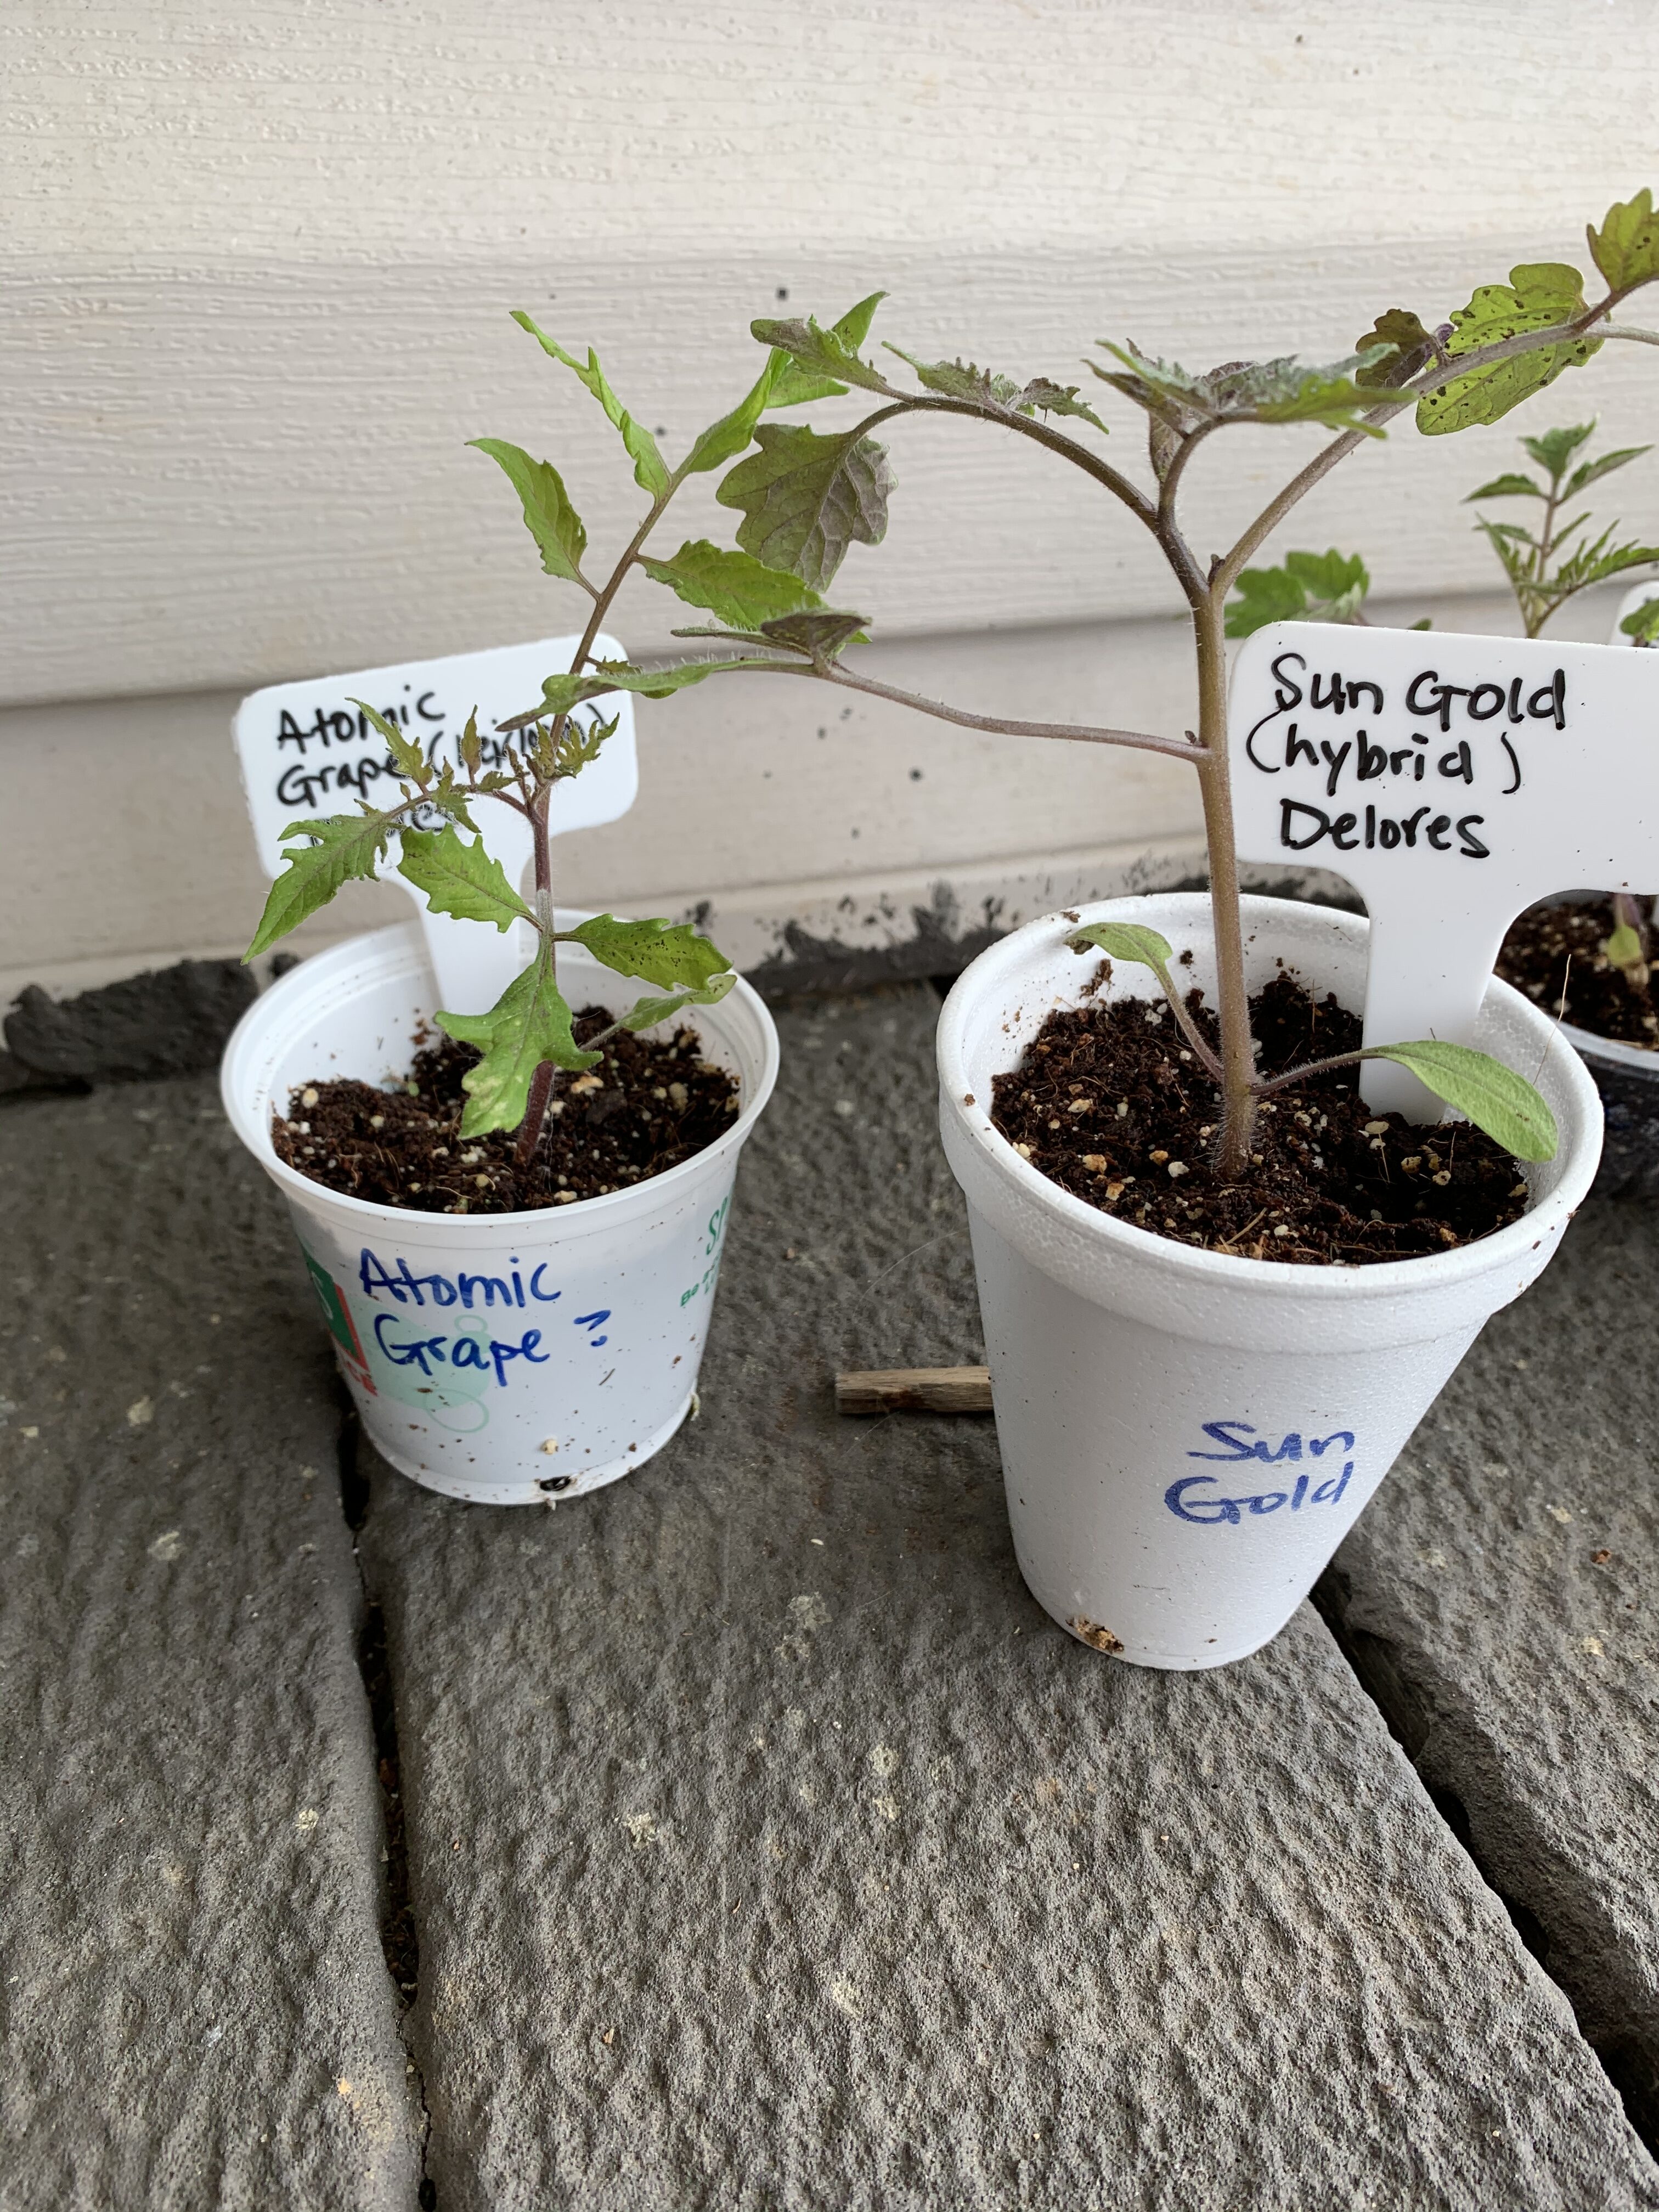
I texted the friends who said they wanted tomato plants and started splitting them out into little groups:
So far I have outfitted twelve gardens with tomato plants, and I expect to do another two or three with the remaining 15-20 tomato plants I have left. I plan to put my tomatoes out at the end of the week if the weather is good.
On fertilizing
I did some reading on fertilization, and the thing I thought I should do to make my plants produce more, isn’t. I did know that your first fertilization, the one done at planting, is to correct inadequacies in the soil. No one expresses it like this, but that’s why you test and fertilize the fort time: to fix anything that’s wrong with the soil. Your next big fertilization is done after you start seeing tomatoes. I thought I’d put on a high Phosphorus fertilizer on at that time, but actually, there have been numerous studies showing that you should side dress with a very high nitrogen fertilizer. Commercial farmers use ammonium sulfate, but home and organic gardeners should probably use blood meal.
So, I placed a fertilizer order with Home Depot online (Lowe’s online ordering did not seem to have anything in stock or any way to get it). I bought Osmocote, which is a balanced fertilizer, to put in at planting. I bought blood meal to add in at fruiting. I already had Neptune’s Harvest, which I’ll use as my weekly or bi-weekly fertilizer. I also bought some Jobe’s vegetable fertilizer stakes that I will put in the straw bales since most of the fertilizer you put in those just runs out the bottom. I’m hoping that adding the stakes will keep the plants reliably fed with less fertilizer use. I didn’t need it, but I also bought some Jobe’s heirloom tomato fertilizer just because it said heirloom tomatoes on the package. I suppose it probably has microbes that fight diseases heirloom tomatoes may be susceptible to, but I don’t know for sure.
Red plates and Septoria leaf spot
Okay, so this is a little weird, I know. But I have a problem with septoria leaf spot in my garden. I have tried treating soil and letting the garden sit without tomatoes in it for a few years — nothing helps. I just spray to control it, but I know it weakens my plants. I keep hearing leaf spot spores are in the soil and that they bounce up on plants when they are watered from above. I don’t know if that’s true or not. It seems to come from the air to me…. But anyway, I mulched my tomatoes and put down weed cover last year but still had it. I was careful to water only at the base of each plant, but it didn’t matter. They got sick anyway. I kept it under control until it got warmer with Mancozeb and copper sulfate sprays, but it wasn’t awesome.
This year I’m going full out. I’ve put in drip irrigation, I’ll put down garden fabric to keep weeds away again, and I’m going to try a new thing I’ve been considering. If leaf spot comes from the soil, maybe I can protect plants with a physical barrier, like collar made of a paper plate, that prevents the water from being able to splash up on the plants. I’ve been thinking about styrofoam because it’s waterproof, but I decided to try disposable plastic plates. I went to buy some at Target, but they had to order them in. BUT, they had these reusable plastic plates made for kids that I think will be perfect! The plates are 59 cents each, so I ordered six. I’ll test them on half of the plants in the main garden to see if there’s a difference in leaf spot infection.
Of course, you know that red plastic has been shown to increase tomato yields and growth, so naturally I’d choose red plates.
I don’t know if it’ll work — seems like someone would have tried this before now — but it’ll be another thing to try and keep the tomatoes growing well.

